We build openQRM from the sources which are available in the openQRM Projects subversion repository. The only requirement for
that is to have “subversion (client)” and “make” available so please install both components.
matt@cloud:~$ sudo apt-get install -y subversion make
Reading package lists... Done
Building dependency tree
...<snip>
Setting up subversion (1.6.6dfsg-2ubuntu1) ...
Processing triggers for libc-bin ...
ldconfig deferred processing now taking place
matt@cloud:~$
Now checkout the openQRM sources from the svn repository.
matt@cloud:~$ svn co https://openqrm.svn.sourceforge.net/svnroot/openqrm openqrm
.... <snip>
matt@cloud:~$
Change to the src/ dir.
matt@cloud:~$ cd openqrm/trunk/src/
matt@cloud:~/openqrm/trunk/src$
And run “make”. Please notice that this step requires a working internet connection. If no internet is available on this system you
can download http://sourceforge.net/projects/openqrm/files/openQRM-4.6/source/openqrm-thirdparty-cache.tgz/download
[http://sourceforge.net/projects/openqrm/files/openQRM-4.6/source/openqrm-thirdparty-cache.tgz/download] and unzip it in your home
directory. This build-cache then will avoid any downloads.
matt@cloud:~/openqrm/trunk/src$ make
.... <snip>
All compilation results are cached by the openQRM build-system. To ensure all components are build correctly simply run “make”
again. The second (and every further “make” run) will just takes a few seconds. Here how the console output looks like for the
second “make” run :
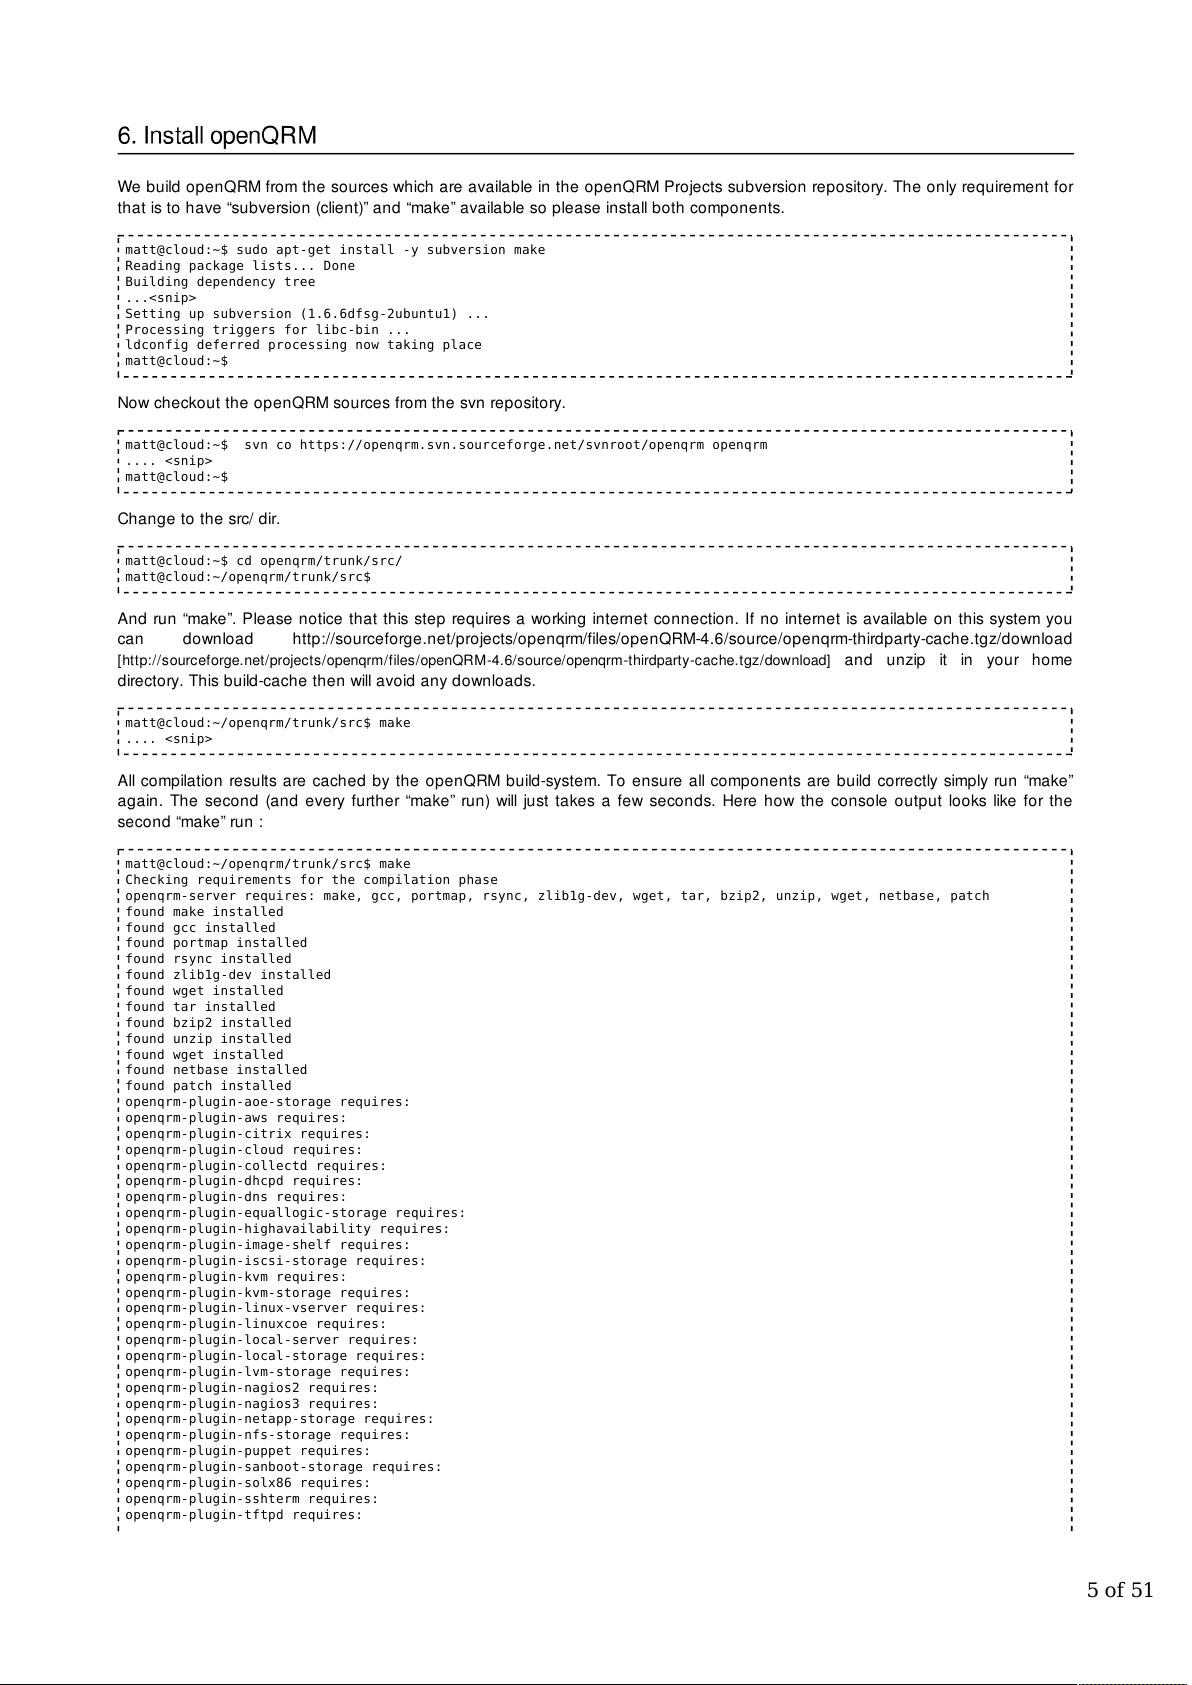
matt@cloud:~/openqrm/trunk/src$ make
Checking requirements for the compilation phase
openqrm-server requires: make, gcc, portmap, rsync, zlib1g-dev, wget, tar, bzip2, unzip, wget, netbase, patch
found make installed
found gcc installed
found portmap installed
found rsync installed
found zlib1g-dev installed
found wget installed
found tar installed
found bzip2 installed
found unzip installed
found wget installed
found netbase installed
found patch installed
openqrm-plugin-aoe-storage requires:
openqrm-plugin-aws requires:
openqrm-plugin-citrix requires:
openqrm-plugin-cloud requires:
openqrm-plugin-collectd requires:
openqrm-plugin-dhcpd requires:
openqrm-plugin-dns requires:
openqrm-plugin-equallogic-storage requires:
openqrm-plugin-highavailability requires:
openqrm-plugin-image-shelf requires:
openqrm-plugin-iscsi-storage requires:
openqrm-plugin-kvm requires:
openqrm-plugin-kvm-storage requires:
openqrm-plugin-linux-vserver requires:
openqrm-plugin-linuxcoe requires:
openqrm-plugin-local-server requires:
openqrm-plugin-local-storage requires:
openqrm-plugin-lvm-storage requires:
openqrm-plugin-nagios2 requires:
openqrm-plugin-nagios3 requires:
openqrm-plugin-netapp-storage requires:
openqrm-plugin-nfs-storage requires:
openqrm-plugin-puppet requires:
openqrm-plugin-sanboot-storage requires:
openqrm-plugin-solx86 requires:
openqrm-plugin-sshterm requires:
openqrm-plugin-tftpd requires: