
2
Installing Red Hat Enterprise Linux 5, Step by Step
CertPrs8/RHCE Red Hat Certifi ed Engineer Linux Study Guide (Exam RH302)/Jang/226454-3/Web Chapter A
Installing Red Hat Enterprise Linux 5
This appendix is straightforward. It illustrates the steps required to install Red
Hat Enterprise Linux 5 Server on your computer, using graphical and text-
based installation methods. Both are governed by the Red Hat program known as
Anaconda. I’ve kept descriptive comments in this section to a minimum; for more
information, read Chapter 2. For both graphical and text modes, I’ll assume that
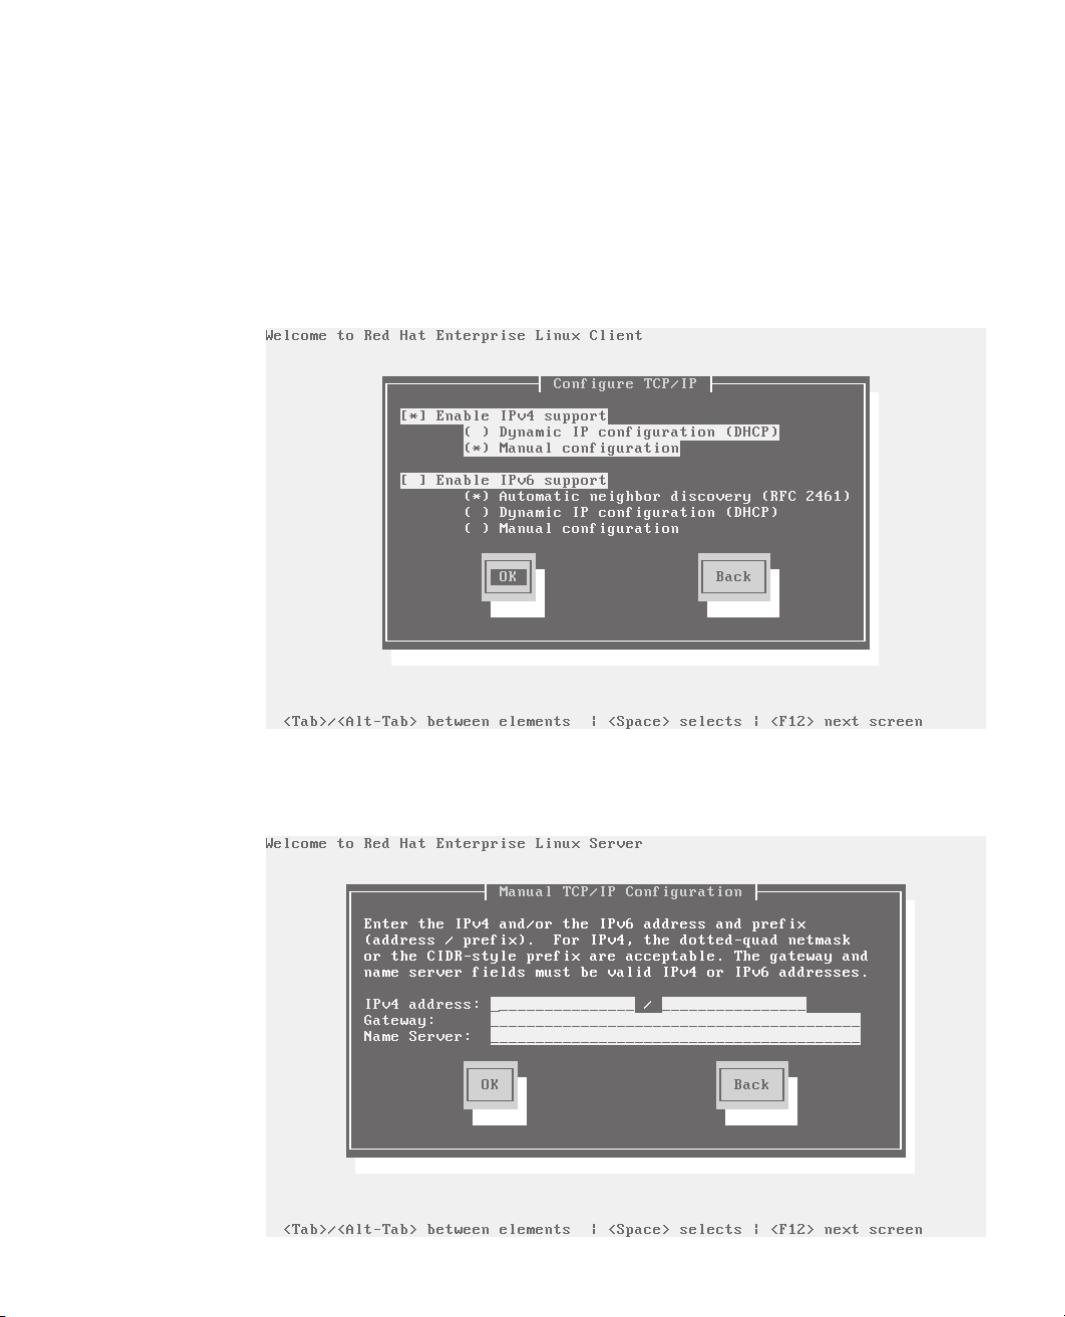
you’re installing from a remote installation server, shared with NFS.
While there are a substantial number of options available when you install
RHEL, I illustrate a more generic installation. If you want to learn about some of
the options, you’ll have to experiment with the installation yourself. In fact, the
exercises in Chapter 2 are designed to help you learn the different things you can
do with an RHEL installation, on your computer and during the exam.
If you’re installing Red Hat Enterprise Linux 5 Client, the steps are the same;
however, what you see is slightly different.
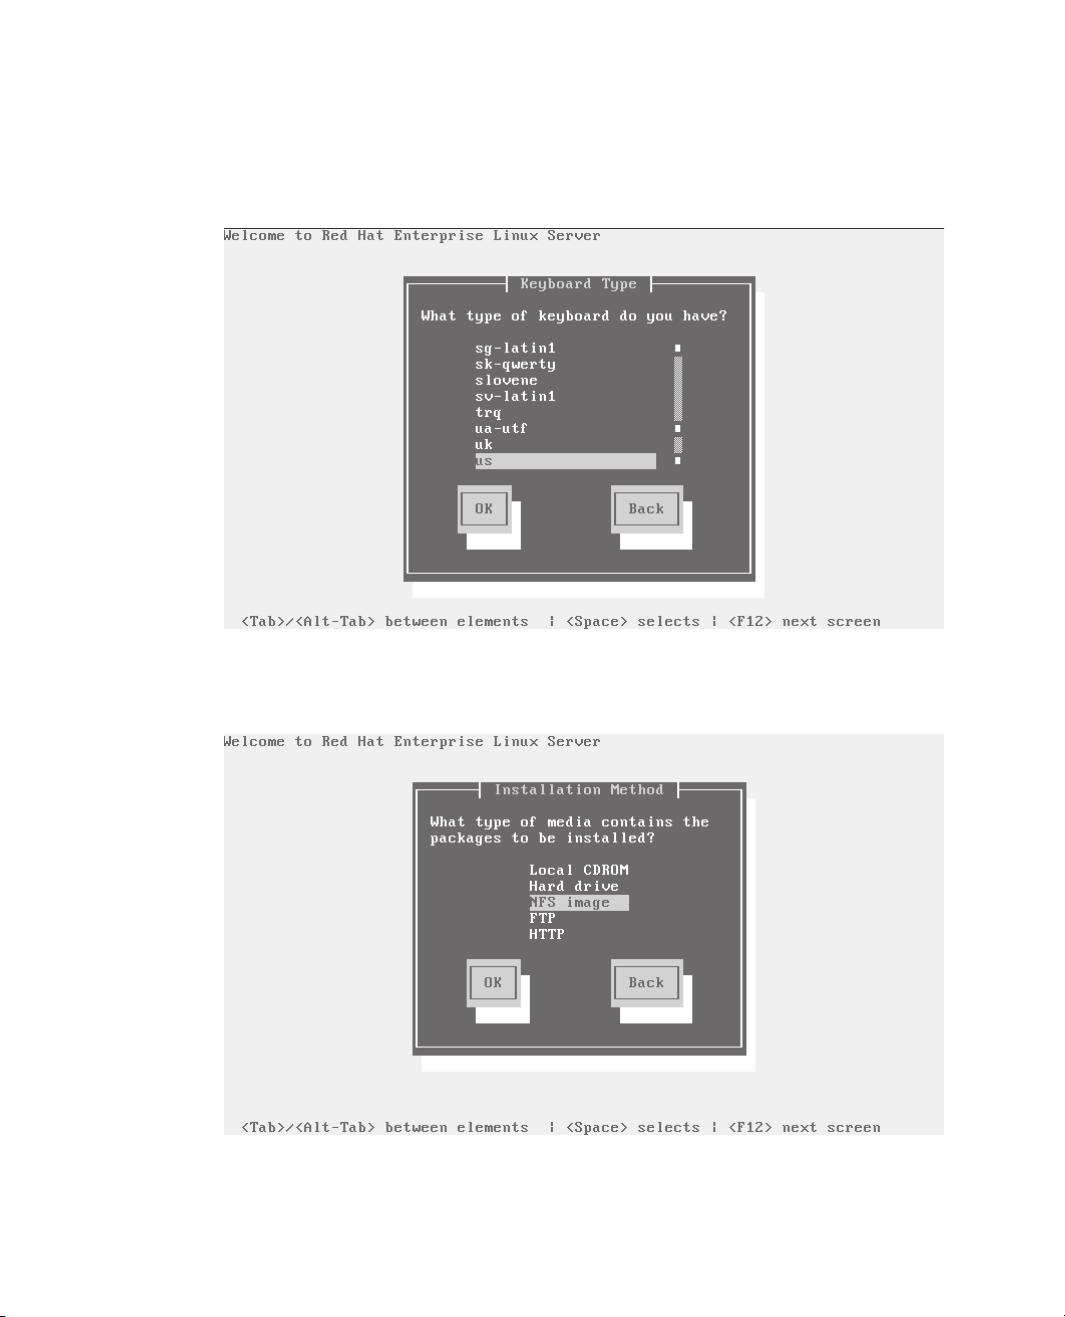
Graphical Installation
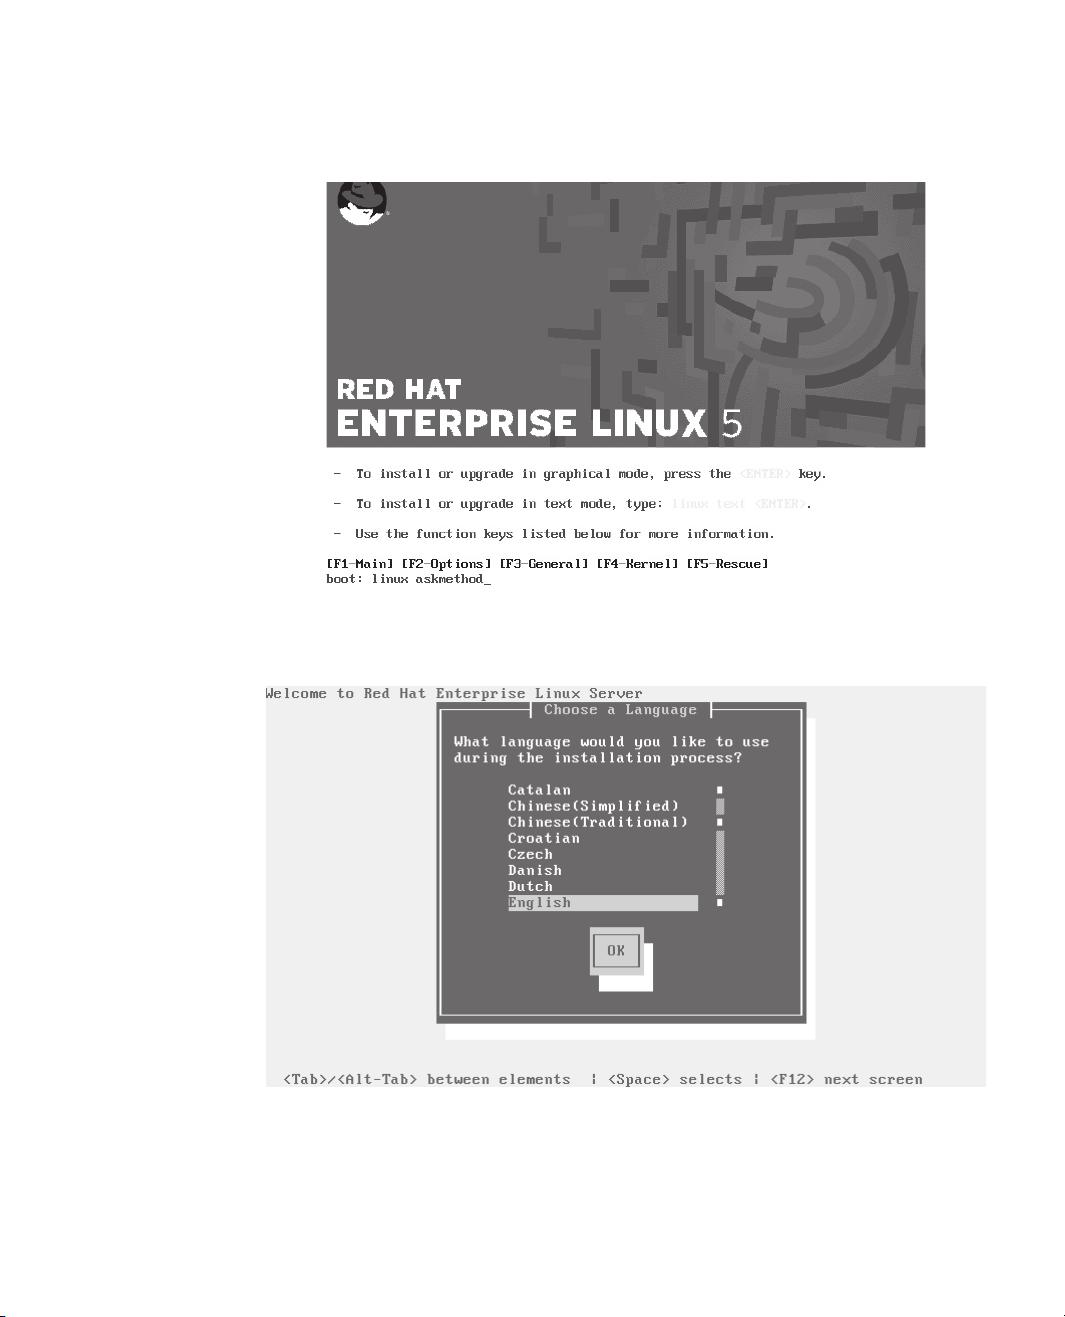
To install Red Hat Enterprise Linux 5 on your computer, take the following steps:
1. Select and insert the media that you’ll use to boot the Red Hat Enterprise
Linux 5 installation program. It
can be the first Red Hat Enterprise
Linux 5 CD, a boot CD created from
the boot.iso file from the /images
directory of the first installation
CD, or a boot USB key created from
the diskboot.img file from the same
directory.
2. Power on your system. Press the appropriate key, typically
ESC, F12,
or
DEL, to access the boot menu shown here.
If a boot menu isn’t available, you’ll need to adjust the boot sequence in the
computer BIOS, which you can then use to boot directly from your selected
media. Set your computer’s BIOS to boot from the first installation CD or
USB drive. Details vary by PC. Make sure your BIOS saves your changes
before you reboot.
3. Type linux askmethod when you see the boot: prompt.
WebA.indd 2WebA.indd 2 6/14/2007 10:41:30 AM6/14/2007 10:41:30 AM


评论0