


Ubuntu 下内核编程之第一个模块 helloworld
模块是驱动开发的必经之路,这也是我们在前边要构建内核源码树的目
的所在。因为模块属于 kernel 编程了,和用户空间的 c 语言变成不同。他要依
附于内核源码树的存在而存在,下面就开始我们的第一个模块的编写吧。
Ubuntu 下内核编程之第一个模块——我的叫 jun_module。随你怎么
起名。以下是建立的全过程:
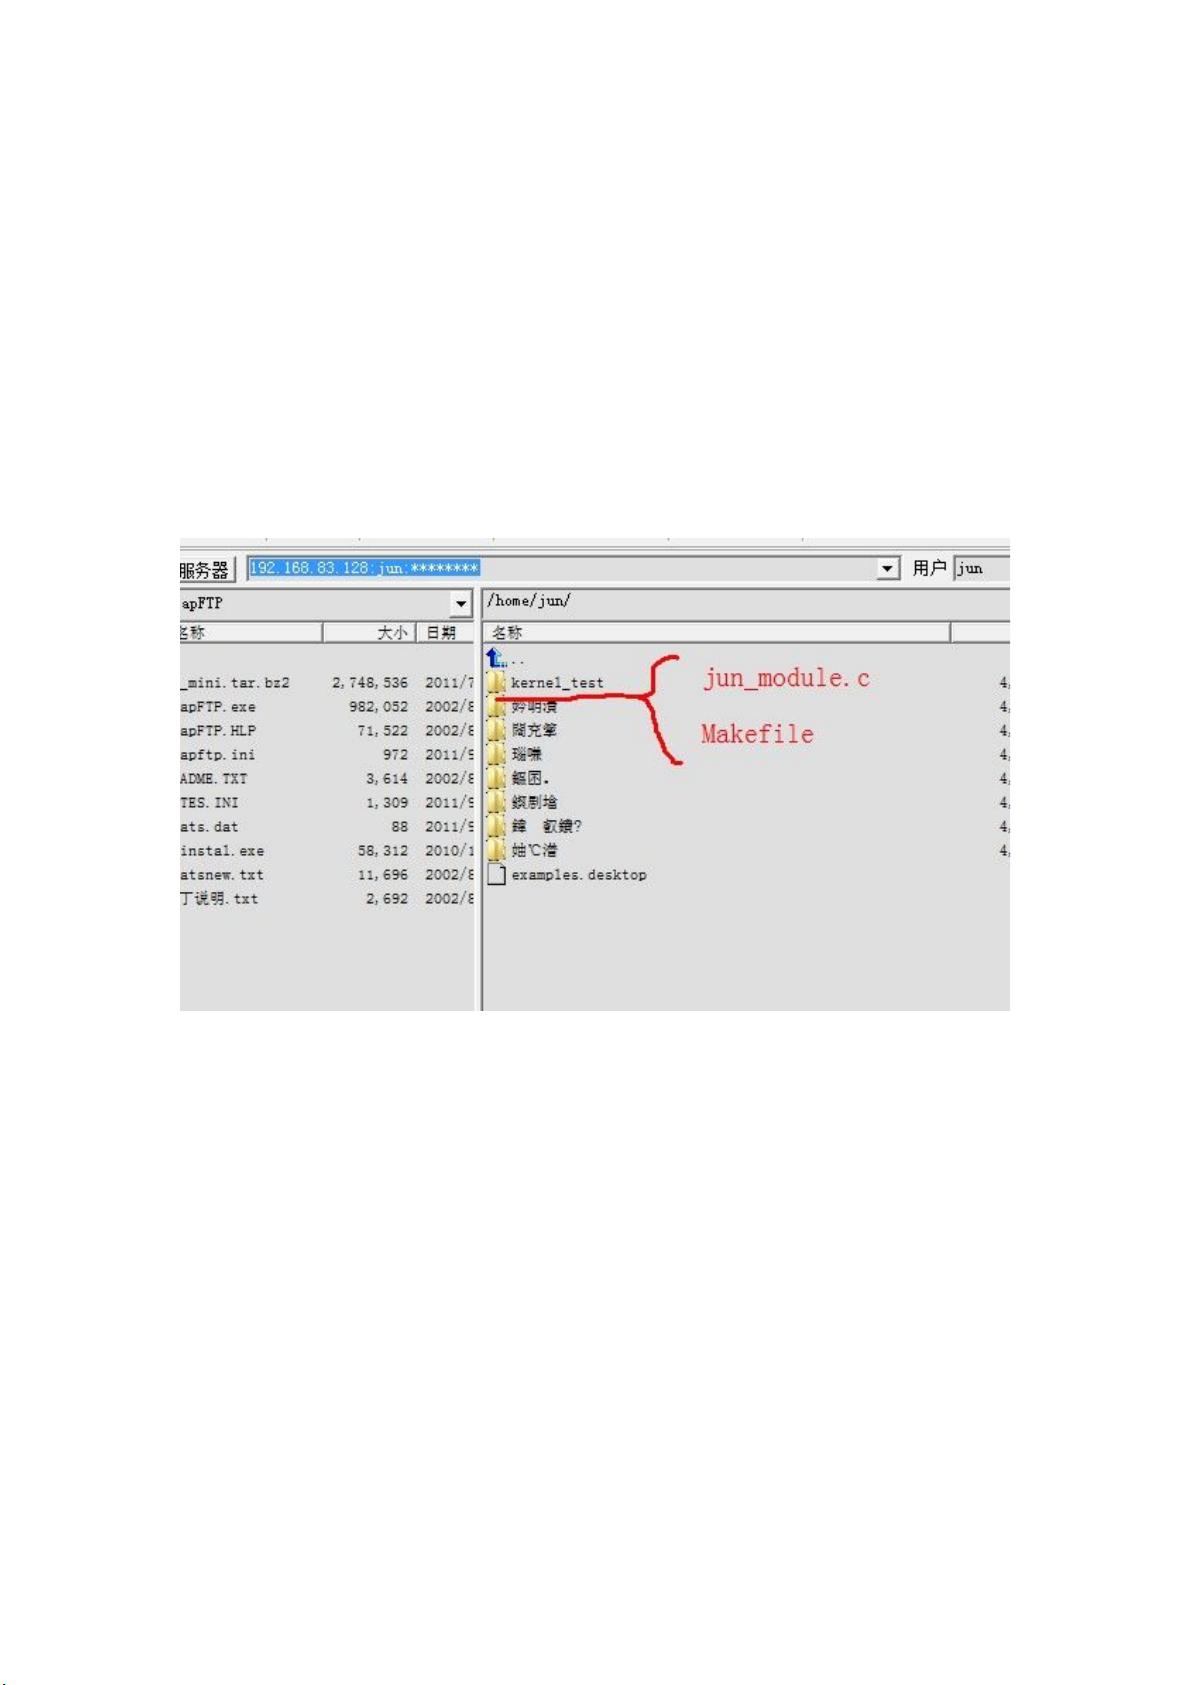
1、首先肯定是编写模块的源代码,和 Makele。我们建立一个专用目
录,我这里是 kernel_test,在里边需要创建 jun_module.c 和 Makele 。
2、然后让我们看看源代码的内容都是什么:
下边是 jun_module.c
/*
* 2011-9-13
* author:jun
*/
#include<linux/init.h>
#include<linux/module.h> /* 编写模块必须要包含的头文件 */


- 1
- 2
前往页