Designing A Kernel Key Logger
A Filter Driver Tutorial
By Clandestiny
Introduction:
The following
tutorial
outlines the design of a simple key logger implementation using a kernel filter
driver. Although the key logger itself is only proof
-
of
-
concept
and lacks the functionality of
a useful attack
tool
, it
presents
filter drivers
as a potentially useful
(
and
underutilized)
rootkit hooking technique
while
demonstrating
a few of the basic programming challenges
that
distinguish kernel design from
user lan
d
development
.
The filter
is based on the method shown in the ctrl2cap program at sysinternals.com.
If you’ve written a kernel driver before you already know that the drivers for each of the system’s hardware
devices are layered into a hierarchal “devic
e stack”
and that a hardware device may have one or more
drivers associated with it.
Filter drivers are a special kind of driver that can be transparently inserted on
top of or
in
between existing drivers in the stack. The key word
, of course,
is “transp
arently” because the
surrounding drivers are unaware of the filter driver’s
existence
.
The filter
may be used to add functionality
to an
existing lower level driver,
hide or modify data being sent to an upper level driver, or to stealthily
intercept dat
a. Clearly
, the application of filters to
rootkit development fall
s
into this latter category
and t
he
possibilities
range from simple k
ey loggers
to complex network and file system filters.
Installing
The
Keyboard
Filter:
Installation of the filter is
performed
in the Driver Entry procedure and just like any other driver, one of the
first steps is t
o fill in the IRP dispatch table
. Filter drivers must support the same set of IRP_MJ_XX
X
requests as the underlying driver
it is attached to
. If we think o
f a filter driver as a sort of IRP net, this
makes a sense. The net must have holes of the same size and position (
i.e.
same IRP_MJ_XXX slots filled
in) for the lower driver to
properly
receive all of the IRP request types it supports.
The easiest way to
accomplish this is to expose a dispatch routine for every slot in the Major Function table of the filter driver
object. If the filter is not interested in some of the IRPs
,
it simply provides a generic routine that passes
them down to the next driver in
the stack.
A separate routine is provided for the IRPs the filter is interested
in inspecting or modifying.
In the case of our keyboard filter, we are only interested in inspecting the
“read” IRPs.
Similarly, the filter driver should set the same flags a
s the underlying device it is attaching to.
After setting up the dispatch table, the device object
is created and the device extension (
a non paged
memory area for the driver to store global variables
) is initialized
. One primary difference between regul
ar
drivers and filter drivers lies in the fact that their device objects are unnamed.
We create an unnamed
device object by calling
IoCreateDevice
and passing NULL for the device name.
The actual insertion of
the filter
is performed by
calling
IoAttachDe
vice
and supplying the filter driver’s device object as well as
the name of the keyboard device to which we’re attaching.
We also save the old pointer to the top of the
stack so we know where we need to direct IRPs later after we’ve intercepted them.
In
the case of a
keyboard filter, there are a couple of
potential
stack
insertion points
.
The first is I8042prt.sys. This is the
low level port driver for the
keyboard
.
There is an example in the DDK showing a filter for the port driver.
The second point
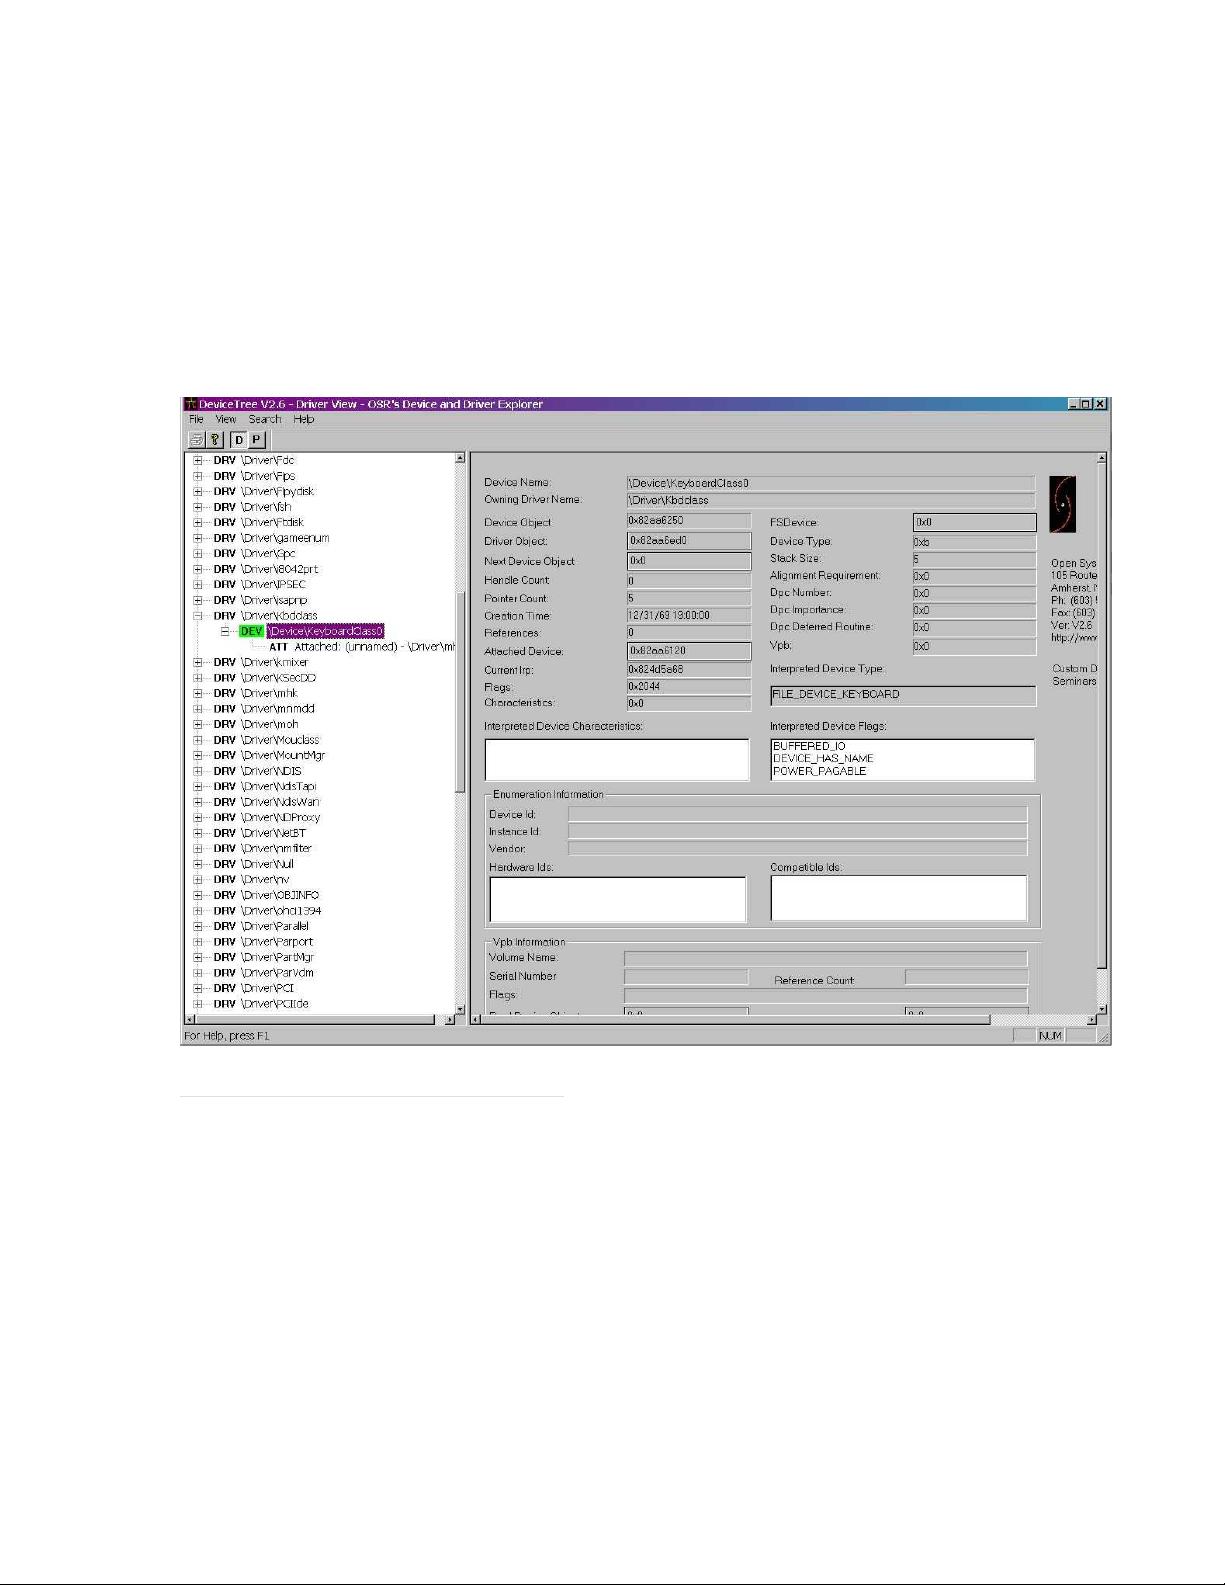
of insertion is kbdclass.sys, Microsoft’s upper level class driver for the keyboard. Both
this
key logger
as well as the sysinternals example ctrl2cap attach to the class driver.
We can summarize the basic steps for attaching a filter driver as:
1.
Fill in all entries in the IRP_MJ_XXX dispatch table for the filter driver. Unhooked IRPs receive
a pointer to a “pass down” routine and hook
ed
IRPs receive a pointer to a special “hook” routine.
2.
Create an unnamed keyboard filter device object by calling
IoCr
eateDevice
.
3.
Initialize the Device Extension