http://www.sonelec-musique.com/index.htm Rémy Mallard - Mars 2007
Making a seven seg display with RWIE
Sonelec-Musique > Logiciels > Librairies pour Proteus / RWIE
Last update : 24/03/2007
Preview
In this tutorial, we'll see how to create a 3D model of a seven seg display, with RealWorld Icon Editor software
(RWIE can be dowloaded on http://www.rw-designer.com). Once display object created with RWIE, we'll see how
export it in a 3DS file format that can be used in Ares, that is the PCB creation software included in Proteus suite.
From the unique model made with RWIE, we'll alse see that it is possible to define the number to display and the
color of the Led segments. With that, it will be possible to export a 3DS model file that show the number 2 in Red,
and another 3DS model file that show the number 7 in gree, for example.
Note : it is possible to create a simpler object than one that will be created here, and that should be capable of only
display a fixed number and a unique color, but i think it's more interresting to show how to use internal mechanism
included in RWIE that allow some very interresting things.
3D model structure definition
We want to create a 3D object that looks like a seven segment display model HP-5082-76xx, that can be used in
Ares 3D viewer. We'll défine three objects groups (containers) that make display, once assembled :
• An objects group for the body of the component,
• An objects group for the seven led segments,
• An objects group for the wire.
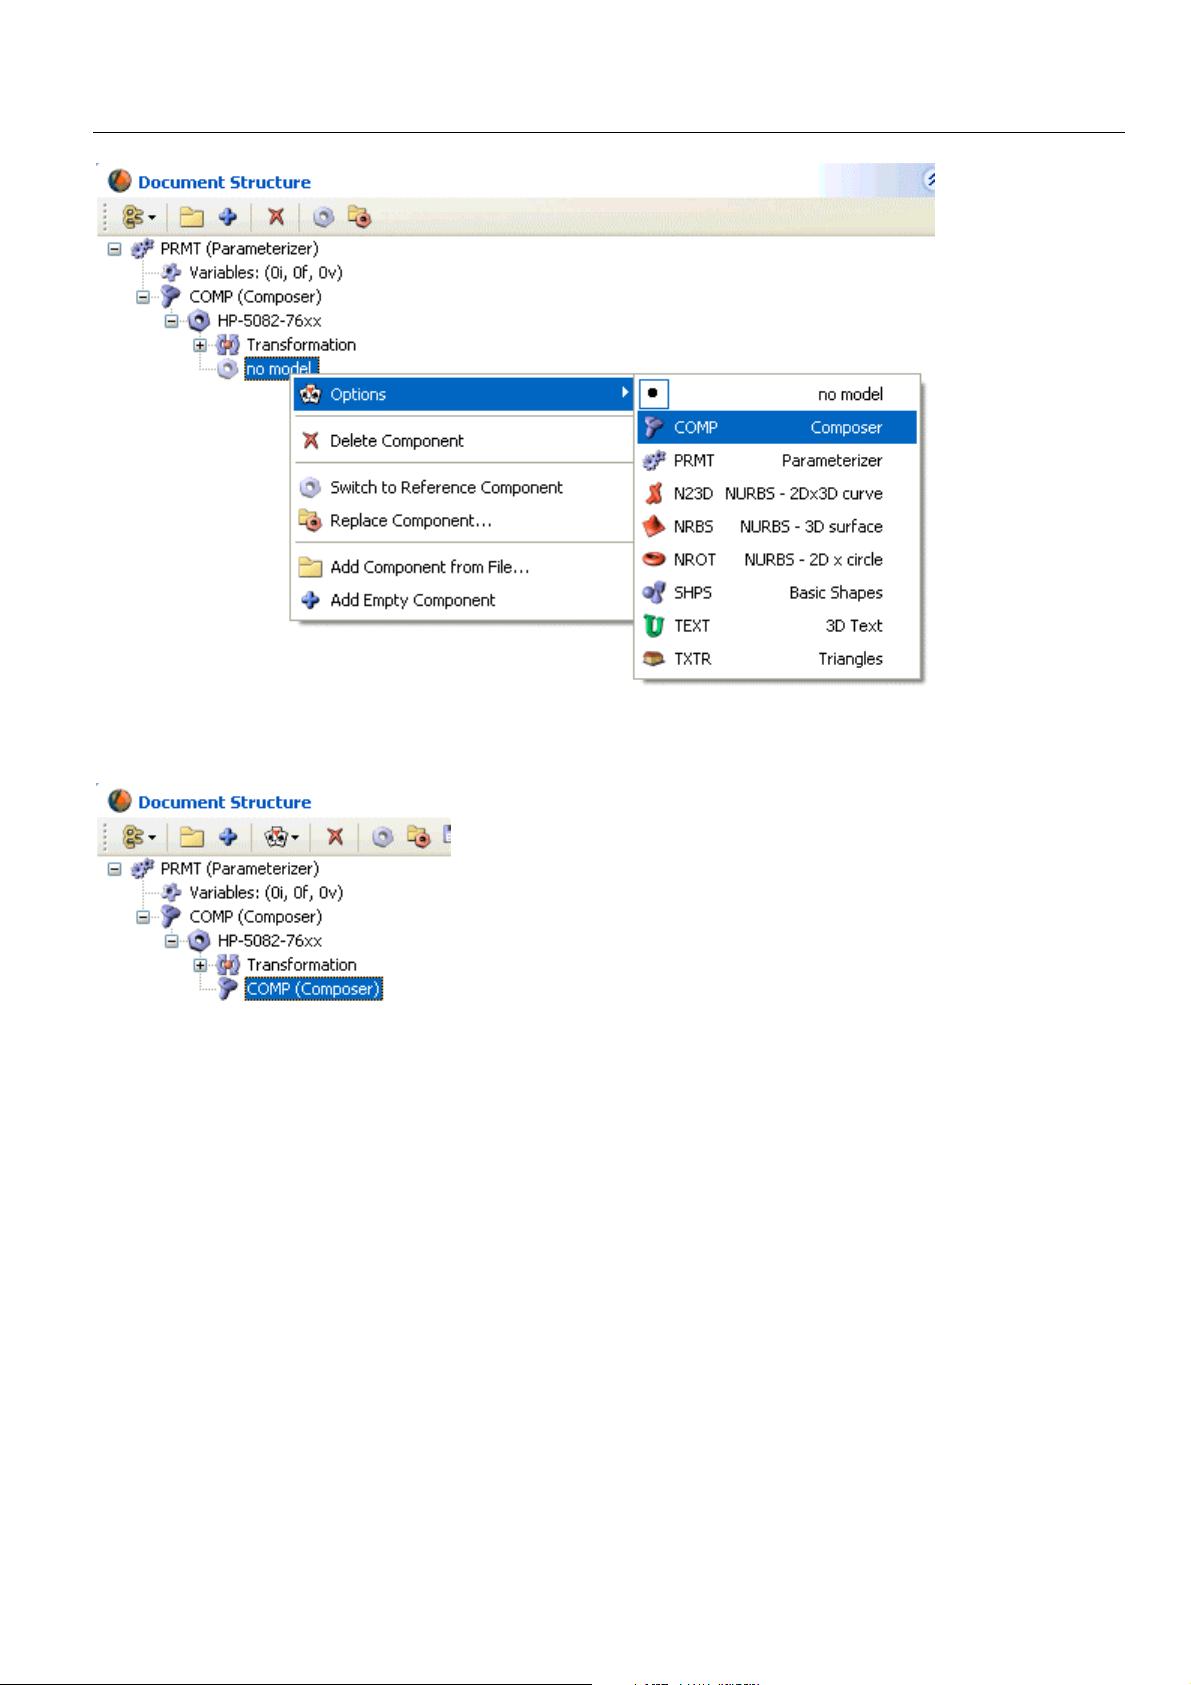
Creation of the main 3D model structure
RWIE allow to work with primitives that can stand on an unique hierarchical level, or with primitives that are
arranged on several hierarchical levels. It's possible to let all primitives on a same level, but it's better to organize
them in several levels to classify them, as you should do with your Word documents and electronic pictures, to
avoid mix them on your hard drive. So we decide to construct a base structure as following.
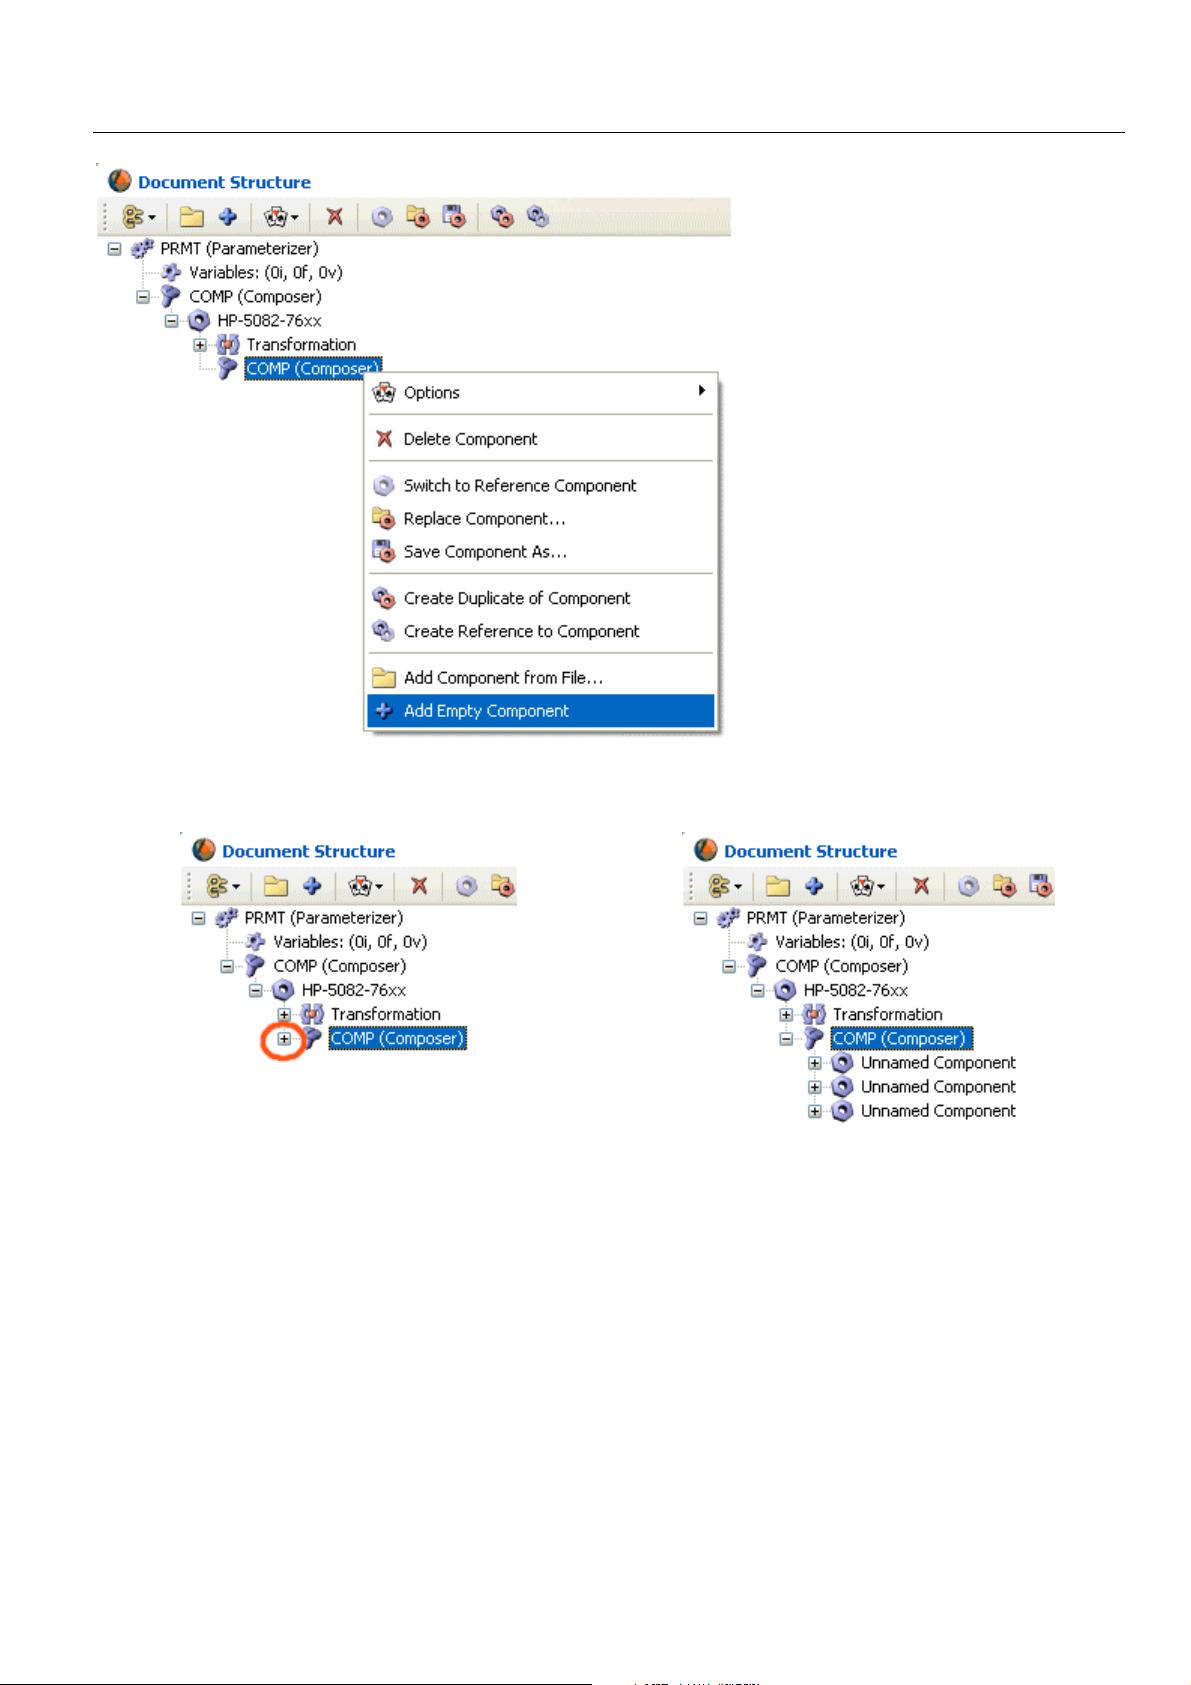
|- HP-5087-76xx (Level 0)
|- Body (Level 1)
|- Part_01 (Level 2)
|- Segments (Level 1)
|- Seg_01 (Level 2)
|- Seg_02 (Level 2)
|- ...
|- Seg_07 (Level 2)
|- Wires (Level 1)
|- Wire_01 (Level 2)
|- Wire_02 (Level 2)
|- ...
|- Wire_14 (Level 2)
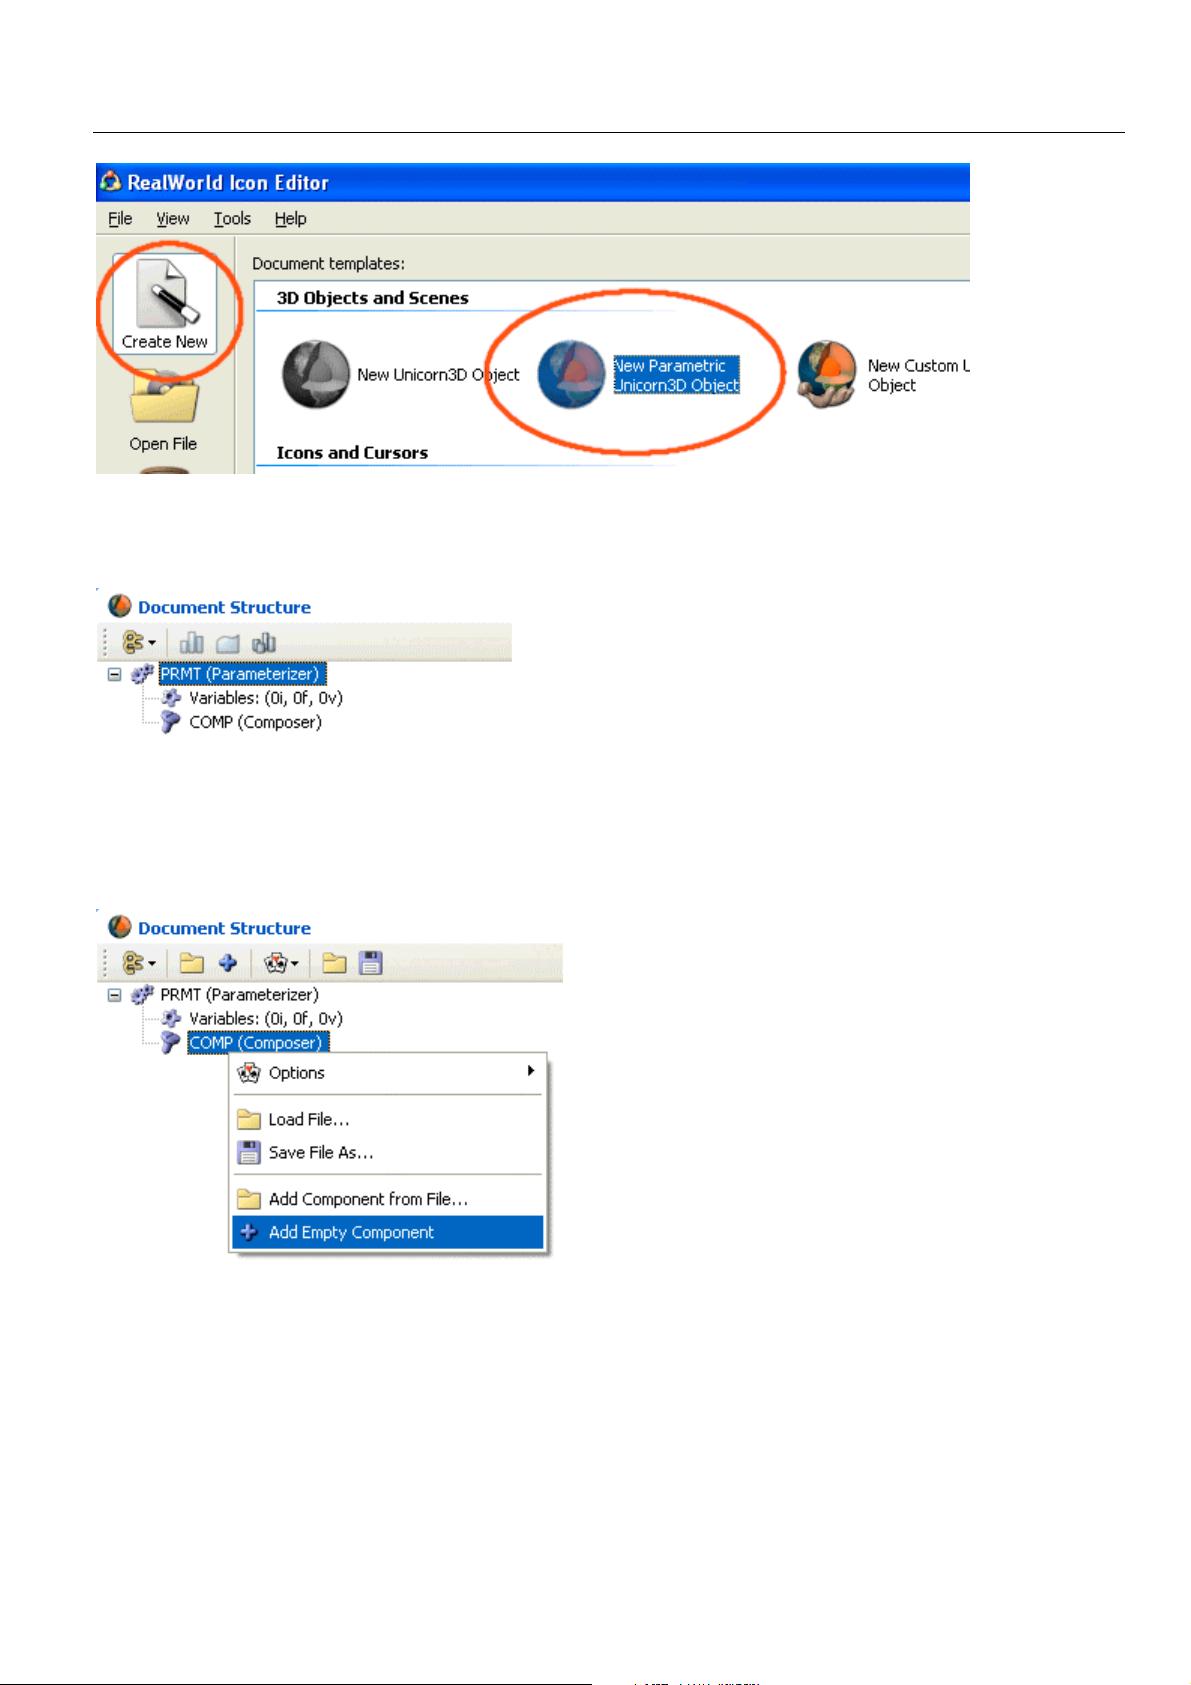
Names are arbitrary choosen, I decided to use english names to allow tutoriel be written in several languages. Start
create this base structure, begining with creation of a new Parametric Unicorn3D object project. For this, select
Create New, and double-clic on New Parametric Unicorn3D object icon.