没有合适的资源?快使用搜索试试~ 我知道了~
温馨提示
试读
14页
R系列多功能入门指南 可重配置I/O (RIO)技术结合可重配置FPGA芯片以及NI LabVIEW图形化开发工具,可让您自行定义定制测量硬件的电路。R系列多功能RIO设备将这种FPGA技术与8路模拟输入、8路模拟输出和多达96条数字I/O线集成到单个设备中,并以PCI、PCI Express、PXI/CompactPCI和USB等标准的PC外形结构提供,将性能与价值完美地结合在一起。使用LabVIEW FPGA模块,您无需深入了解硬件描述语言就可以自行开发硬件特性来实现自定义数据采集、高速控制、数字通信协议、传感器仿真和板载信号处理等功能。 新型R系列设备配备了高性能的Kintex-7 FPGA,相比上一代R系列设备,提供了更高的优化能力来更快速执行代码,同时具有更大的LabVIEW代码容量。新型Kintex-7 FPGA是USB R系列设备的理想之选。该芯片系列只需一半的功耗即提供了上一代高端FPGA的高容量和高性能。与上一代R系列设备相比,功耗的大幅降低使得每台设备的数字信号处理(DSP)能力提高了10倍。得益于逻辑和DSP资源的增多,您可以利用更广泛的信号处理和实时分析技术来实
资源推荐
资源详情
资源评论
Getting Started with R Series Multifunction RIO
This document explains how to install and configure National Instruments PCI/PXI-781xR,
PCI/PXI-783xR, PCIe/PXI-784xR, and PCIe/PXI-785xR, referred to collectively as NI 78xxR devices.
This document also contains a tutorial section that demonstrates how to begin taking a measurement
using a LabVIEW FPGA example VI.
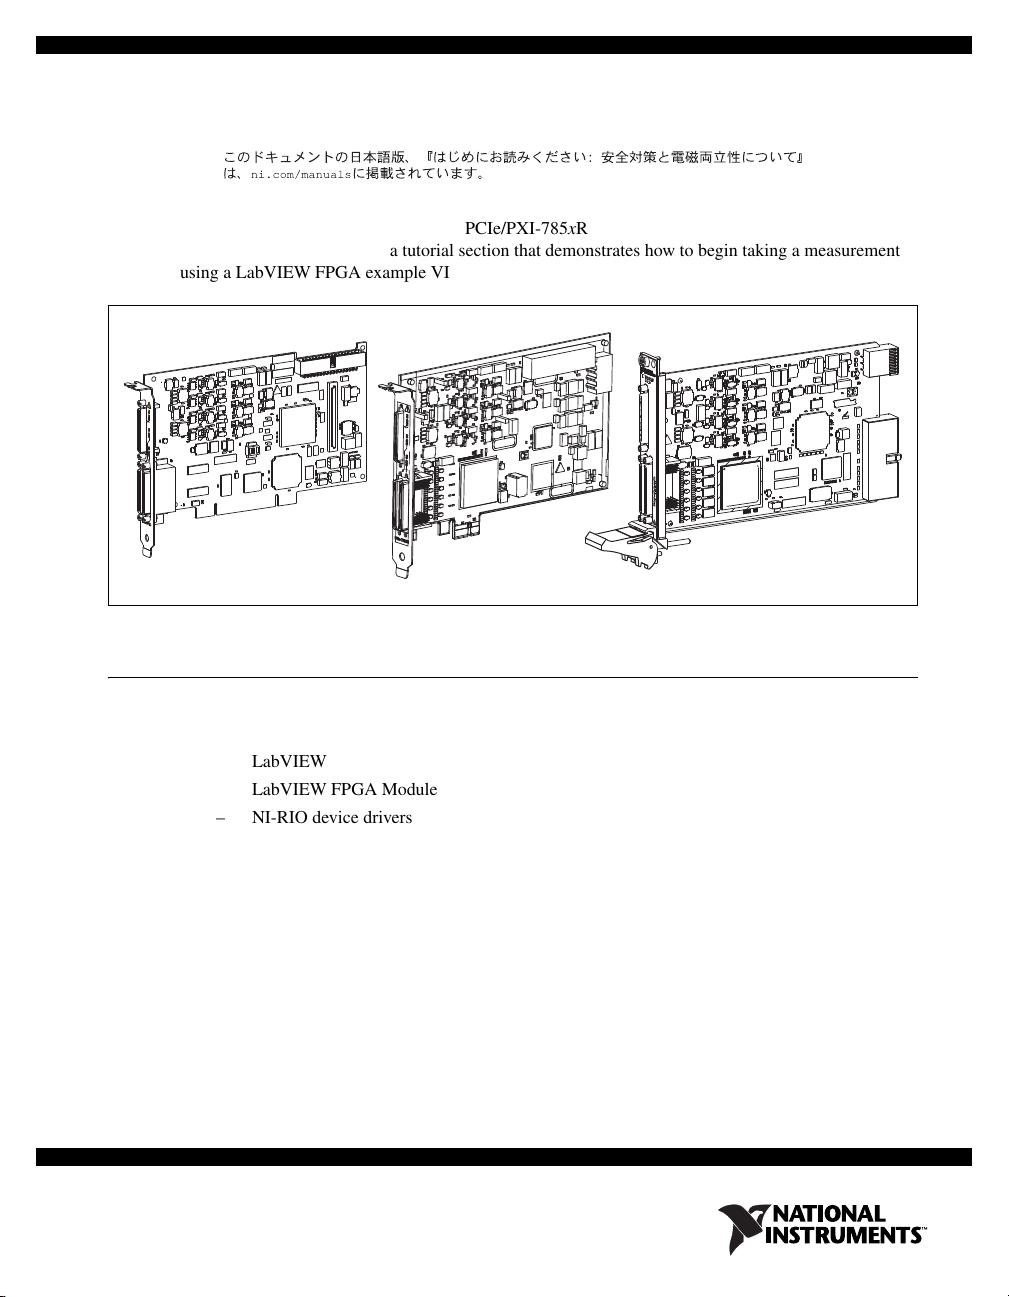
Figure 1. PCI, PCI Express, and PXI R Series Devices
NI 78xx R Required Components
The following items are necessary to set up and use the NI 78xxR:
❑ The following software packages:
–LabVIEW
– LabVIEW FPGA Module
– NI-RIO device drivers
– (Optional) LabVIEW Real-Time Module
Refer to Step 1. Install Application Software and Driver, for information on R Series software
support.
❑ Development computer or PXI/CompactPCI chassis and PXI/CompactPCI embedded controller
running Windows Vista/XP/2000.
❑ At least one cable and accessory for connecting signals to the NI 78xxR. For a list of applicable
cable and accessory options, refer to the Connectivity Options section.
Getting Started with R Series Multifunction RIO 2 ni.com
Step 1. Install Application Software and Driver
Before installing the NI 78xxR, you need to install the application software and device driver. Visit
ni.com/info and enter rdsoftwareversion to determine which minimum versions of software
you need for the device you are using.
Refer to the LabVIEW Release Notes for installation instructions for LabVIEW and system requirements
for the LabVIEW software. Refer to the LabVIEW Upgrade Notes for additional information about
upgrading to the most recent version of LabVIEW for Windows.
Refer to the LabVIEW FPGA Module Release and Upgrade Notes for installation instructions and
information on getting started with the LabVIEW FPGA Module.
Refer to the LabVIEW Real-Time Module Release and Upgrade Notes for system requirements,
installation instructions, and additional information on using the LabVIEW Real-Time Module.
Refer to the NI-RIO Readme on NI-RIO installation media for system requirements and installation
instructions for the NI-RIO driver.
The listed documents are available at
ni.com/manuals. In LabVIEW 8.0 or later, you can also view
the LabVIEW Manuals directory that contains these documents by selecting Start»All Programs»
National Instruments»LabVIEW»LabVIEW Manuals.
Step 2. Install the Device, Accessories, and Cables
This section describes how to unpack and install the NI PCI/PCIe/PXI-78xxR devices.
Note You must install NI-RIO device driver software before installing the NI 78xxR.
Unpacking
The NI 78xxR is shipped in an antistatic package to prevent electrostatic discharge from damaging
device components. To prevent such damage when handling the device, take the following precautions:
• Ground yourself using a grounding strap or by holding a grounded object, such as your computer
chassis.
• Touch the antistatic package to a metal part of the computer chassis before removing the device
from the package.
Caution Never touch the exposed pins of connectors.
Remove the device from the package and inspect the devices for loose components or any other sign of
damage. Notify NI if the device appears damaged in any way. Do not install a damaged device into the
computer.
Store the NI 78xxR in the antistatic envelope when not in use.
© National Instruments Corporation 3 Getting Started with R Series Multifunction RIO
Installing the NI 78xx R
You can install the NI PCI/PCIe-78xxR in any available PCI/PCI Express expansion slot in the computer,
and the NI PXI-78xxR in any available peripheral slot in the PXI or CompactPCI chassis. To achieve the
best noise performance, leave as much room as possible between the NI PCI/PCIe-78xxR and other
boards.
Note You must install the software before installing the hardware. For software installation
information, refer to Step 1. Install Application Software and Driver.
1. Power off and unplug the computer or PXI chassis.
Caution Refer to the Read Me First: Safety and Electromagnetic Compatibility document packaged
with your PXI chassis or device before removing equipment covers or connecting or disconnecting
any signal wires.
2. Remove the computer cover and/or the expansion slot cover on the computer, or the filler panel of
an unused PXI slot on the PXI chassis.
3. Touch any metal part of the computer or chassis to discharge any static electricity.
4. For the NI PCI/PCIe-78xxR, insert the device into the applicable PCI/PCI Express system slot on
your computer. Gently rock the device into place. Do not force the device into place. For the
NI PXI-78xxR, insert the device into the PXI slot. Use the injector/ejector handle to fully inject the
NI PXI-78xxR into place.
Figure 2. Installing an NI PCI/PCIe-78xxR Device
1 NI PCI/PCIe-78xxR Device 2 PCI/PCI Express System Slot 3 PC with PCI/PCI Express Slot
3
1
2
剩余13页未读,继续阅读
资源评论
LabVIEW开发
- 粉丝: 3613
- 资源: 131
上传资源 快速赚钱
- 我的内容管理 展开
- 我的资源 快来上传第一个资源
- 我的收益 登录查看自己的收益
- 我的积分 登录查看自己的积分
- 我的C币 登录后查看C币余额
- 我的收藏
- 我的下载
- 下载帮助
安全验证
文档复制为VIP权益,开通VIP直接复制
信息提交成功