How To Make A Game In Unity3D
需积分: 10 37 浏览量
2010-07-10
16:46:37
上传
评论
收藏 1.28MB PDF 举报

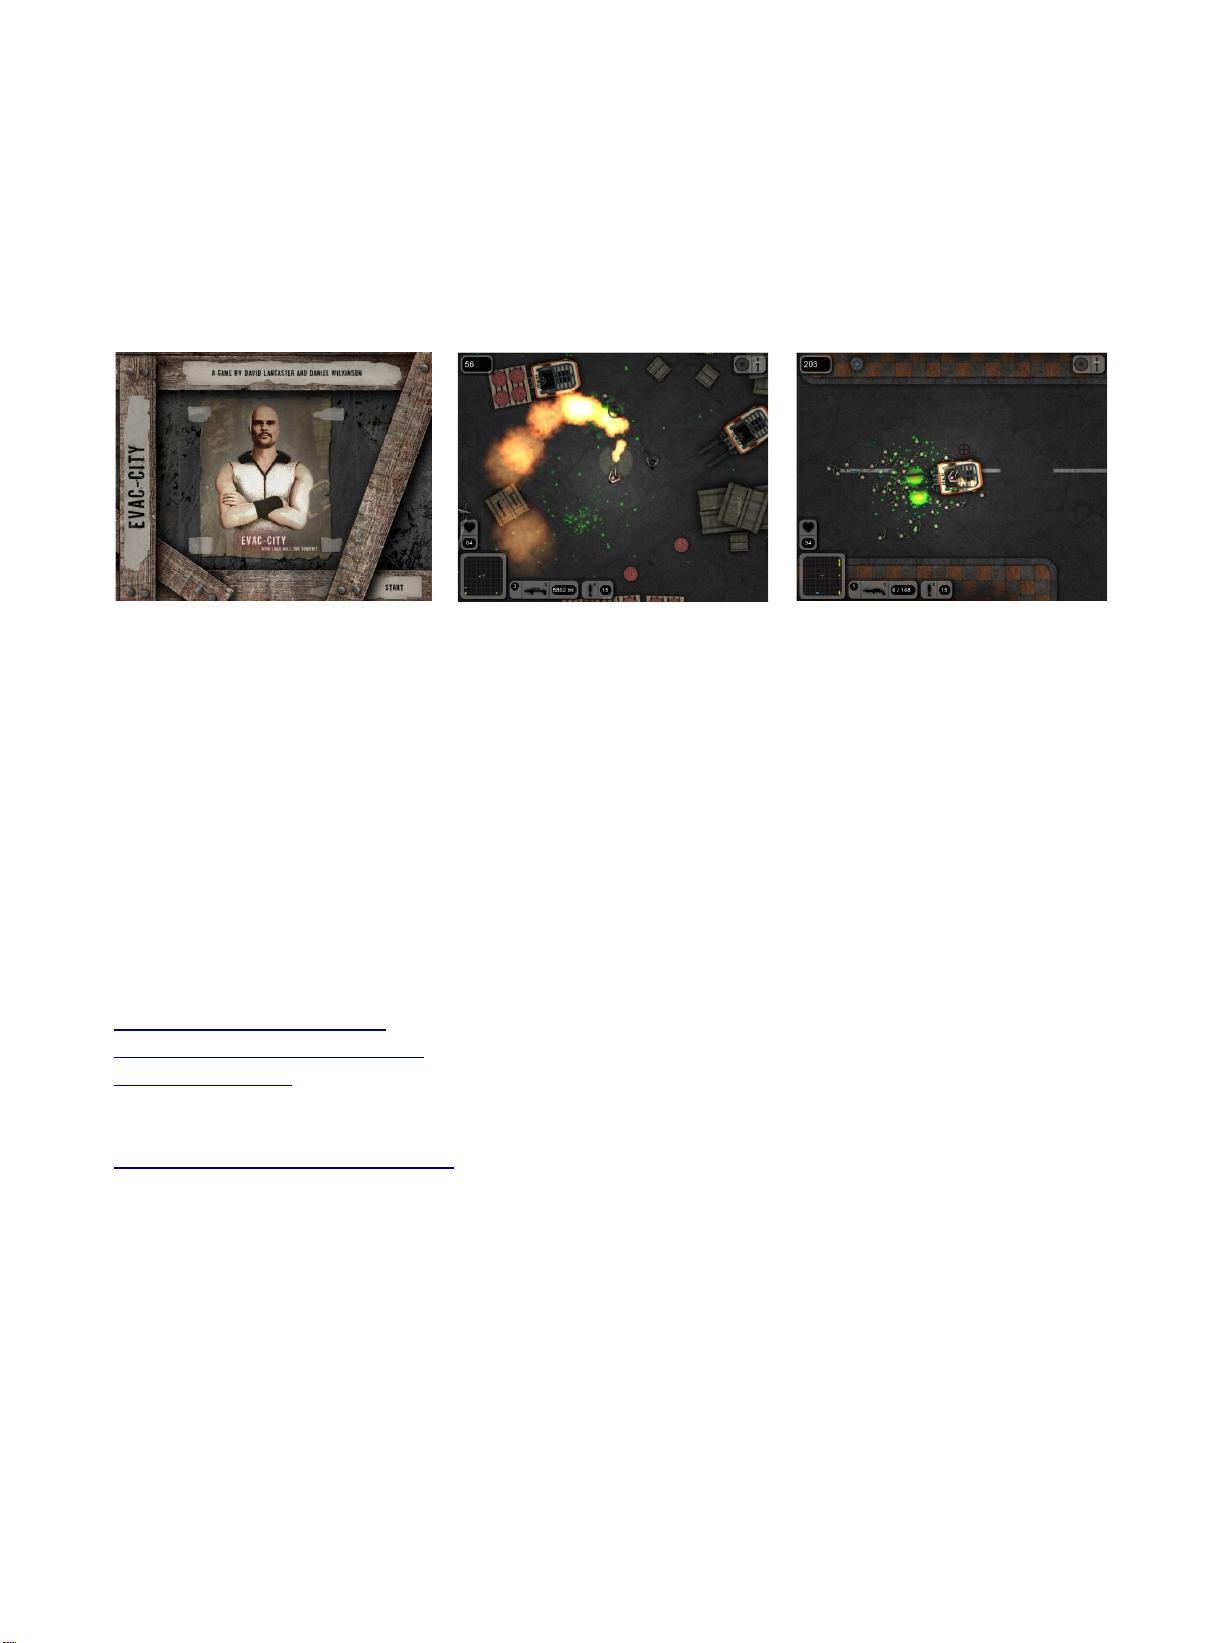
EVAC-CITY
A starters guide to making a game like EVAC-CITY
Index
Introduction................................................................................................................................................3
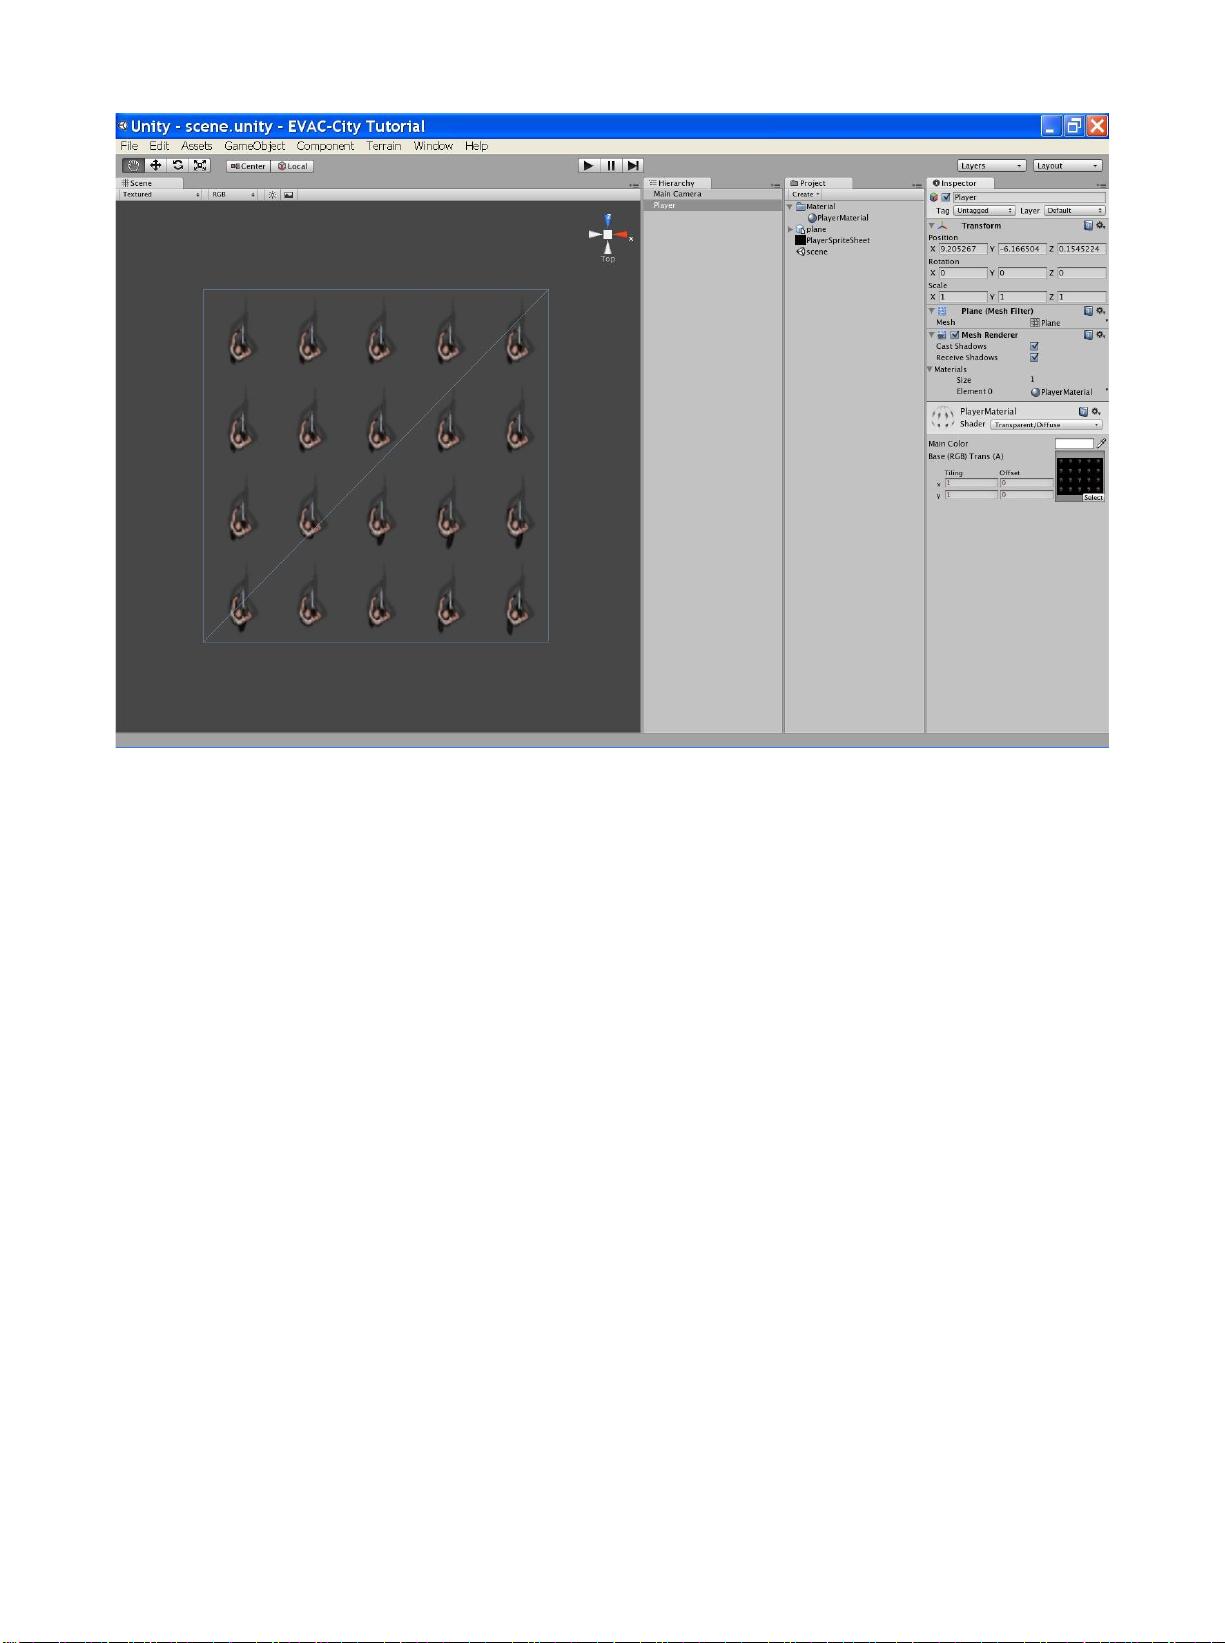
Programming - Character Movement.........................................................................................................4
Programming - Character Animation.......................................................................................................13
Programming - Enemy AI........................................................................................................................18
Programming - Projectiles.......................................................................................................................22
Programming - Particle Effects and Damage...........................................................................................27
Programming - Additional Development.................................................................................................36
Level Design - Object Placement.............................................................................................................39
Level Design - Game Design...................................................................................................................44
Download tutorial resources
Download the Example Projects
Play EVAC-CITY
By David Lancaster
http://www.youtube.com/Daveriser
Page 1 of 44


剩余43页未读,继续阅读
资源评论


agileheart
- 粉丝: 1
- 资源: 1


最新资源
- 基于springboot+layui的医院日常耗材管理系统.zip
- 计算机毕业设计-ASP.NET教育报表管理系统-权限管理模块(源代码+)-毕设源码实例.zip
- 计算机毕业设计-ASP.NET教务信息管理系统的设计与实现(源代码+)-毕设源码实例.zip
- Eleven的精益供应链管理-碓胤咨询龚胤全.rar
- 5套光伏、储能、充电收益测算表.zip
- C2 供应链集成演示平台操作手册(详细版).rar
- 3套光储充一体化站CAD+PDF图纸.zip
- Screenshot_20240426_195831_com.huawei.android.launcher.jpg
- 2000-2023年各省专利侵权结案数据.xlsx
- C#使用NPOI操作合并单元格
资源上传下载、课程学习等过程中有任何疑问或建议,欢迎提出宝贵意见哦~我们会及时处理!
点击此处反馈


