


MODEL SR830
DSP Lock-In Amplifier
1290-D Reamwood Avenue
Sunnyvale, California 94089
Phone: (408) 744-9040 • Fax: (408) 744-9049
email: info@thinkSRS.com • www.thinkSRS.com
Copyright © 1993, 2011 by SRS, Inc.
All Rights Reserved.
Revision 2.5 (10/2011)
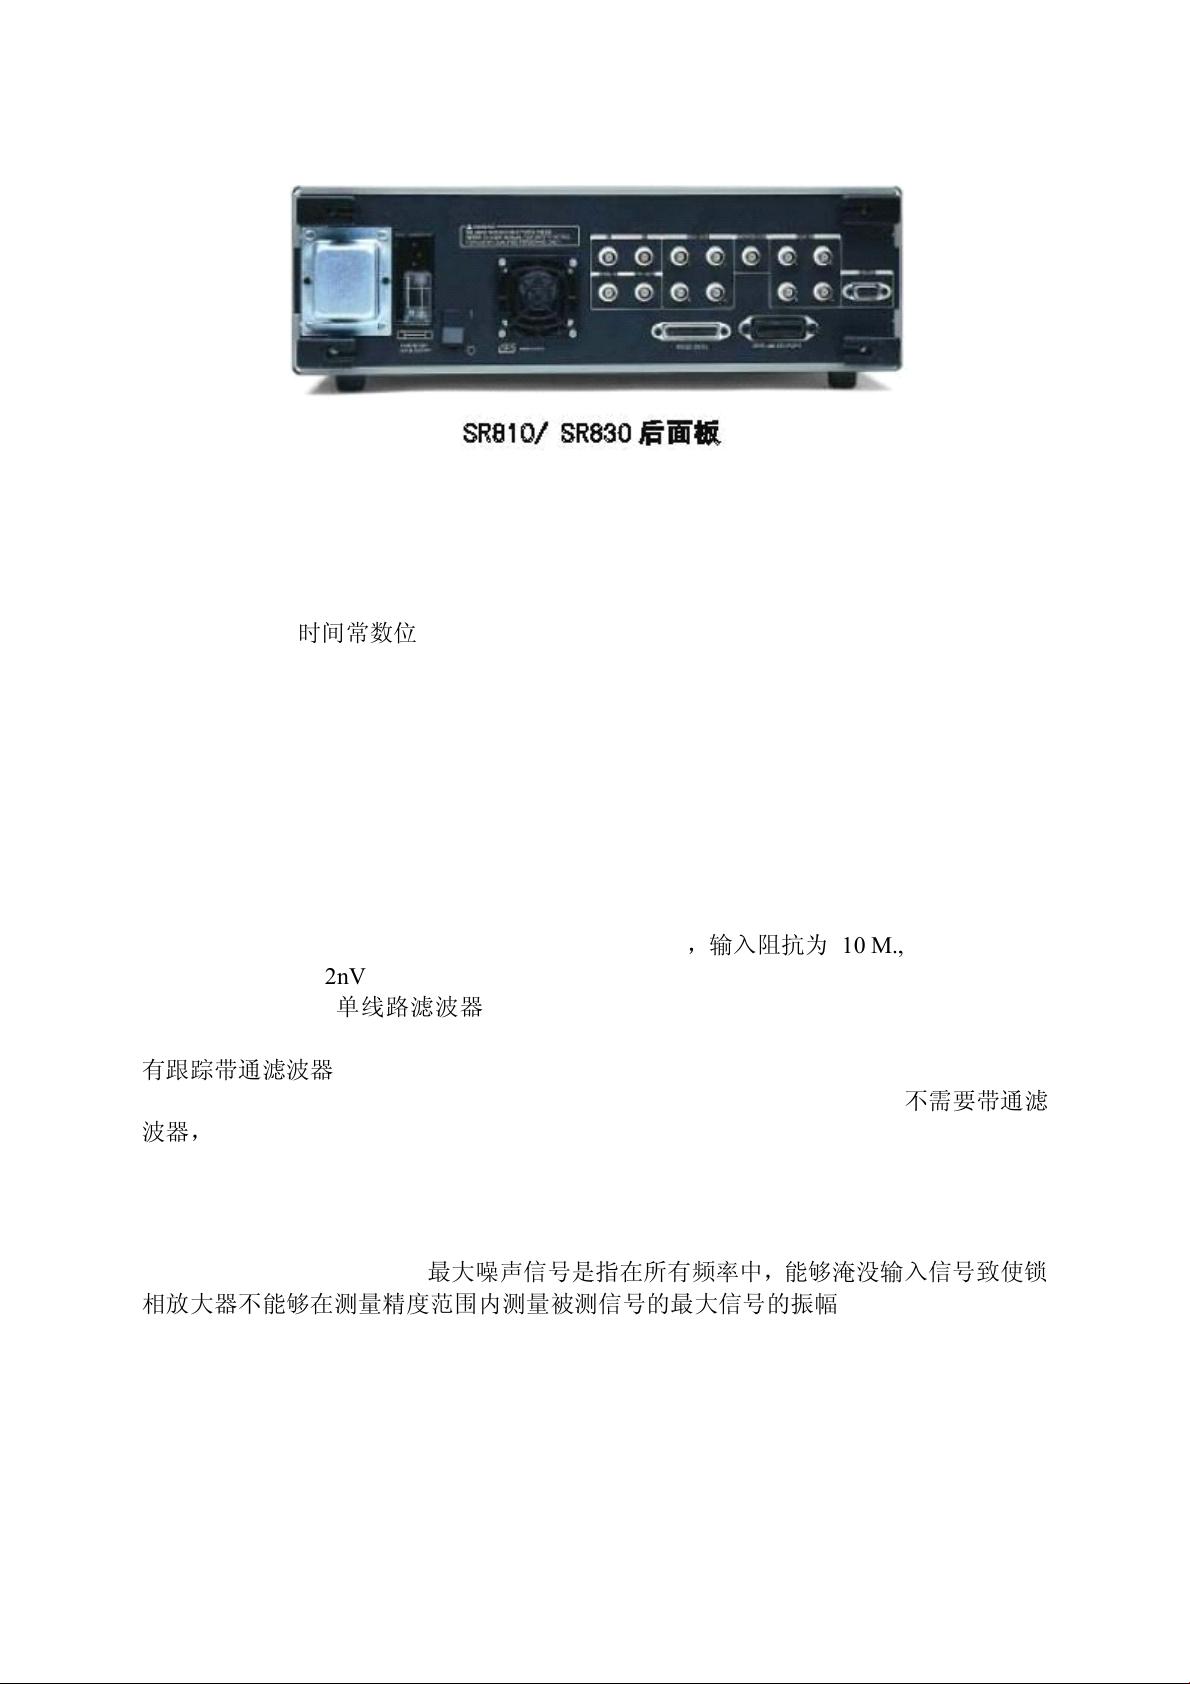

TABLE OF CONTENTS
1-1
GENERAL INFORMATION
Safety and Preparation for Use 1-3
Specifications 1-5
Abridged Command List 1-7
GETTING STARTED
Your First Measurements 2-1
The Basic Lock-in 2-3
X, Y, R and q 2-7
Outputs, Offsets and Expands 2-9
Storing and Recalling Setups 2-13
Aux Outputs and Inputs 2-15
SR830 BASICS
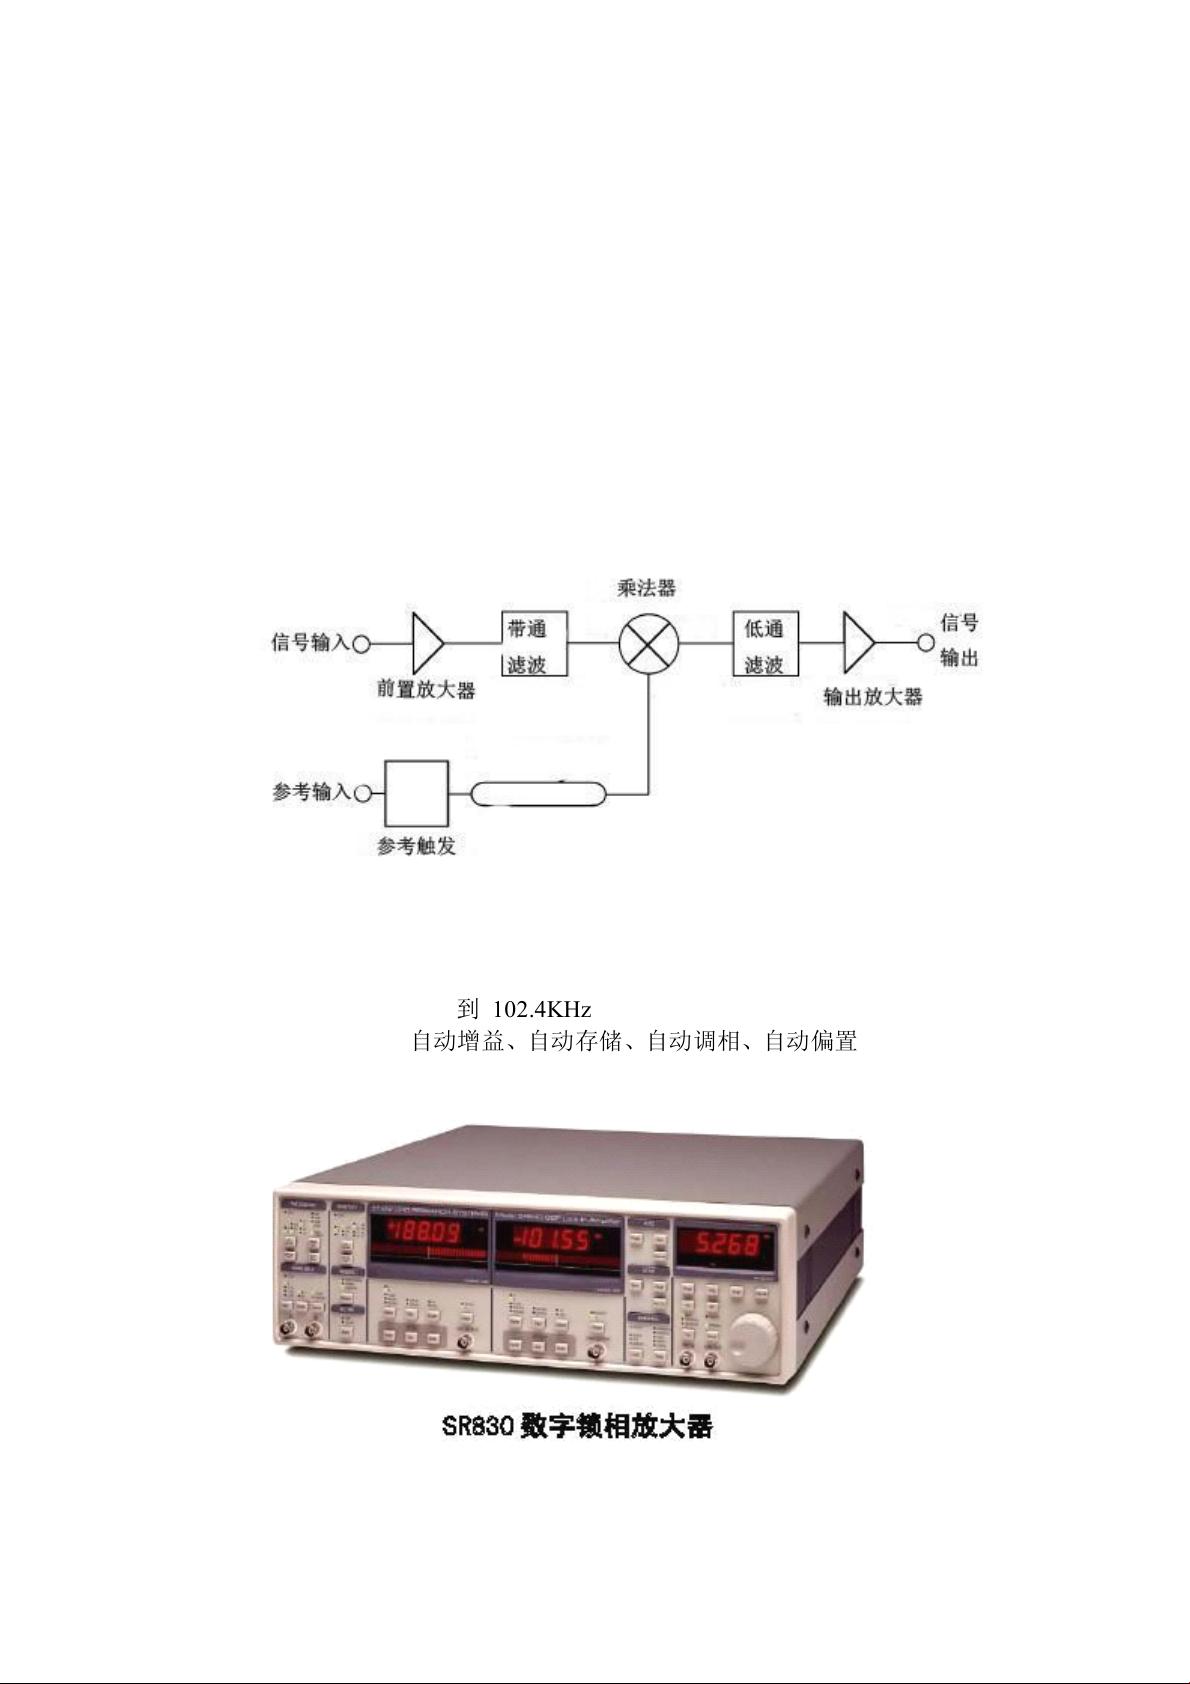
What is a Lock-in Amplifier? 3-1
What Does a Lock-in Measure? 3-3
The SR830 Functional Diagram 3-5
Reference Channel 3-7
Phase Sensitive Detectors 3-9
Time Constants and DC Gain 3-11
DC Outputs and Scaling 3-13
Dynamic Reserve 3-15
Signal Input Amplifier and Filters 3-17
Input Connections 3-19
Intrinsic (Random) Noise Sources 3-21
External Noise Sources 3-23
Noise Measurements 3-25
OPERATION
Power On/Off and Power On Tests 4-1
Reset 4-1
[Keys] 4-1
Spin Knob 4-1
Front Panel BNC Connectors 4-2
Key Click On/Off 4-2
Front Panel Display Test 4-2
Display Off Operation 4-2
Keypad Test 4-3
Standard Settings 4-4
FRONT PANEL
Signal Input and Filters 4-5
Sensitivity, Reserve, Time
Constants 4-7
CH1 Display and Output 4-12
CH2 Display and Output 4-15
Reference 4-18
Auto Functions 4-21
Setup 4-23
Interface 4-24
Warning Messages 4-26
REAR PANEL
Power Entry Module 4-27
IEEE-488 Connector 4-27
RS232 Connector 4-27
Aux Inputs (A/D Inputs) 4-27
Aux Outputs (D/A Outputs) 4-27
X and Y Outputs 4-27
Signal Monitor Output 4-28
Trigger Input 4-28
TTL Sync Output 4-28
Preamp Connector 4-28
Using SRS Preamps 4-29
PROGRAMMING
GPIB Communications 5-1
RS232 Communications 5-1
Status Indicators and Queues 5-1
Command Syntax 5-1
Interface Ready and Status 5-2
GET (Group Execute Trigger) 5-2
DETAILED COMMAND LIST 5-3
Reference and Phase 5-4
Input and Filter 5-5
Gain and Time Constant 5-6
Display and Output 5-8
Aux Input and Output 5-9
Setup 5-10
Auto Functions 5-11
Data Storage 5-12
Data Transfer 5-15
Interface 5-19
Status Reporting 5-20
STATUS BYTE DEFINITIONS
Serial Poll Status Byte 5-21
Service Requests 5-22
Standard Event Status Byte 5-22
LIA Status Byte 5-23
Error Status Byte 5-23
PROGRAM EXAMPLES
Microsoft C, Nationall Instr GPIB 5-25
USING SR530 PROGRAMS 5-31
TESTING
Introduction 6-1
Preset 6-1
Serial Number 6-1
Firmware Revision 6-1
Test Record 6-1
If A Test Fails 6-1
Necessary Equipment 6-1

TABLE OF CONTENTS
1-2
Front Panel Display Test 6-2
Keypad Test 6-2
PERFORMANCE TESTS
Self Tests 6-3
DC Offset 6-5
Common Mode Rejection 6-7
Amplitude Accuracy and Flatness 6-9
Amplitude Linearity 6-11
Frequency Accuracy 6-13
Phase Accuracy 6-15
Sine Output Amplitude 6-17
DC Outputs and Inputs 6-19
Input Noise 6-21
Performance Test Record 6-23
CIRCUITRY
Circuit Boards 7-1
CPU and Power Supply Board 7-3
DSP Logic Board 7-5
Analog Input Board 7-7
PARTS LISTS
DSP Logic Board 7-9
Analog Input Board 7-16
CPU and Power Supply Board 7-22
Front Panel Display Boards 7-26
Miscellaneous 7-33
SCHEMATIC DIAGRAMS
CPU and Power Supply Board
Display Board
Keypad Board
DSP Logic Board
Analog Input Board

1-3
SAFETY AND PREPARATION FOR USE
WARNING
Dangerous voltages, capable of causing injury or death, are present in this instrument. Use extreme
caution whenever the instrument covers are removed. Do not remove the covers while the unit is
plugged into a live outlet.
CAUTION
This instrument may be damaged if operated
with the LINE VOLTAGE SELECTOR set for the
wrong AC line voltage or if the wrong fuse is
installed.
LINE VOLTAGE SELECTION
The SR830 operates from a 100V, 120V, 220V,
or 240V nominal AC power source having a line
frequency of 50 or 60 Hz. Before connecting the
power cord to a power source, verify that the
LINE VOLTAGE SELECTOR card, located in the
rear panel fuse holder, is set so that the correct
AC input voltage value is visible.
Conversion to other AC input voltages requires a
change in the fuse holder voltage card position
and fuse value. Disconnect the power cord, open
the fuse holder cover door and rotate the fuse-
pull lever to remove the fuse. Remove the small
printed circuit board and select the operating
voltage by orienting the printed circuit board so
that the desired voltage is visible when pushed
firmly into its slot. Rotate the fuse-pull lever back
into its normal position and insert the correct
fuse into the fuse holder.
LINE FUSE
Verify that the correct line fuse is installed before
connecting the line cord. For 100V/120V, use a 1
Amp fuse and for 220V/240V, use a 1/2 Amp
fuse.
LINE CORD
The SR830 has a detachable, three-wire power
cord for connection to the power source and to a
protective ground. The exposed metal parts of
the instrument are connected to the outlet
ground to protect against electrical shock.
Always use an outlet which has a properly
connected protective ground.
SERVICE
Do not attempt to service or adjust this instrument
unless another person, capable of providing first aid
or resuscitation, is present.
Do not install substitute parts or perform any
unauthorized modifications to this instrument.
Contact the factory for instructions on how to return
the instrument for authorized service and
adjustment.
FURNISHED Accessories
- Power Cord
- Operating Manual
ENVIRONMENTAL CONDITIONS
OPERATING
Temperature: +10 °C to + 40 °C
(Specifications apply over + 18 °C to +28 °C)
Relative Humidity: <90 % Non-condensing
NON-OPERATING
Temperature: -25 °C to 65 °C
Humidity: <95 % Non-condensing
WARNING REGARDING USE WITH
PHOTOMULTIPLIERS AND OTHER DETECTORS
The front end amplifier of this instrument is easily
damaged if a photomultiplier is used improperly with
the amplifier. When left completely unterminated, a
cable connected to a PMT can charge to several
hundred volts in a relatively short time. If this cable is
connected to the inputs of the SR830 the stored
charge may damage the front-end op amps. To
avoid this problem, always discharge the cable and
connect the PMT output to the SR830 input before
turning the PMT on.


