python打包生成so文件的实现
194 浏览量
2021-01-19
23:36:47
上传
评论
收藏 297KB PDF 举报

python打包生成打包生成so文件的实现文件的实现
1.安装工具安装工具
python3 安装:cython
pip3 install cython -i http://mirrors.aliyun.com/pypi/simple/
pip国内的一些镜像国内的一些镜像
阿里云 http://mirrors.aliyun.com/pypi/simple/
中国科技大学 https://pypi.mirrors.ustc.edu.cn/simple/
豆瓣(douban) http://pypi.douban.com/simple/
清华大学 https://pypi.tuna.tsinghua.edu.cn/simple/
中国科学技术大学 http://pypi.mirrors.ustc.edu.cn/simple/
linux 安装:python-devel,gcc
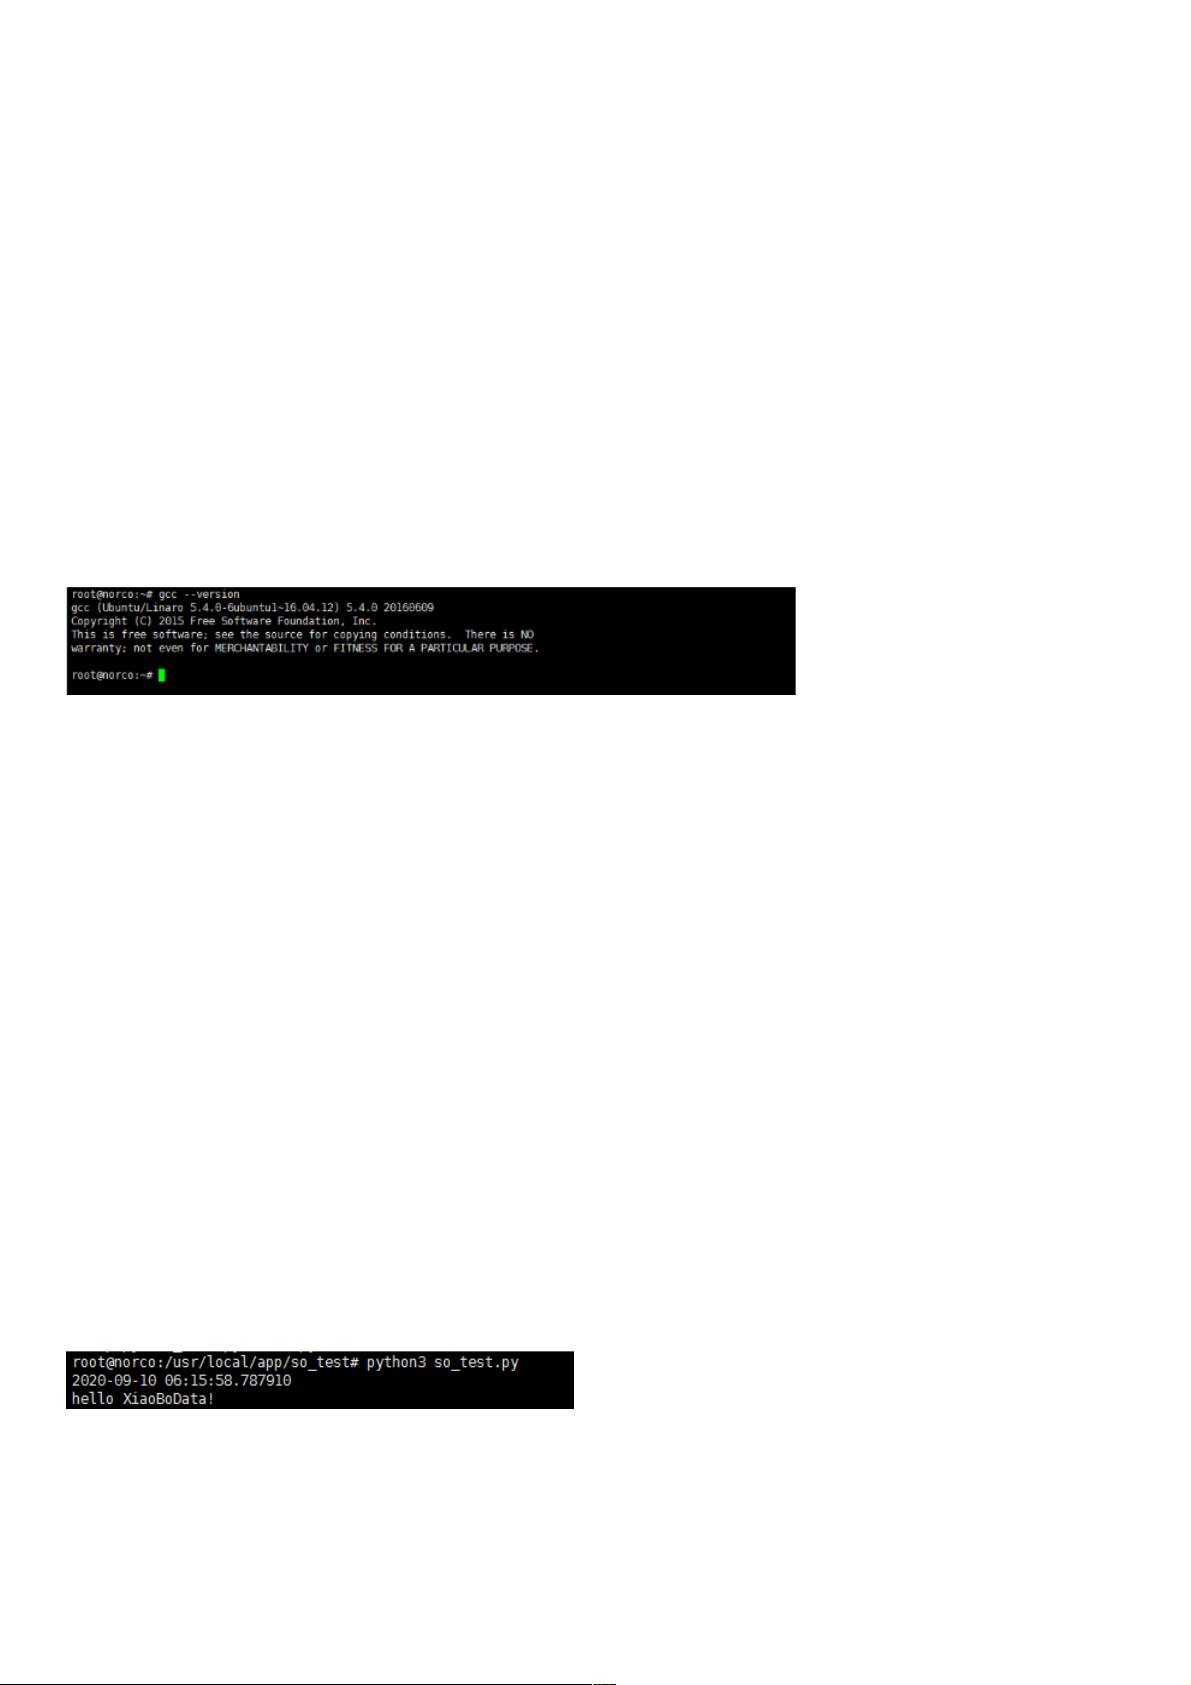
查看gcc版本信息,有的话就不用安装了
gcc --version
没有自行安装对应服务器版本环境的gcc编译安装python-devel
pip3 install python-devel -i http://mirrors.aliyun.com/pypi/simple/
2. Linux下的下的.so文件(测试用例)文件(测试用例)
创建一个测试文件夹
mkdir so_test
so_test文件夹下创建要封装的文件test.py
import datetime
class DataCenter():
def gettime(self):
print(datetime.datetime.now())
def write_data(self):
print("hello XiaoBoData!")
so_test文件夹下创建调用文件 so_test.py
from test import DataCenter
data = DataCenter()
data.gettime()
data.write_data()
首先运行so_test保证代码可以运行成功,之后在做so封装
so_test文件夹下创建打包文件 setup.py
from test import DataCenter
data = DataCenter()
data.gettime()
data.write_data()
最终文件夹下如下:
资源评论


