Qt Quick编程之Qt Quick元素布局,适合Qt初学者
需积分: 5 97 浏览量
2024-05-13
09:35:51
上传
评论
收藏 576KB PDF 举报


Qt Quick 编程之 Qt Quick 元素布局
在 Qt Quick 中有两套与元素布局相关的类库,一套叫作 Item Positioner(定位器),
一套叫作 Item Layout(布局)。其实我们前面还讲了一个锚布局,它通过 Item 的
anchors 属性实现,是 Qt Quick 中非常灵活的一种布局方式。
定位器包括 Row(行定位器)、Column(列定位器)、Grid(表格定位器)、Flow
(流式定位器)。
布 局 管 理 器 包 括 行 布 局 (RowLayout)、 列 布 局 (ColumnLayout)、
表 格 布 局(GridLayout)。
我们先讲定位器,然后再讲布局管理器。
1 定位器
定位器是一种容器元素,专门用来管理界面中的其他元素,与传统的 Qt Widgets
中的布局管理器类似。使用定位器,你可以很方便地把众多的元素组织在一起,
形成非常规则的界面效果。不过有一点要注意的是,定位器不会改变它管理的元
素的大小,即便用户调整了界面尺寸,它也坚持不干涉孩子们的尺寸。这可能与
你的期望不同,也与你使用 Qt Widgets 中的布局管理器的经验不同,不过如果你
希望使用“自动根据界面尺寸变化调整孩子们的尺寸”这种特性,可以使用 Qt
Quick 中的布局管理器,它们的行为与你的经验和期望完全一致。
常用的定位器元素有下列几种:
● Row
● Column
● Grid
● Flow
咱们一一来看。
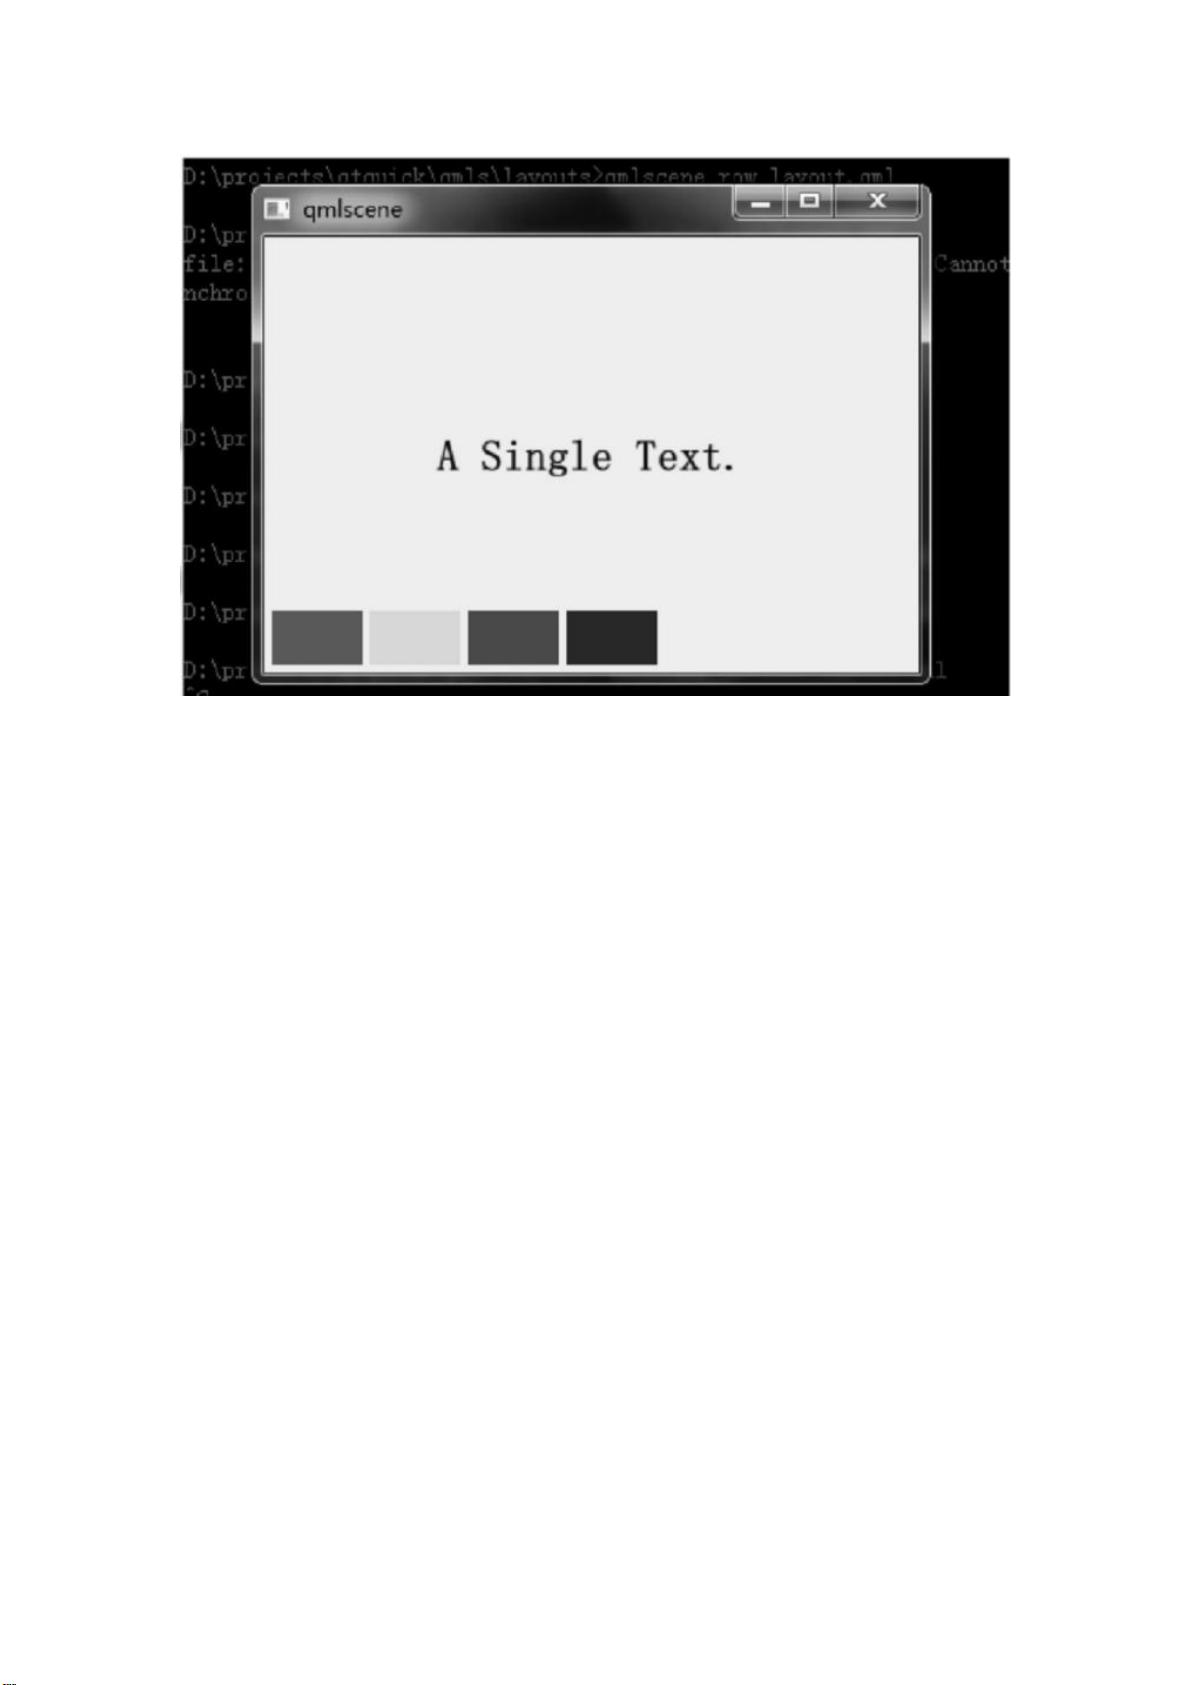
1.1 Row
Row 沿着一行安置它的孩子们,在你需要水平放置一系列的 Item 时,它比锚布
局更加方便。一旦你把一个 Item 交给 Row 来管理,那就不要再使用 Item 的 x、


剩余30页未读,继续阅读
资源评论


