
Shutting down the node
To shut down the impaired node, you must determine the status of the node and, if necessary, take over the node so that the
healthy node continues to serve data from the impaired node storage.
Before you begin
• If you have a cluster with more than two nodes, it must be in quorum. If the cluster is not in quorum or a healthy node shows
false for eligibility and health, you must correct the issue before shutting down the impaired node.
ONTAP 9 System Administration Reference
• If you are using NetApp Storage Encryption, you must have reset the MSID using the instructions in the “Returning SEDs to
unprotected mode” section of the
ONTAP 9 NetApp Encryption Power Guide
.
ONTAP 9 NetApp Encryption Power Guide
• If you have a SAN system, you must have checked event messages (event log show) for impaired node SCSI blade.
Each SCSI-blade process should be in quorum with the other nodes in the cluster. Any issues must be resolved before you
proceed with the replacement.
Steps
1. If the impaired node is part of an HA pair, disable automatic giveback from the console of the healthy node:
storage failover modify -node local -auto-giveback false
2. Take the impaired node to the LOADER prompt:
If the impaired node is displaying... Then...
The LOADER prompt Go to the next step.
Waiting for giveback... Press Ctrl-C, and then respond y when prompted.
System prompt or password prompt Take over or halt the impaired node:
• For a stand-alone system:
system node halt impaired_node_name
3. If the system has only one controller module in the chassis, turn off the power supplies, and then unplug the impaired node's
power cords from the power source.
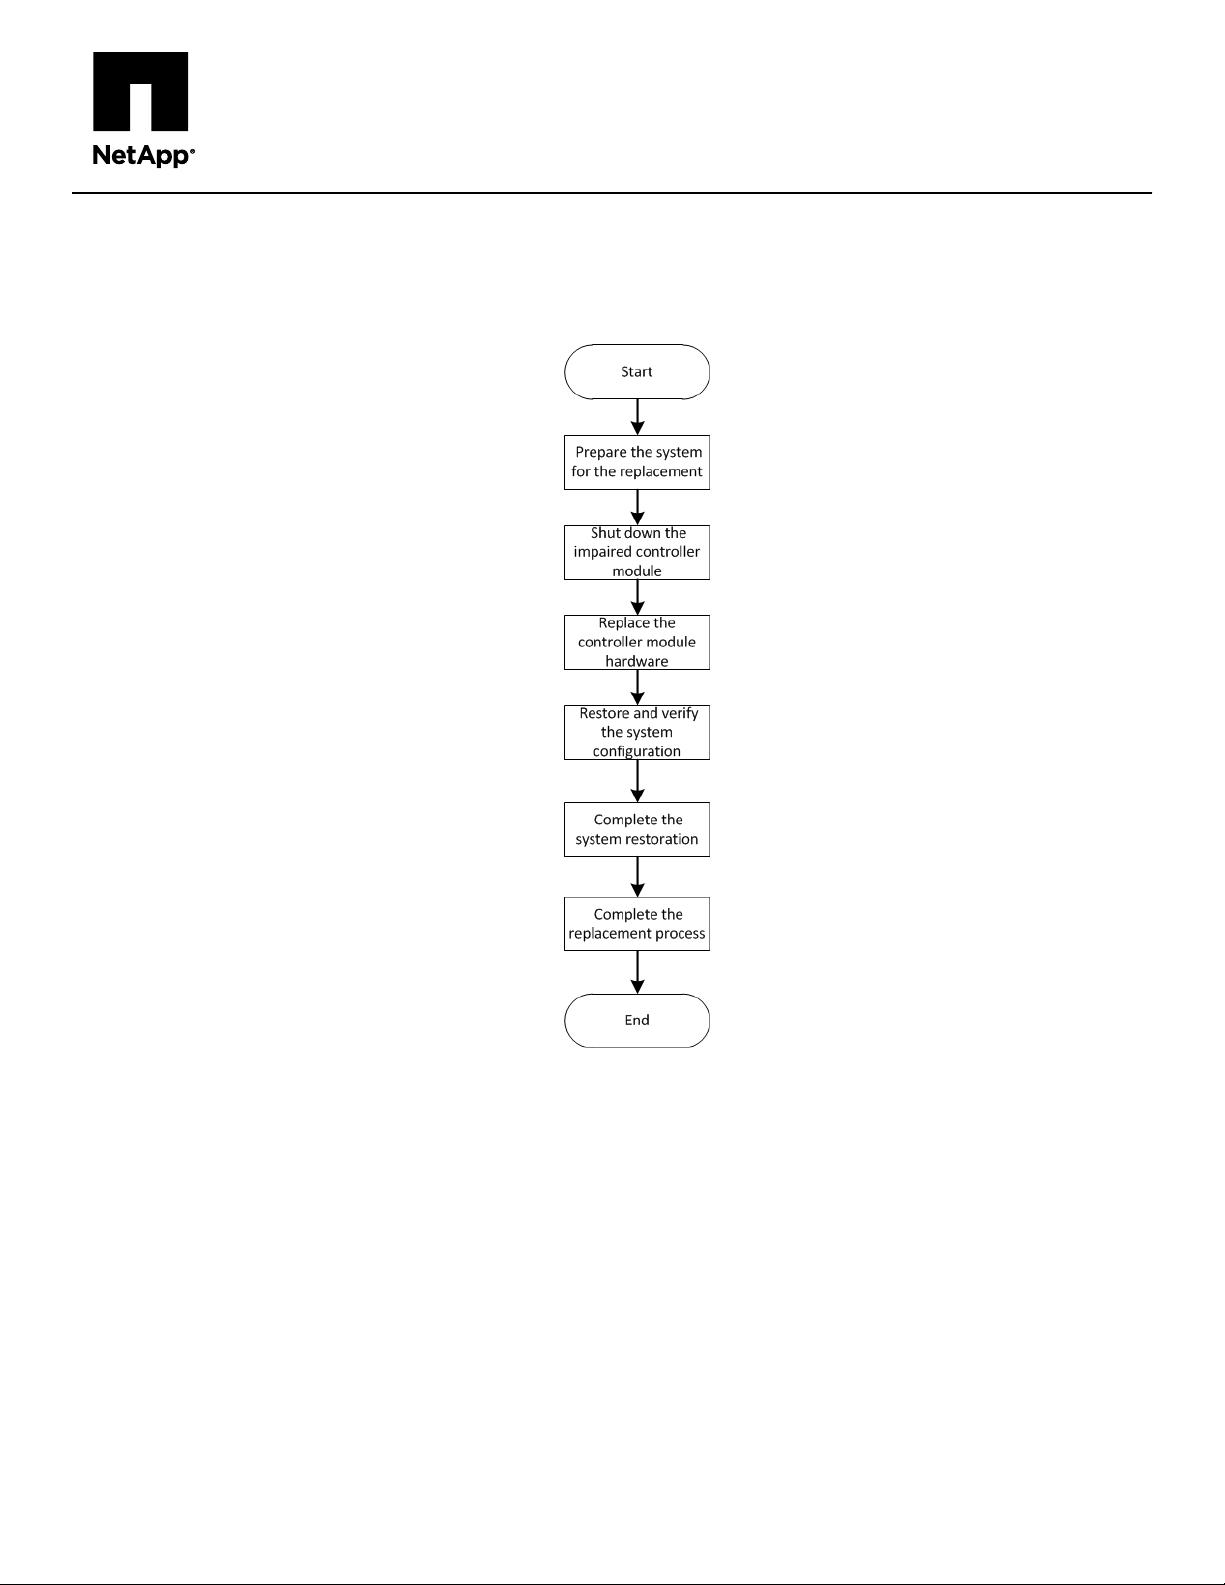
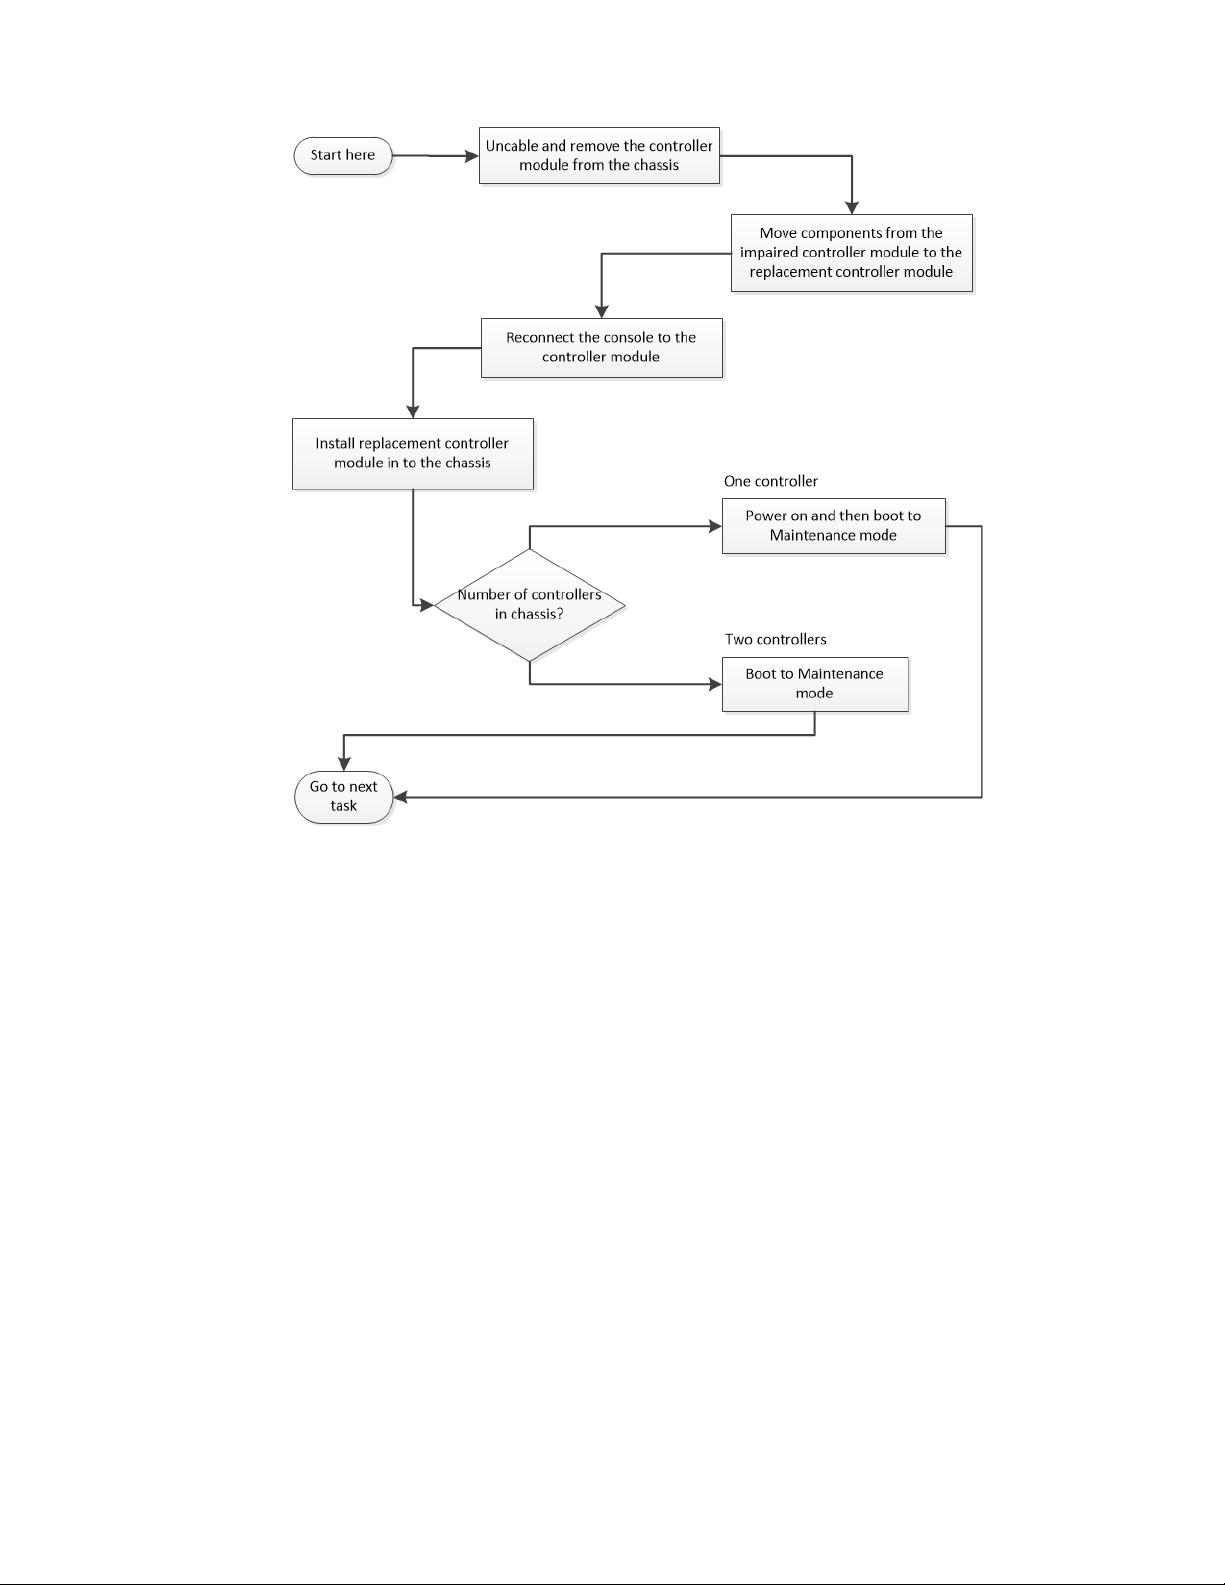
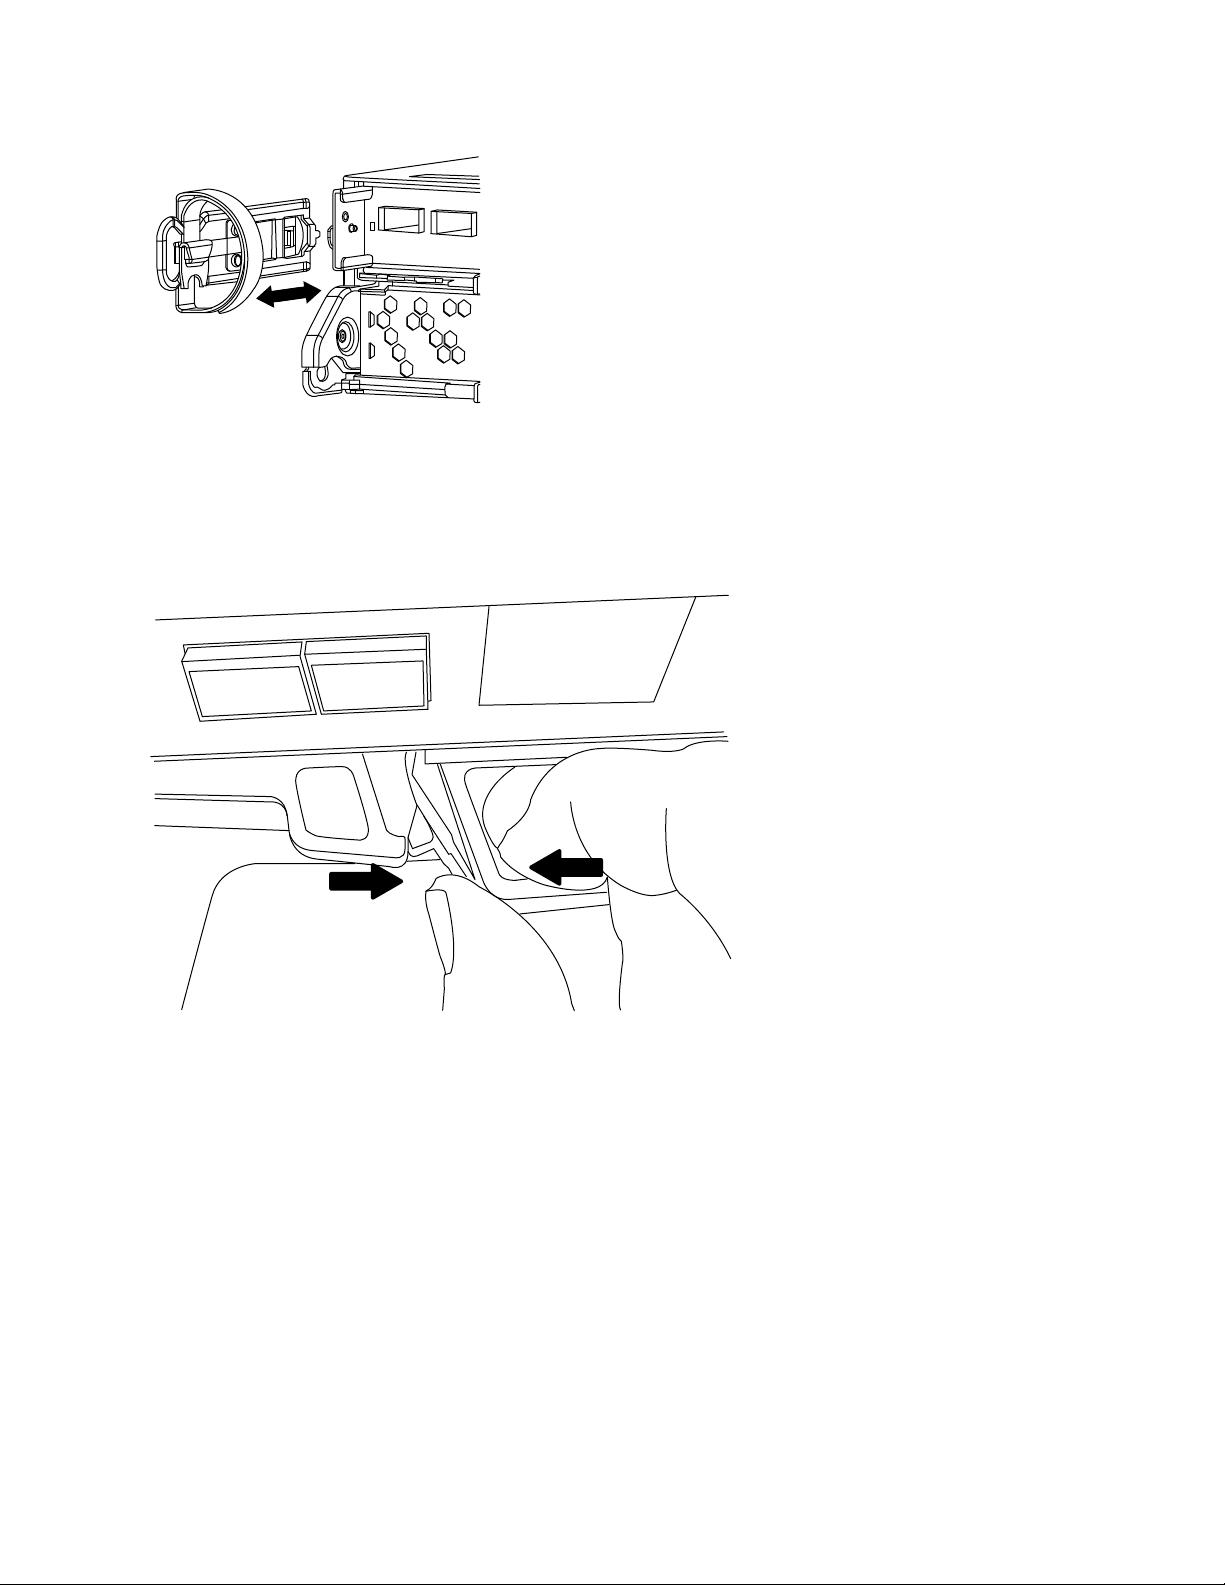
Replacing the controller module hardware
To replace the controller module hardware, you must remove the impaired node, move FRU components to the replacement
controller module, install the replacement controller module in the chassis, and then boot the system to Maintenance mode.
Replacing the controller module hardware
3


评论0