没有合适的资源?快使用搜索试试~ 我知道了~
PSS-3203编程手册
资源推荐
资源详情
资源评论
PST & PSS & PSH SERIES PROGRAMMABLE POWER SUPPLY
PROGRAMMER MANUAL
⎯ i ⎯
CONTENTS PAGE
1. INTRODUCTION.............................................................................
1
2. CONNECTING POWER SUPPLY VIA GPIB INTERFACE..
1
3. CONNECTING POWER SUPPLY VIA RS232 INTERFACE 4
4.
INPUT AND OUTPUT QUEUE………………………………..
7
5. COMMANDS AND SYNTAX…………………………………. 7
6. DETAILS OF COMMAND REFERENCE…………………… 19
7. STATUS AND ERROR REPORTING………………………....
38
PST & PSS & PSH SERIES PROGRAMMABLE POWER SUPPLY
PROGRAMMER MANUAL
⎯ ii ⎯
PST & PSS & PSH SERIES PROGRAMMABLE POWER SUPPLY
PROGRAMMER MANUAL
⎯ 1 ⎯
1. INTRODUCTION
In the modern automatic measurement system, communication
between equipments and computers is essential. The measured
procedures can be varied with users’ testing programs, therefore, the
programmable power supply can be operated remotely from an
instrument controller or computer across the RS232 interface (optional)
or GPIB (optional).
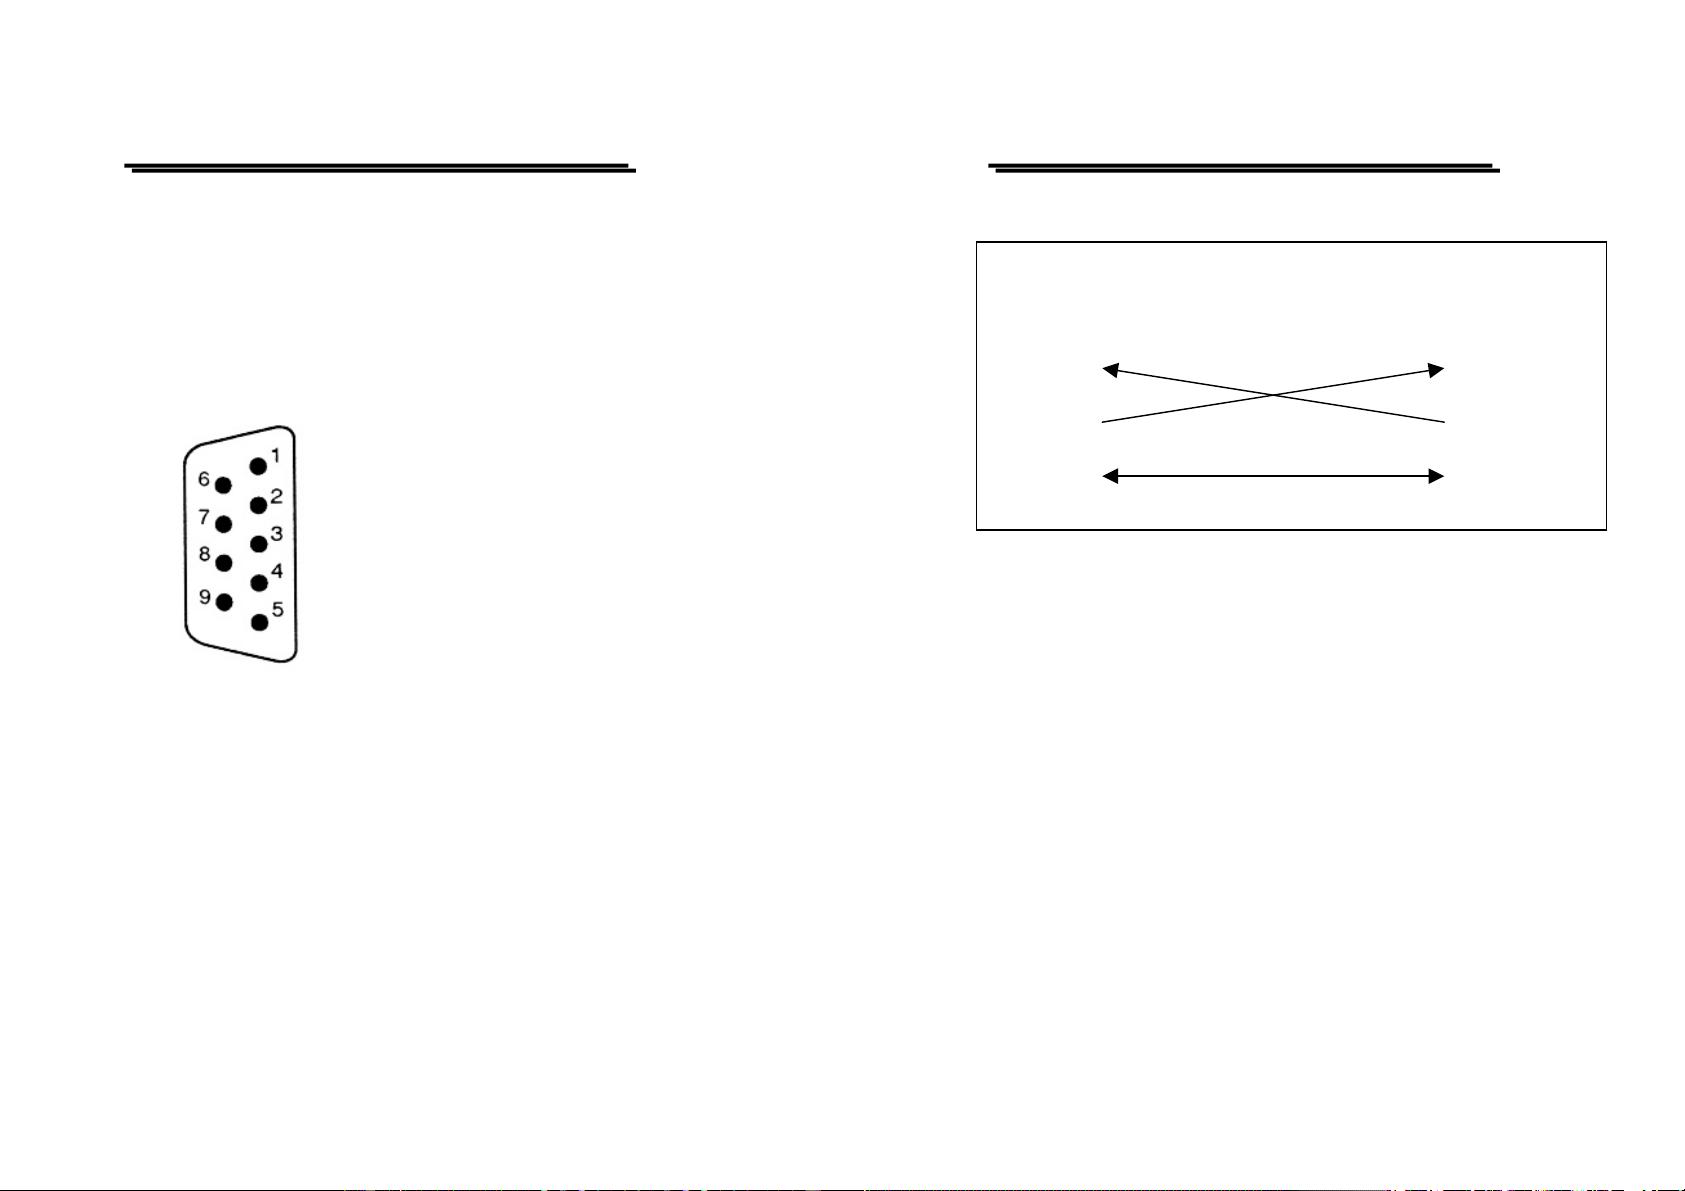
Interface selection and setup
The GPIB address can be changed in normal operation condition. Press
[SHIFT] key and [LOCAL] key on the front panel, in which the last
transmitting interface settings will be displayed. Select interface and
press [ENTER], then select the baud rate (or GPIB address) and press
[ENTER] to confirm the setting by using the knobs. Finally, select “save”
and press [ENTER] to store the setup.
2. CONNECTING THE PROGRAMMABLE POWER
SUPPLY VIA GPIB INTERFACE
The GPIB interface capabilities:
The GPIB interface of the programmable power supply corresponds to
the standard of IEEE488.1-1987, IEEE488.2-1992 and SCPI-1994. The
GPIB interface functions are listed as follows:
SH1(Source Handshake) : The power supply can transmit multilane
messages across the GPIB.
AH1(Acceptor Handshake) : The power supply can receive multilane
messages across the GPIB.
T6(Talker) : Talker interface function includes basic
talker, serial poll, and unaddress if MLA
capabilities, without talk only mode
function.
PST & PSS & PSH SERIES PROGRAMMABLE POWER SUPPLY
PROGRAMMER MANUAL
⎯ 2 ⎯
L4 (Listener) : The power supply becomes a listener
when the controller sends its listen
address with the ATN (attention) line
asserted. The power supply does not
have listen only capability.
SR1 (Service Request) : The power supply asserts the SRQ
(Service request) line to notify the
controller when it requires service.
RL1 (Remote/Local) : The power supply responds to both the
GTL(Go to Local) and LLO(Local Lock
Out) interface messages.
PP0 (Parallel Poll) : The power supply has no Parallel Poll
interface function.
DC1 (Device Clear) : The power supply has Device clear
capability to return the device to power
on status.
DT0 (Device Trigger) : The power supply has no Device Trigger
interface function.
C0 (Controller) : The power supply can not control other
devices.
Notes for GPIB installation
When the programmable power supply is set up with a GPIB system,
please check the following things:
z Only a maximum of 15 devices can be connected to a single GPIB
bus.
z Do not use more than 20m of cable to connect devices to a bus.
z Connect one device for every 2m of cable used.
z Each device on the bus needs a unique device address. No two
devices can share the same device address.
PST & PSS & PSH SERIES PROGRAMMABLE POWER SUPPLY
PROGRAMMER MANUAL
⎯ 3 ⎯
z Turn on at least two-thirds of the devices on the GPIB system while
using the system.
z Do not use loop or parallel structure for the topology of GPIB
system.
Computer’s Connection
A personal computer with a GPIB card is the essential facilities in order
to operate the programmable power supply via GPIB interface.
The connections between power supply and computer are following:
I. Connect one end of a GPIB cable to the computer.
II. Connect the other end of the GPIB cable to the GPIB port on
the programmable power supply.
III. Turn on the programmable power supply.
IV. Turn on the computer.
The GPIB connection testing
If you want to test whether the GPIB connection is working or not, you
can send a GPIB command from computer. For instance, the query
command
*idn?
should return the Manufacturer, model number, serial number and
firmware version in the following format:
WK.TMPRO,PST-3202,A000000,FW1.00
If you do not receive a proper response from the power supply, please
check if the power is on, the GPIB address is correct, and all cable
connections are active.
PST & PSS & PSH SERIES PROGRAMMABLE POWER SUPPLY
PROGRAMMER MANUAL
⎯ 4 ⎯
3. CONNECTING THE PROGRAMMABLE POWER
SUPPLY VIA RS232 INTERFACE
The RS232 interface capabilities:
The RS232 interface provides a point-to-point connection between two
items of equipment such as a computer and the power supply. There are
some parameters you need to set on the both sides. Once you have set
these parameters, you can control the power supply through the RS232
interface.
z Baud rate: You can set rates of 1200, 2400, 4800 or 9600 baud.
z Parity bit: none.
z Data bit: 8 bits.
z Stop bit: 1 stop bit.
z Data flow control: none.
Notes for RS232 installation
The power supply is a DTE device with a 9-pin D-type shell RS232
connector located on the rear panel. Figure 1 shows the equipment of 9-
pin connector (male) with its pin number assignments. Figure 2 shows
the wiring configuration for DB9 to DB9. When the programmable power
supply is set up with a RS232 interface, please check the following
points:
z Do not connect the output line of one DTE device to the output line
of the other.
z Many devices require a constant high signal on one or more input
pins.
z Ensure that the signal ground of the equipment is connected to the
signal ground of the external device.
z Ensure that the chassis ground of the equipment is connected to the
chassis ground of the external device.
PST & PSS & PSH SERIES PROGRAMMABLE POWER SUPPLY
PROGRAMMER MANUAL
⎯ 5 ⎯
z Do not use more than 15m of cable to connect devices to a PC.
z Ensure the same baud rate is used on the device as the one used on
PC terminal.
z Ensure the connector for the both side of cable and the internal
connected line are met the demand of the instrument.
1. No connection
2. Receive Data (RxD) (input)
3. Transmit Data (TxD) (output)
4. No connection
5. Signal Ground (GND)
6. No connection
7. No connection
8. No connection
9. No connection
Figure 1 Pin assignments of the RS232 connector on the rear panel for DB-9-D
PST & PSS & PSH SERIES PROGRAMMABLE POWER SUPPLY
PROGRAMMER MANUAL
⎯ 6 ⎯
Figure 2 Wiring configuration for DB9 to DB9
Computer’s Connection
A personal computer with a COM port is the essential facilities in order
to operate the programmable power supply via RS232 interface.
The connections between power supply and computer are as follows:
I. Connect one end of a RS232 cable to the computer.
II. Connect the other end of the cable to the RS232 port on the
programmable power supply.
III. Turn on the programmable power supply.
IV. Turn on the computer.
EQUIPMENT
(DB9, DTE)
COMPUTER
(DB9, DTE)
Pin2
Pin3
Pin5 Pin5
Pin3
Pin2
剩余23页未读,继续阅读
资源评论
GuoBaoERP
- 粉丝: 0
- 资源: 4
上传资源 快速赚钱
- 我的内容管理 展开
- 我的资源 快来上传第一个资源
- 我的收益 登录查看自己的收益
- 我的积分 登录查看自己的积分
- 我的C币 登录后查看C币余额
- 我的收藏
- 我的下载
- 下载帮助
安全验证
文档复制为VIP权益,开通VIP直接复制
信息提交成功