


U
nity 提高版 FPS 设计
这部分中级教程是前面基础教程的扩
展。介绍了一些游戏元素如:切换武
器,伤害,和敌人等等
完成时间 : 3 - 4 小时 .
作者 : Graham McAllister
目录
1. 教程目标
2. 先修课程
3. 切换武器
4. 火箭发射器
5. 机枪
6. Hit points
7. Sentry gun
从这里下载教程资源 :
ww
ww
ww
ww w
w
w
w .otee.dk/tutorials/
.otee.dk/tutorials/
.otee.dk/tutorials/
.otee.dk/tutorials/
fps_assets.zip
fps_assets.zip
fps_assets.zip
fps_assets.zip
1.
1.
1.
1. 教程目标
这部分教程将会详细介绍怎么样给我们的 FPS 游戏增加更
多的游戏特征如:多武器操作,伤害等
2.
2.
2.
2. 先修课程
你应该应对我们讨论的那些概念很熟悉了。
以 ‘ - ’ . 开头的
Before
Before
Before
Before we
we
we
we begin
begin
begin
begin -
-
-
- level
level
level
level setup
setup
setup
setup
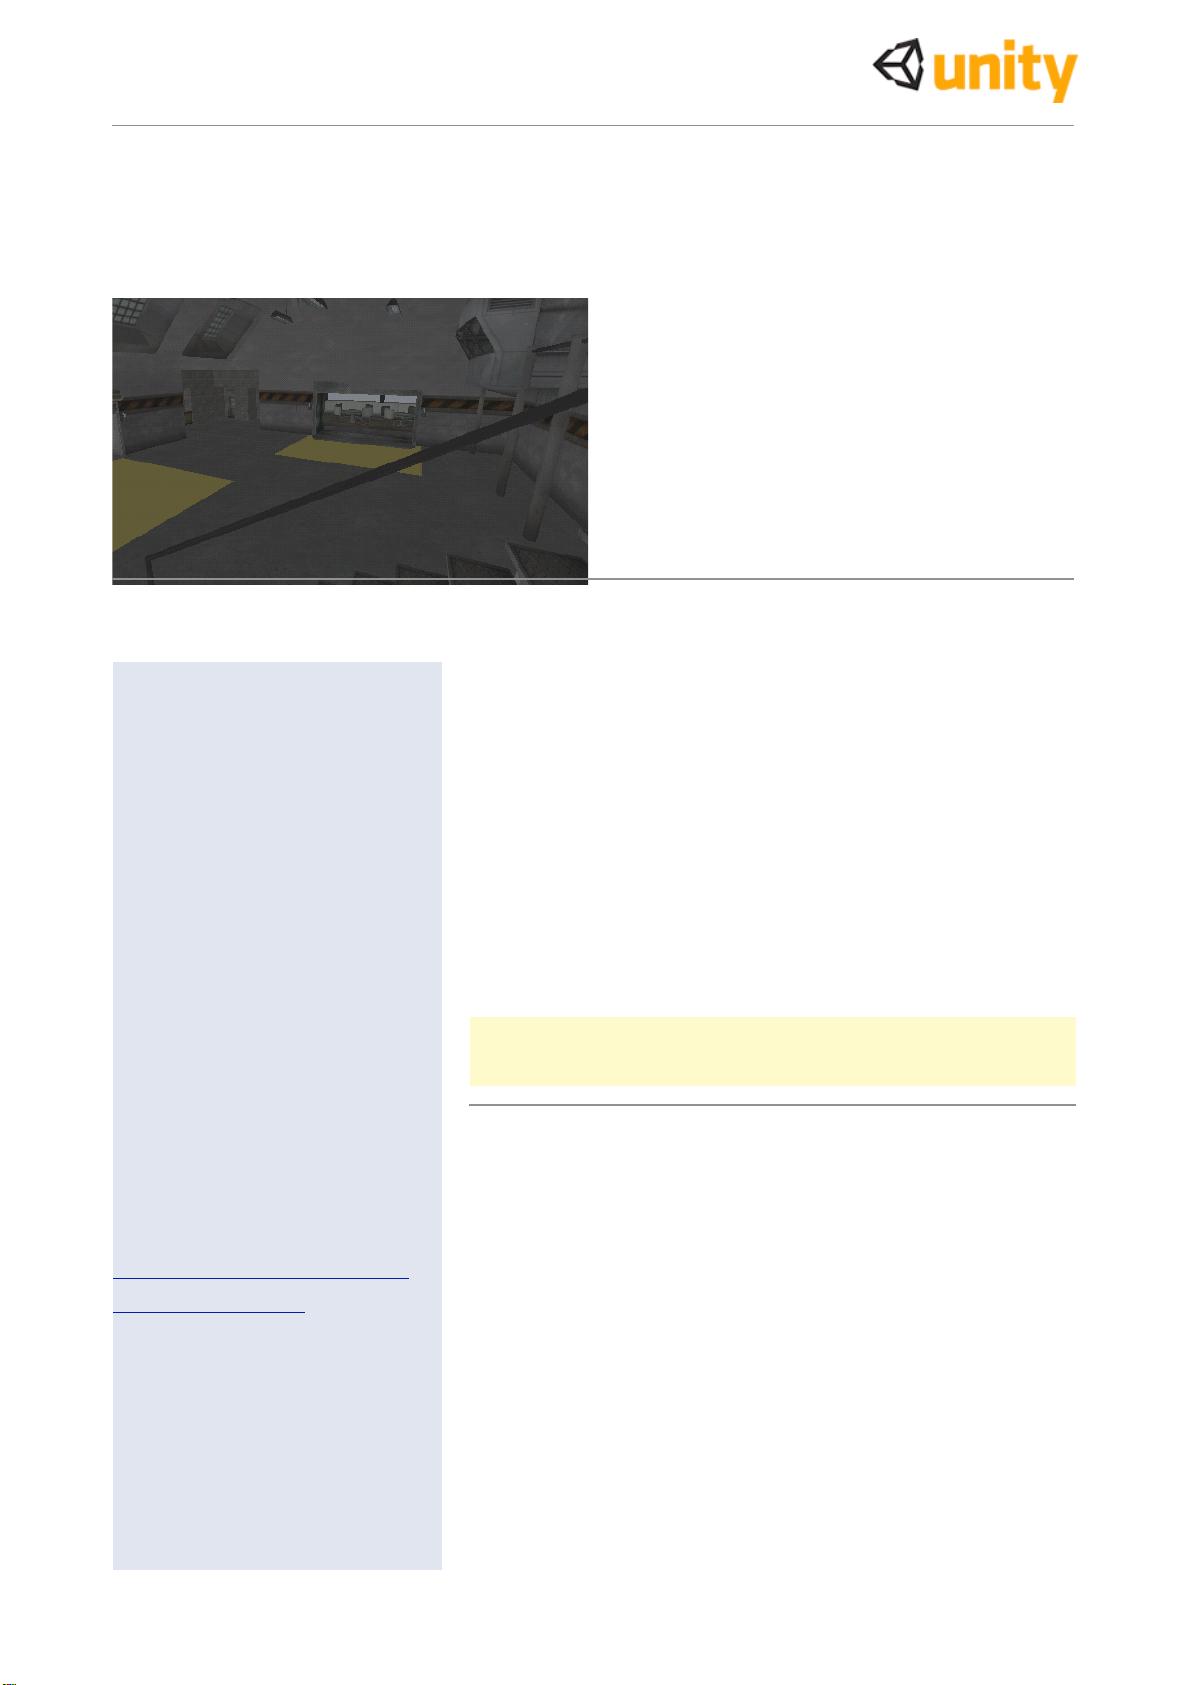
- 像第一部分讲述的那个样创建一个新的 Unity 项目,同时
确保 FPS 资源已经被导入
添加场景和 FPS Controller
注意 :
在这部分教程里,我们不需要创建新的脚本,只
使用下载的脚本 I
2
if
(Input.GetButton ("Fire1"))
BroadcastMessage("Fire");
{
//
if
//
3.
3.
3.
3. 切换武器
在我们讨论如何创建每个独立的武器时,我们需要写一些代码来安排我们的武器如何初始化
和从一个切换到另一个。让我们看下这个 PlayerWeapons.js 脚本
function Awake () {
// Select the first weapon
1
SelectWeapon(0);
}
function Update () {
// Did the user press fire?
2
if (Input.GetKeyDown("1"))
3
function SelectWeapon (index : int) {
for (var i=0;i<transform.childCount;i++)
Activate the selected weapon
(i == index)
transform.GetChild(i).gameObject.SetActiveRecursively(true);
Deactivate all other weapons
1. 这个函数初始化武器 0 作为默认武器
2. 这个函数检测键盘输入,开枪按钮, “ 1 ” 代表武器 1 , “ 0 ” 代表武器 0. 这些武器是
主相机的子物体
3. 下面的一些工作将使武器变化和键盘输入相一致。
让我们使用上面这些代码
- 创建一个空的游戏物体命名为 Weapons ,把它移动到主相机下作为它的子物体( FPS
Controller 内部),我们的武器将被添加作为这个物体的子物体
- 把 Player W eapons.js 脚本赋予主相机下面的武器游戏物体。我们现在创建第一个武器
{
SelectWeapon(0);
}
else
if (Input.GetKeyDown("2"))
{
SelectWeapon(1);
}
}
else
transform.GetChild(i).gameObject.SetActiveRecursively(false);
}
}
3
{
//
if
Did the time exceed the reload time?
(Time.time > reloadTime + lastShot && ammoCount > 0)
{
// create a new projectile, use the same position and rotation as the
// Launcher.
var instantiatedProjectile : Rigidbody = Instantiate (projectile,
//
//
4.
4.
4.
4. 火箭发射器
这部分介绍如何创建一个火箭发射器样式的武器。 .
火箭发射器
火箭发射器能够实例化一个火箭,同时给它一个初
始化的速度,火箭将会直接朝着使用者瞄准的方向
发射出去,并将摧毁和它发生碰撞的物体。
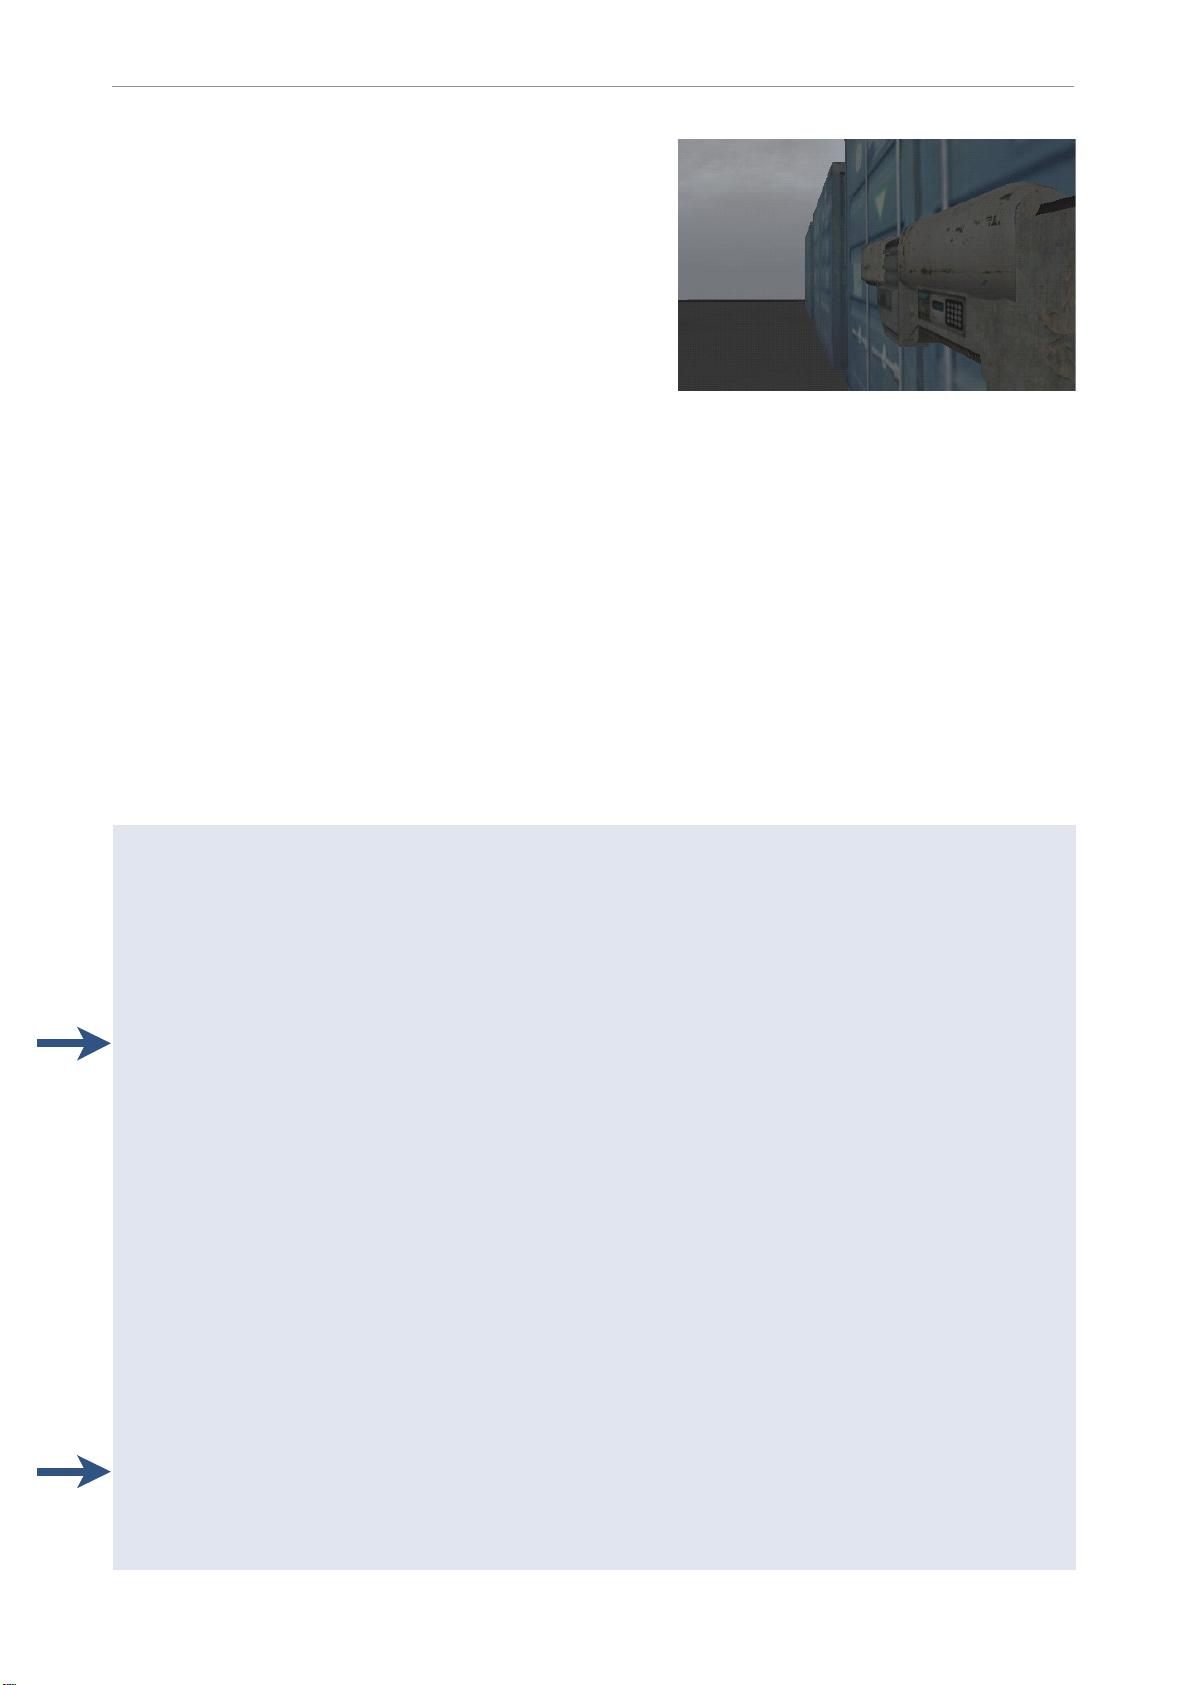
- 添加一个空的游戏物体,命名为 RocketLauncher 。把它大概放置在 FPS Controller 手边的
位置
- 在 Hierarchy 视图中,把 RocketLauncher 添加为 Weapons 游戏物体的子物体。,这将会使
我们朝任何相机指的方向射击,同时要保证 RocketLauncher 随着 FPS Controller 移动而移
动。(相机也是 FPS Controller 的子物体)。
- [ 使之可见化 , 它必须没有移动和转动,这个可以在 Inspector 面板中选择 reset
来做到 ]. 旋转和移动它使之看起来更协调 . 不要移动空的游戏物体支持物,移动
机枪模型就行了
- 从 Objects/weapson/rocketLauncher mode 拖出模型,让它也成为 RocketLauncher empty
game object. 的子物体
- RocketLaunche
RocketLaunche
RocketLaunche
RocketLaunche
r
r
r
r
.js
.js
.js
.js 的代码如下
var projectile : Rigidbody;
var initialSpeed = 20.0;
var reloadTime = 0.5;
var ammoCount = 20;
private var lastShot = -10.0;
function Fire ()
1
transform.position, transform.rotation);
Give it an initial forward velocity. The direction is along the z-axis of
the missile launcher's transform.
// Ignore collisions between the missile and the character controller
Physics.IgnoreCollision(instantiatedProjectile.collider,
transform.root.collider);
1
lastShot = Time.time;
ammoCount--;
}
}
instantiatedProjectile.velocity = transform.TransformDirection(Vector3 (0, 0,
initialSpeed));
4
1. 这部分代码保证武器射击不能快于填弹时间。也能检查使用者必须在弹药充足的情
况下发射
上述行为和之前的教程中的填弹时间预期和弹药统计有些相似。
- 把 RocketLaunche
r
.js 脚本添加到 RocketLauncher 游戏物体上。
火箭
我们现在在场景中建立一个火箭,同时上传最终版本给预置。
- 从 Objects/weapons/rocket model 拖出模型放到场景视图中去。
- 从 W eaponScripts/Rocket 添加脚本给它。
- 给火箭添加一个 box colliders ,确保这个 box colliders 比实际的火箭大一点点,这样的话
就不会产生碰撞 tunneling 现象。碰撞 T unneling 现象是指一些小的,速度快的物体因为其
体积比较小,速度比较快因而避开了碰撞检测,确保 box colliders 在 z 轴上大一些从而使
碰撞正确的工作在各个物体上
- [ 在两个相邻的帧率之间插入时间步长表 ]
- 创建一个粒子系统 , Game Object->Create Other->Particle System.
- 修改 elipsoid x,
y
,z 大小 为 0.1.
- 修改每个坐标方向的 Rnd V elocity 到 0.1 。
- 把 particle emitter min size 和 max size 改到 0.5.
- 把 particles emitted 数量改为 100 (max and min).
- 把 Particle E f fects/smoke.mat 拖到粒子系统中去。
- 在 Particle Animator 部分 , 设置每个坐标轴值到 0.5.
- 在火箭的刚体部分 , 不要选择 ‘ useGravity ’ . 这样可以使火箭不至于重力而掉下来。
- 设置 size grow 变量为 3.
- 使粒子系统自动销毁,这样可以确保当火箭被摧毁后,粒子系统在游戏中自动去除 .
- 在 Hierarchy 视图中把粒子系统变成火箭的子物体,重新改变下粒子系统的位置,让它处于
火箭的核心,然后改变下位置让它放置到火箭的后部,
- 在 Hierarchy 视图中选择火箭,然后在场景视图中检查下随着火箭发射而在后面留下的烟气
尾迹
我们现在已经制作了我们的火箭完成了烟气尾迹制作,我们现在把变化上传到预置中去
- 首先我们创建一个空的预置来上传我们的变化到预置,命名这个预置为火箭
- 在 Hierarchy 视图中选择火箭然后把它拖到新的火箭预置上面。
- 在工程视图中创建一个叫 “ W eaponPrefabs 的新目录来存贮我们的武器预置在里面。
这里是为 Rocket.js
Rocket.js
Rocket.js
Rocket.js : 的脚本

5
// The reference to the explosion prefab
var explosion : GameObject;
var timeOut = 3.0;
// Kill the rocket after a while automatically
function Start () {
1 Invoke("Kill", timeOut);
}
function OnCollisionEnter (collision : Collision) {
// Instantiate explosion at the impact point and rotate the explosion
// so that the y-axis faces along the surface normal
var contact : ContactPoint = collision.contacts[0];
var rotation = Quaternion.FromToRotation(Vector3.up, contact.normal);
Instantiate (explosion, contact.point, rotation);
// And kill ourselves
Kill ();
}
function Kill ()
{
// Stop emitting particles in any children
var emitter : ParticleEmitter= GetComponentInChildren(ParticleEmitter);
if (emitter)
emitter.emit = false;
2 transform.DetachChildren();
// Destroy the projectile
Destroy(gameObject);
}
3 @script RequireComponent (Rigidbody)
1. Kill 函数首先在 child hierarchy 中找到粒子发射器,然后关掉它 . 下一步分离任何带有脚本
物体的子物体和摧毁火箭
2. 最重要的安排是 transform. DetachChildren
DetachChildren
DetachChildren
DetachChildren () 函数 . 它在摧毁物体之前被调用,所以当
火箭被摧毁的时候,尾迹还会存在,因为这时尾迹已经不是火箭的子物体了。
3. ‘ @script ” command ensures that
a
Rigidbody is attached to the component that the
script is attached to (as the script requires a Rigidbody).
一旦实例化的火箭与其他碰撞体发生碰撞,我们就会摧毁火箭,但是尾迹直接加在火箭上
了,它也会被销毁的,而且是直接消失,这种情况在我们实际生活中是可能发生的,这也是
为什么在火箭被销毁之前要分离尾迹的重要原因。
注意到火箭能够被两种之一方式摧毁,一种是它存活超过了 3 秒钟(比如射向天空),或者
和其他物体发生碰撞。
- 把 Javascript 加到火箭游戏物体上去。
//
Detach children - We do this to detach the trail rendererer which should
be set
//
up to auto destruct


