nginx部署vue项目

nginx部署部署vue项目项目
一、打包一、打包vue项目项目
1、修改路径、修改路径
修改config/index.js的assetsPublicPath为 ./(注意一定是build里面的,下面dev中也有这个配置)
build: {
// Template for index.html
index: path.resolve(__dirname, '../dist/index.html'),
// Paths
assetsRoot: path.resolve(__dirname, '../dist'),
assetsSubDirectory: 'static',
// assetsPublicPath: '/',
assetsPublicPath: './',
/**
* Source Maps
*/
productionSourceMap: true,
// https://webpack.js.org/configuration/devtool/#production
devtool: '#source-map',
// Gzip off by default as many popular static hosts such as
// Surge or Netlify already gzip all static assets for you.
// Before setting to `true`, make sure to:
// npm install --save-dev compression-webpack-plugin
productionGzip: false,
productionGzipExtensions: ['js', 'css'],
// Run the build command with an extra argument to
// View the bundle analyzer report after build finishes:
// `npm run build --report`
// Set to `true` or `false` to always turn it on or off
bundleAnalyzerReport: process.env.npm_config_report
}
这个路径的配置很重要,默认是项目名称。如果没有修改路径会访问不到打包后的文件。
2、打包项目、打包项目
执行如下命令进行打包
npm run build
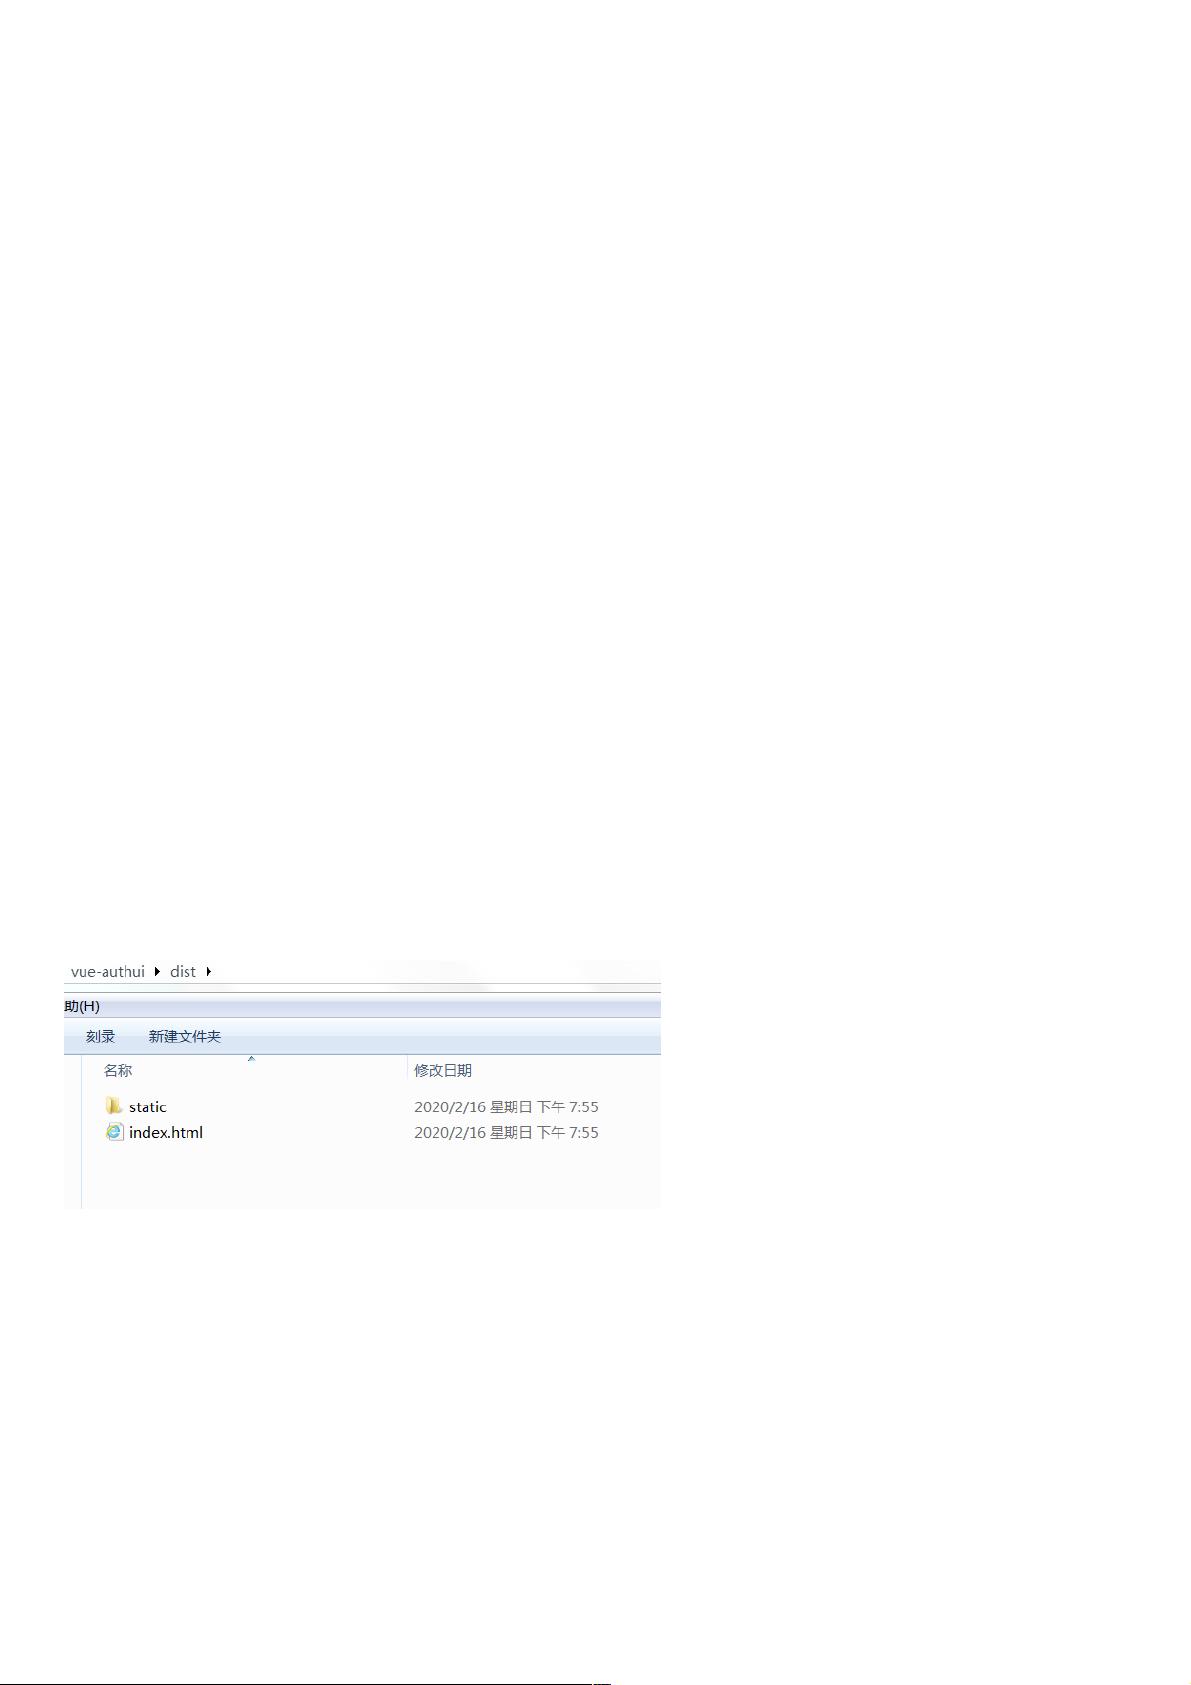
通过上面命令后打包好的静态资源将输出到dist目录中。如图所示:
3、上传项目、上传项目
将打包后的目录上传至服务器上对应目录,如下图
testnginx则是将前端项目 build 之后的 dist 目录改名后的文件目录


- 1
- 2
前往页