**NOTE:** *This product has been retired from our catalog. If you are looking for more up-to-date info, please check out some of these resources to see how other users are still hacking and improving on this product.*
* *[SparkFun Forum](https://forum.sparkfun.com/)*
* *[Comments Here on GitHub](https://github.com/sparkfun/BMP180_Breakout_Arduino_Library/issues)*
* *[IRC Channel](https://www.sparkfun.com/news/263)*
BMP180_Breakout
===============
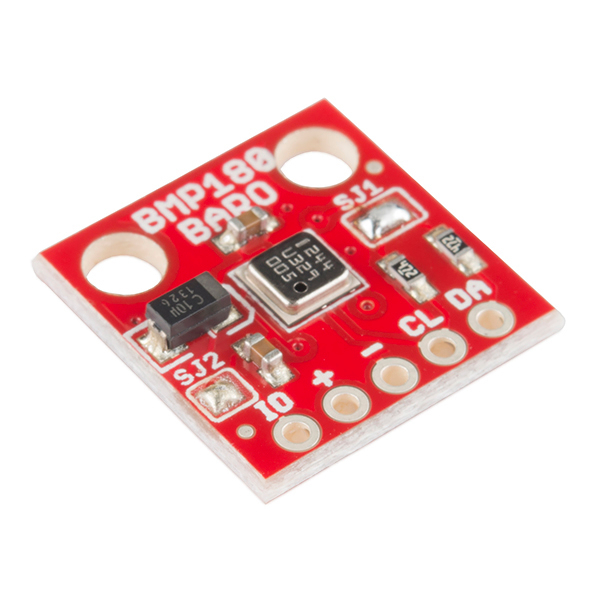
Breakout board and example code for the Bosch BMP180 barometric pressure sensor.
Product page: [www.sparkfun.com/products/11824](https://www.sparkfun.com/products/11824)
Datasheet: [github.com/sparkfun/BMP180_Breakout/blob/master/BMP180 Datasheet V2.5.pdf](https://github.com/sparkfun/BMP180_Breakout/blob/master/BMP180%20Datasheet%20V2.5.pdf?raw=true)
Github repository: [github.com/sparkfun/BMP180_Breakout](https://github.com/sparkfun/BMP180_Breakout)
Arduino library installation:
-------------------
This archive contains an Arduino library and example sketch showing how to use this sensor. The library must be installed onto your computer in order for the example code to work correctly.
If you haven't, install the free Arduino IDE (Integrated Development Environment), available at [www.arduino.cc](http://www.arduino.cc). This code was written using Arduino version 1.0.5. and updated to be used with the Arduino library manager of version 1.6.3.
To install without the manager, download the Arduino folder then use the Arduino IDE to add it. From the IDE, go Sketch->Include Library->"Add .ZIP Library", then choose the Arduino folder that was downloaded. The IDE will pick proper names from the library.properties file and put the libraries in your user sketch folder.
Teensy library installation:
-------------------
[A. Faruk](https://github.com/unalfaruk) was kind enough to create a version of this library for the [Teensy](https://www.pjrc.com/teensy/) microcontroller family. You can find information on installation and use of this library at: https://github.com/sparkfun/BMP180_Breakout/tree/master/Libraries/Teensy
Running the example sketch:
-------------------
<ol start=1>
<li>Connect the BMP180 breakout board to your Arduino. You can solder wires, use jumper wires and headers, etc.
<p>
"-" (GND) to GND
<br>
"+" (VDD) to 3.3V
<p>
(WARNING: do not connect "+" to 5V or the sensor will be damaged!)
<p>
You will also need to connect the I2C pins (SCL and SDA) to your Arduino.
These pins are different on different Arduino models:
<p>
<table>
<tr>
<td>Any Arduino</td>
<td>SDA </td>
<td>SCL</td>
</tr>
<tr>
<td>Uno, Redboard, Pro/Mini </td>
<td>A4</td>
<td>A5</td>
</tr>
<tr>
<td>Mega2560, Due</td>
<td>20</td>
<td>21</td>
</tr>
<tr>
<td>Leonardo, Pro/Micro</td>
<td>2</td>
<td>3</td>
</tr>
</table>
<p>
Leave the IO (VDDIO) pin unconnected. This pin is for connecting
the BMP180 to systems with lower logic levels such as 1.8V.
</li>
<li>
Connect your Arduino to your computer.
<p>
</li>
<li>
Start the Arduino IDE. Select the proper COM port and board type.
<p>
</li>
<li>
In the Arduino IDE, go to the File menu, and down to Examples/SFE_BMP180/SFE_BMP180_example. If you do not see this item, you likely did not install the library properly. See above.
<p>
</li>
<li>
Upload the sketch to your Arduino.
<p>
</li>
<li>
Open the Serial Monitor window (magnifying glass icon un upper right of IDE).
<p>
</li>
<li>
Set the Serial Monitor to 9600 baud (menu in bottom right).
<p>
</li>
</ol>
You should now be seeing pressure measurements in the Serial Monitor window. If you see errors, you may not have connected the BMP180 Breakout Board to your Arduino properly. See step 1 above.
If you have questions, don't hesistate to contact us at techsupport@sparkfun.com.
Have fun!
Your friends at SparkFun.
License Informatiom
-------------------
Software and hardware license information can be found at: https://github.com/sparkfun/BMP180_Breakout/blob/master/LICENSE.md
Authors
-------
* Mike Grusin, SparkFun Electronics
Acknowledgements
----------------
* The SFE_BMP180 library uses [floating-point equations](http://wmrx00.sourceforge.net/Arduino/BMP085-Calcs.pdf) for the BMP085 developed by the [Weather Station Data Logger project](http://wmrx00.sourceforge.net/).
* Thank you to [A. Faruk](https://github.com/unalfaruk) for modifications to support the PJRC Teensy microcontroller family.
* Thank you to [Asafe Silva](https://github.com/AsafeSilva) for providing support for alternate I2C implementations.
Changelog
---------
+ Release [V_1.1.0](https://github.com/sparkfun/BMP180_Breakout/tree/V_1.1.0)
* Restructred for arduino IDE
* Pulled in library
+ hardware V10 (release)
* Minor updates
* Library fork from SFE_BMP085
+ hardware V02 (proto)
* Rearranged header: put VDD/GND/SDA/SCL in "standard" order
* I2C pullups to VDDIO
+ hardware V01 (review)
用于博世 BMP180 气压传感器的分线板_C++_代码_相关文件_下载

版权申诉
46 浏览量
2022-07-13
22:23:47
上传
评论
收藏 716KB ZIP 举报
 BMP180_Breakout-master.zip (32个子文件)
  BMP180_Breakout hardware
  SparkFun_BMP180_Breakout.brd 56KB SparkFun_BMP180_Breakout.sch 438KB LICENSE.md 3KB .gitignore 2KB Documentation
  BMP180 Datasheet V2.5.pdf 656KB Libraries Teensy
  keywords.txt 614B src Teensy_BMP180.h 3KB Teensy_BMP180.cpp 9KB README.md 325B library.properties 128B examples PressTempAlt PressTempAlt.ino 1KB LICENSE.md 359B README.md 1KB utilyt Teensy_BMP180.h 3KB Teensy_BMP180.cpp 9KB README.md 198B README.md 1KB Arduino keywords.txt 629B src SFE_BMP180.cpp 10KB SFE_BMP180.h 4KB README.md 325B library.properties 359B examples SFE_BMP180_example SFE_BMP180_example.ino 7KB README.md 131B BMP180_altitude_example BMP180_altitude_example.ino 5KB LICENSE.md 359B .gitignore 2KB README.md 2KB .gitattributes 483B README.md 5KB Production BMP180-Breakout-Panel-v10.brd 432KB .gitattributes 483B
资源评论


快撑死的鱼
- 粉丝: 1w+
- 资源: 9156


最新资源
- 549springboot + vue 民宿管理平台.zip (可运行源码+数据库文件+文档)
- ZArchiver.Pro_0.9.5.apk
- vmware环境配置.mp4
- 548springboot + vue 大学生社团活动平台.zip(可运行源码+数据库文件+文档)
- 微信小程序 辩论倒计时小程序源码 作业设计demo 计算机专业参考
- 深入探究文件IO,嵌入式Linux
- 微信备忘录小程序源码 作业设计demo 计算机专业作业
- 微信小程序 仿百度小说小程序 看小说小程序 实现源码
- 锂电资料包-锂离子电池技术干货资料合集.zip
- (王道计算机组成原理)第三章存储系统-第二节1:主存储器基本构成、基本的半导体原件和存储器芯片的原理_主存储器与存储芯片-CSDN博客 (2024….html
资源上传下载、课程学习等过程中有任何疑问或建议,欢迎提出宝贵意见哦~我们会及时处理!
点击此处反馈


