


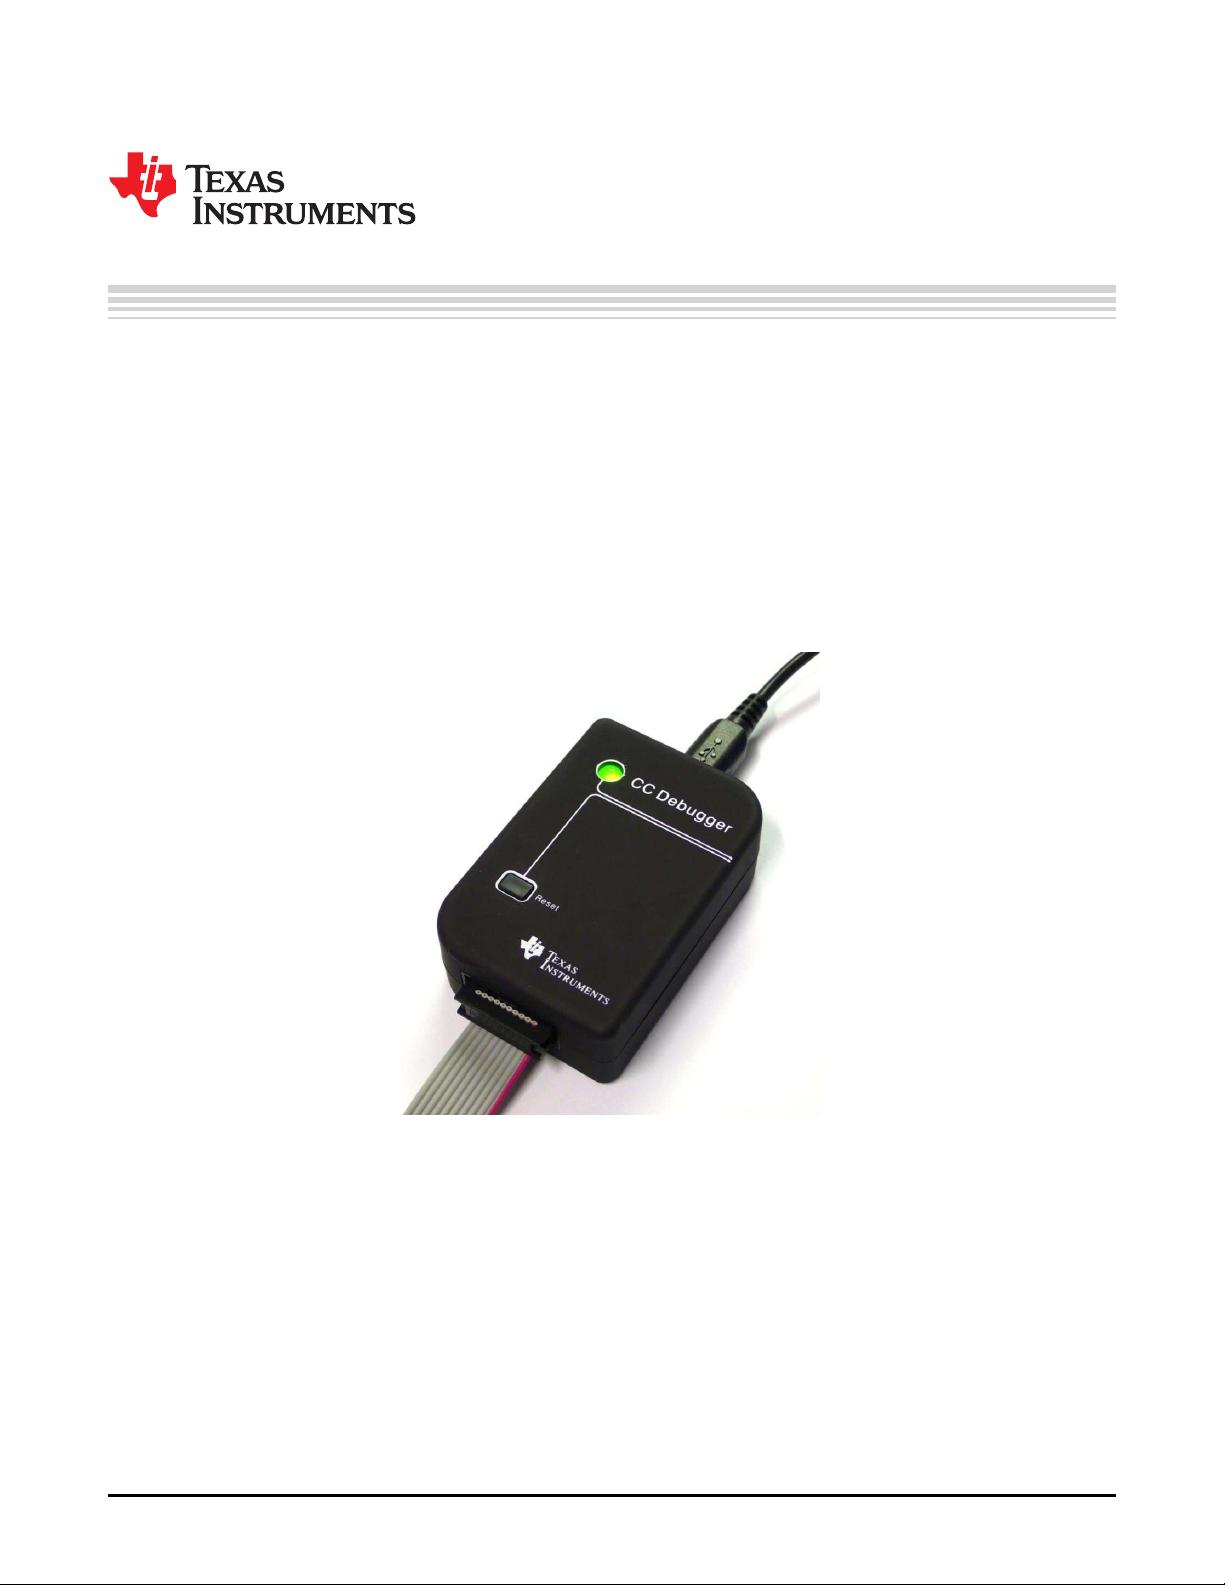
CC Debugger
User's Guide
Literature Number: SWRU197H
September 2010–Revised April 2014

Contents
1 Introduction......................................................................................................................... 4
2 Abbreviations and Acronyms ................................................................................................ 5
3 Box Contents....................................................................................................................... 5
4 Operating Conditions of the CC Debugger .............................................................................. 5
5 Initial Steps ......................................................................................................................... 6
5.1 Installing the USB Driver ................................................................................................ 6
5.2 Supported PC Tools ..................................................................................................... 6
6 Connecting the CC Debugger to the Device ............................................................................ 7
6.1 Target Connector Details................................................................................................ 7
6.2 Connecting the CC Debugger to a System-on-Chip................................................................. 8
6.3 Connecting the CC Debugger to a Transceiver .................................................................... 11
6.4 Connecting the CC Debugger to a CC85xx......................................................................... 12
7 Using the CC Debugger....................................................................................................... 13
7.1 Understanding the LED ................................................................................................ 13
8 Updating the Firmware........................................................................................................ 14
8.1 Updating the Firmware Automatically in SmartRF Studio ......................................................... 14
8.2 Updating the Firmware Manually in SmartRF Flash Programmer ............................................... 16
8.3 Forced Boot Recovery Mode.......................................................................................... 17
8.4 Resurrecting the CC Debugger ....................................................................................... 17
9 Troubleshooting................................................................................................................. 21
10 Schematics........................................................................................................................ 22
11 References ........................................................................................................................ 22
Appendix A Schematic................................................................................................................ 23
Revision History.......................................................................................................................... 24
2
Table of Contents SWRU197H–September 2010–Revised April 2014
Submit Documentation Feedback
Copyright © 2010–2014, Texas Instruments Incorporated

www.ti.com
List of Figures
1 Verify Correct Driver Installation ........................................................................................... 6
2 Placement of Target Connector Pins...................................................................................... 7
3 Placement of Target Connector Pins on Adapter Board ............................................................... 7
4 Target Connector Pin-Out .................................................................................................. 8
5 Voltage From Target to CC Debugger .................................................................................... 8
6 Minimum Connection for Debugging of 8051 SoC ...................................................................... 9
7 Connection to SoC to Enable Packet Sniffing.......................................................................... 10
8 CC Debugger Connected to CC2520.................................................................................... 11
9 CC Debugger Connected to CC112x/CC1175/CC120x............................................................... 12
10 CC Debugger Connected to CC110x/CC11xL/CC2500............................................................... 12
11 CC Debugger Connected to CC85XX ................................................................................... 12
12 Auto Firmware Upgrade ................................................................................................... 14
13 Auto Firmware Update..................................................................................................... 15
14 Firmware Successfully Updated.......................................................................................... 15
15 SmartRF Flash Programmer - Manually Updating the Bootloader .................................................. 16
16 Internal View of CC Debugger............................................................................................ 17
17 Short-Circuit Pins for Boot Recovery Mode............................................................................. 17
18 Programming the Bootloader on the CC Debugger Using Another CC Debugger ................................ 18
19 Programming the Bootloader on the CC Debugger Using SmartRF05EB.......................................... 18
20 SmartRF Flash Programmer - Updating the Bootloader .............................................................. 19
List of Tables
1 Supported SPI Connections (marked OK) .............................................................................. 10
2 USART Pin Out Details.................................................................................................... 10
3 Understanding the LED.................................................................................................... 13
4 Troubleshooting FAQs..................................................................................................... 21
3
SWRU197H–September 2010–Revised April 2014 List of Figures
Submit Documentation Feedback
Copyright © 2010–2014, Texas Instruments Incorporated
User's Guide
SWRU197H–September 2010–Revised April 2014
CC Debugger
1 Introduction
The CC Debugger is primarily used for Flash programming and debugging software running on CCxxxx
8051-based System-on-Chip (SoC) devices from Texas Instruments. The PC tools available for these
purposes are the SmartRF ™ Flash Programmer [9] from Texas Instruments and IAR Embedded
Workbench
®
for 8051 from IAR Systems [15].
When connected to the debugger, the SoC devices can be controlled directly from SmartRF™ Studio [8].
SmartRF Studio is also able to control supported CCxxxx RF transceivers (CC2520, CC2500, CC110x,
CC11xL, CC112x, CC120x) when they are connected to the debugger as explained in Section 6.3.
In addition, the CC Debugger is used for configuring the CC85xx devices with the PurePath Wireless
Configurator [12] and controlling them with the PurePath Wireless Commander [13].
SmartRF is a trademark of Texas Instruments.
IAR Embedded Workbench is a registered trademark of IAR Systems AB.
Windows Vista is a registered trademark of Microsoft Corporation in the United States and other countries.
Microsoft is a registered trademark of Microsoft Corporation in the United States and/or other countries, or both.
Windows is a registered trademark of Windows is a registered trademark of Microsoft Corporation in the United States and other countries.
All other trademarks are the property of their respective owners.
4
CC Debugger SWRU197H–September 2010–Revised April 2014
Submit Documentation Feedback
Copyright © 2010–2014, Texas Instruments Incorporated
www.ti.com
Abbreviations and Acronyms
2 Abbreviations and Acronyms
CSn Chip Select (active low)
DC Debug Clock
DD Debug Data
DUT Device Under Test
GND Ground
LED Light Emitting Diode
MISO Master In Slave Out
MOSI Master Out Slave In
RF Radio Frequency
SCLK Serial Clock
SoC System-on-Chip
SPI Serial Peripheral Interface
USB Universal Serial Bus
V
DD
Positive voltage on target
3 Box Contents
• 1 x CC Debugger
• 1 x USB-A to Mini-B USB cable
• 1 x 10-pin flat cable with 2x5 2.54 mm connector
• 1 x 10-pin flat cable with 2x5 1.27 mm connector
• 1 x Converter board 2.54 mm – 1.27 mm connector
• Documentation
4 Operating Conditions of the CC Debugger
Minimum target voltage: 1.2 V
Maximum target voltage: 3.6 V
Operating temperature: 0°C to 85°C
Regulated voltage on CC Debugger: 3.3 V
Maximum target current:
(1)
200 mA
(1)
Microsoft
®
Windows
®
2000 operating
Supported Operating Systems:
system
Windows XP SP2/SP3 operating system (32-bit versions)
Windows Vista
®
operating system (32 and 64 bit)
Windows 7 operating system (32 and 64 bit)
Windows 8 operating system (32 and 64 bit)
(1)
Only applicable if the target is powered from the CC Debugger.
5
SWRU197H–September 2010–Revised April 2014 CC Debugger
Submit Documentation Feedback
Copyright © 2010–2014, Texas Instruments Incorporated


