
Applied
Radio
Labs
ADIsimCLK™ Tutorial
Printable version of the integrated tutorial in ADIsimCLK V1.1
www.radio-labs.com 5th August 2005
Finding Your Way Around ADIsimCLK
Let’s have a quick look at the gadgets that will help
you get around in ADIsimCLK, and to get back to this
tutorial.
Tutorial Navigation Buttons
These buttons are located in the lower
right-hand corner of this document. They only appear
when this tutorial is visible and are used to navigate
between tutorial pages. Pressing >> advances to the
next page, and << returns to the previous page.
To view the rest of this page you will need to use the
scrollbar on the right.
Results Navigation Tabs
The navigation tab bar appears below this tutorial text.
It is used to move between pages of results and this
Tutorial when it is running. (Normally there is no
Tutorial tab.) Click on the other tabs to see the other
pages, make sure that you return to this tutorial page
when you are ready to continue. If all the other tabs
are not visible, use the mouse to drag the splitter bar at
the left end of the scrollbar. Alternatively, if you are
short of screen space, the arrows at the left end of the
tabs can be used to bring the obscured tabs into view.
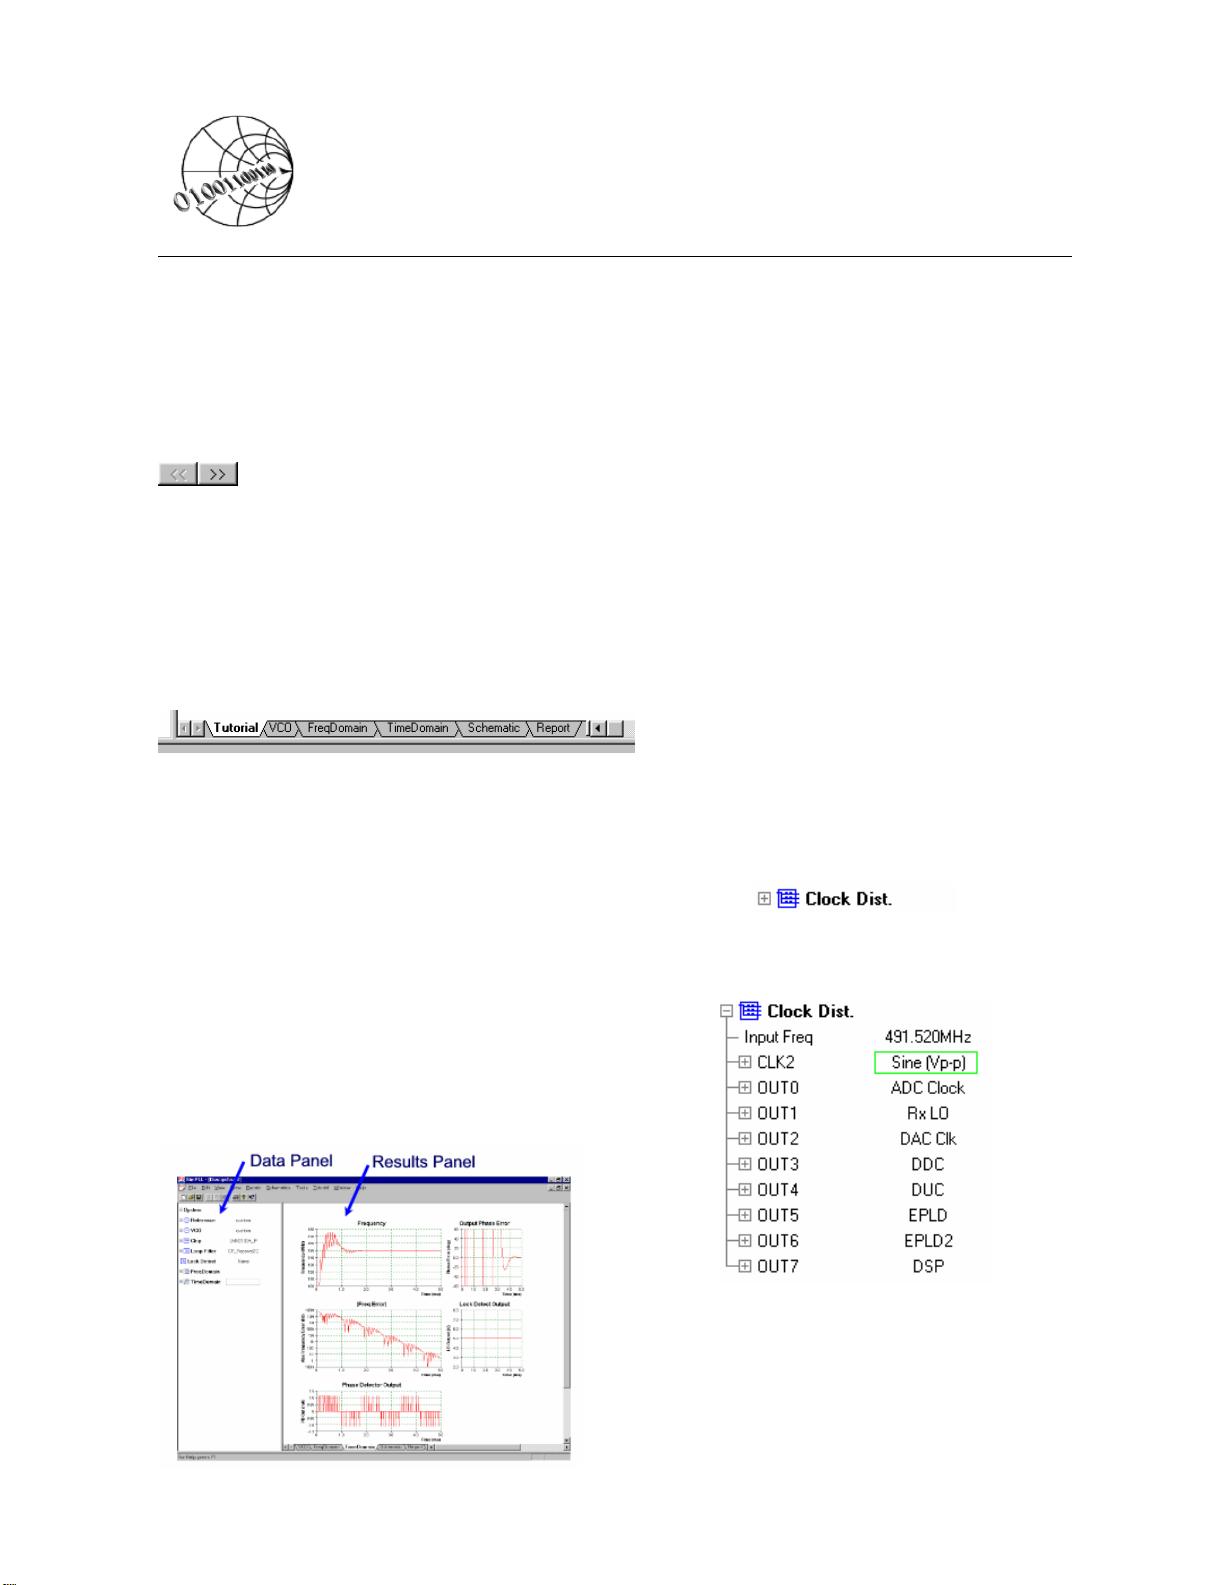
Main Screen
OK, so you are already finding your way around the
ADIsimCLK screen. We just need to name a few parts
of the screen. In normal usage the main screen of
ADIsimCLK is divided into two parts as shown below:
Data Panel: This is the area of the screen which
controls most of the data entry to ADIsimCLK. This
is where you alter the loop bandwidth, change the
charge pump current, set arm dividers, choose output
driver settings and so forth.
Results Panel: This area of the screen is used
primarily for displaying pages of results (and also for
the tutorial page).
A third area of the screen is the
Message Panel.
This is used for error and warning messages. To
conserve screen space this panel appears automatically
at the bottom of the screen if there are any messages
and hides automatically when there are no messages.
The bars between the various panels can be moved
with the mouse if necessary.
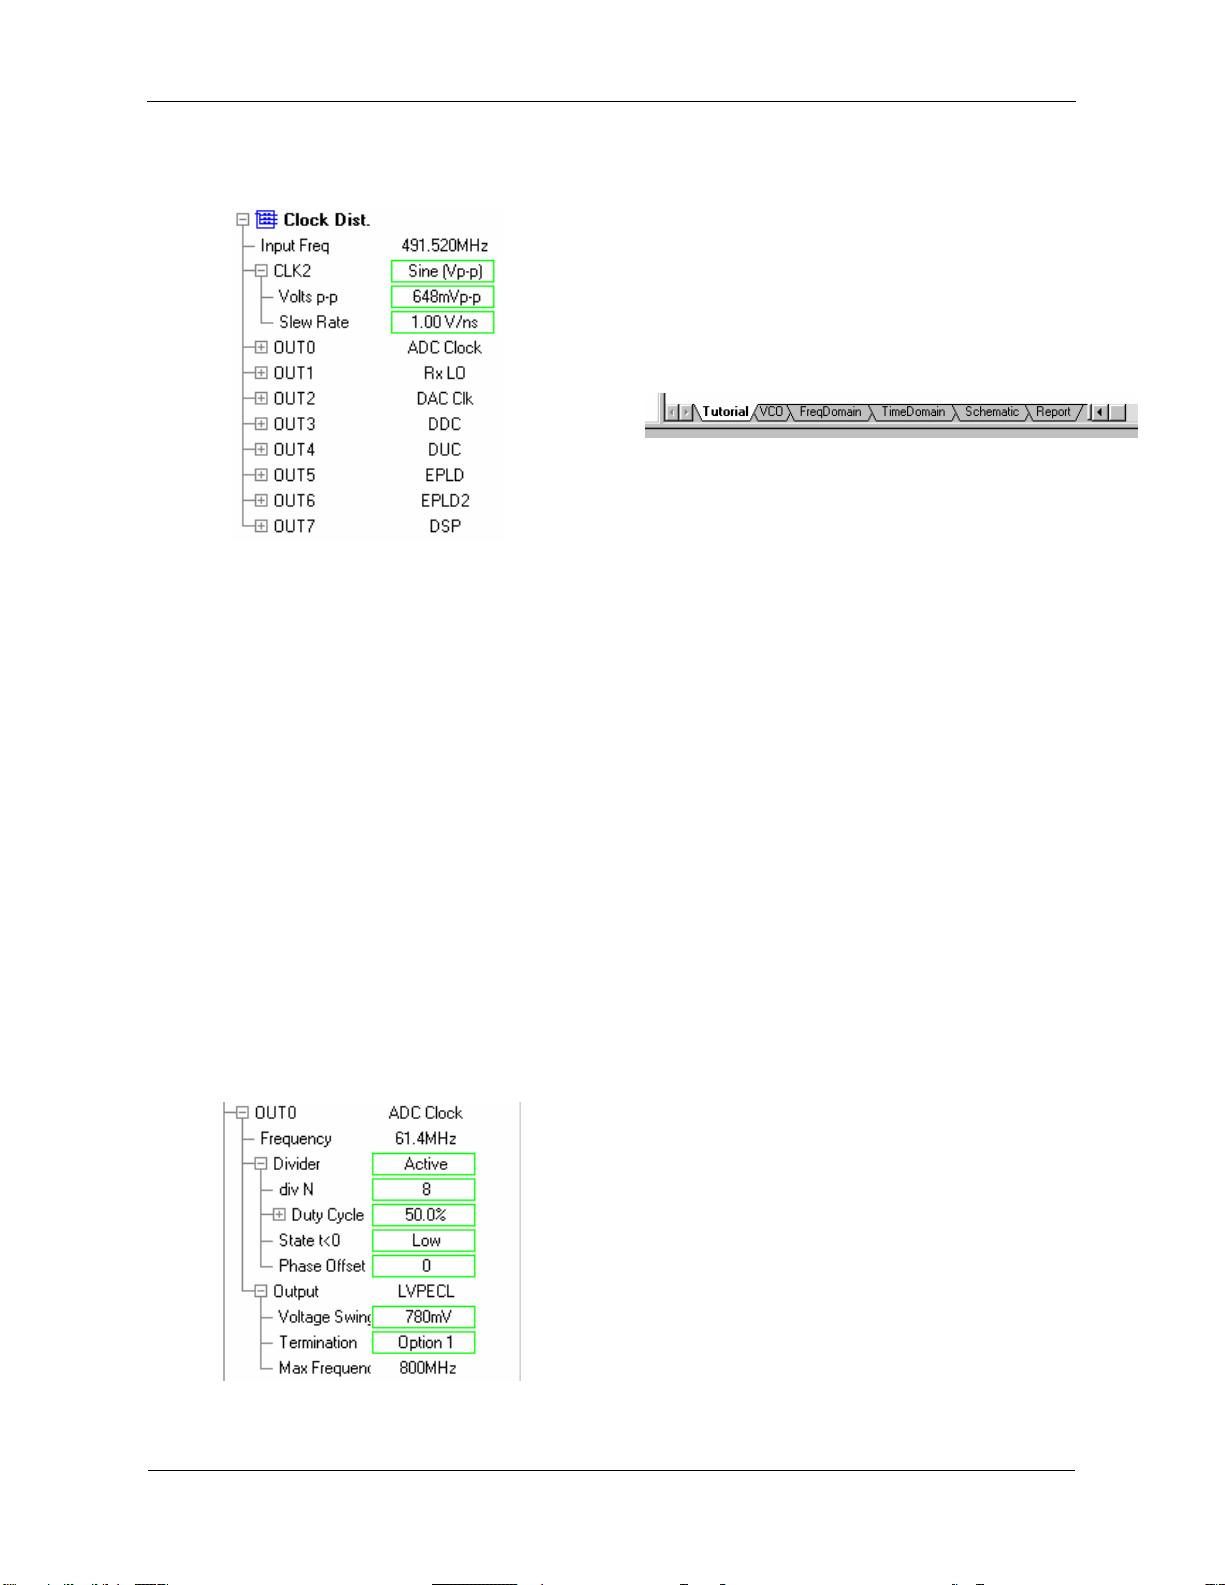
Exploring ADIsimCLK - DataPanel
Remember the Data Panel is the area to the left of the
screen - it is where you enter data to control
ADIsimCLK. Data is organised in a simple tree
structure. For example, the clock distribution network
configuration is contained in the Clock Dist folder.
To expand this folder, click on the box with the ‘+’ in
it, revealing
Note that the ADIsimCLK convention is that items
with a green border around them are ones that you can
alter.
For further details on any item in the Data Panel,
simply right-click on it and choose “What’s This”
from the menu that appears - try it out!
a