


Document generated by Confluence on Feb 26, 2009 21:21 Page 1
Space Details
Key: MULE2INTRO
Name: Mule 2.x Getting Started Guide
Description:
Creator (Creation Date): tcarlson (Apr 15, 2008)
Last Modifier (Mod. Date): tcarlson (Apr 15, 2008)
Available Pages
•
Basic Usage
•
Examples
•
Bookstore Example
•
Bookstore Webapp Example
•
Echo Example
•
Error Handler Example
•
Hello World Example
•
LoanBroker
•
Loan Broker ESN
•
Loan Broker Example
•
Loan Broker BPM Example
•
Loan Broker ESB Example
•
Loan Broker ESN Example
•
Mule Examples Webapp
•
Scripting Example
•
Stock Quote Example
•
Glossary
•
Home
•
Distribution Contents
•
Migrating Mule
•
Migrating from Community to Enterprise
•
Migrating Mule 1.x to 2.0
•
Migrating Mule 2.0 to 2.1
•
Migrating Mule 2.1 to 2.2
•
Setting Up Eclipse
•
Tutorial
•
Whats New in Mule CE 2.0
•
Whats New in Mule EE 2.1
•
Whats New in This Release
•
Installing Mule
•
Integrating Mule into Your Environment
•
Quick Start
•
Running Mule
•
Summary

Document generated by Confluence on Feb 26, 2009 21:21 Page 2
•
Understanding the Logical Data Flow
•
Understanding the Messaging Framework
•
Understanding the Mule Architecture
•
About SOA
•
Processing the Data
•
Routing Messages Between Service Components
•
Separating Business Logic from Messaging
•
Wiring Everything Together
•
What is Mule?
Document generated by Confluence on Feb 26, 2009 21:21 Page 3
Basic Usage
This page last changed on Dec 17, 2008 by jackie.wheeler.
Basic Usage
Some of the links on this page go to the Mule User Guide, which requires that you log in.
Registration is free and takes only a few moments.
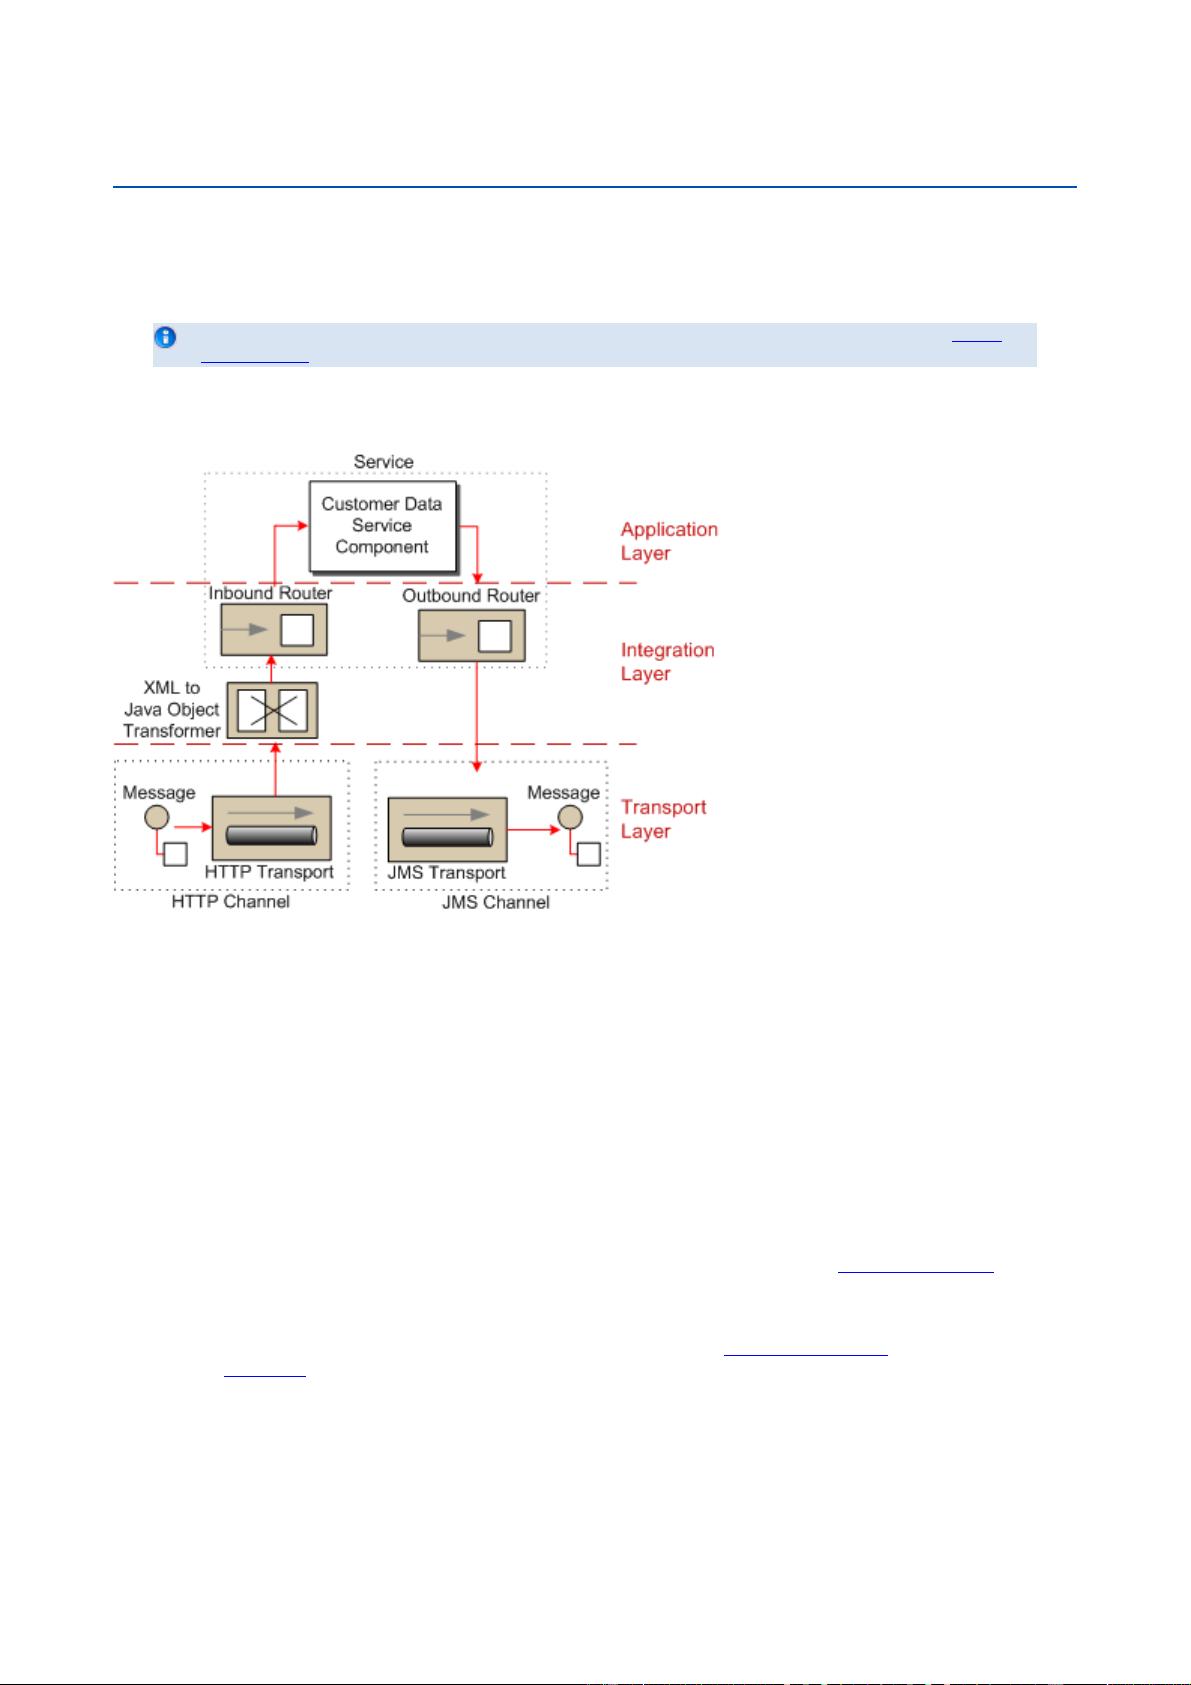
When you look at how a message flows through Mule, you can see that there are three layers in the
architecture: the application layer, the integration layer, and the transport layer.
Likewise, there are three general types of tasks you can perform to configure and customize your Mule
deployment:
• Service component development: developing POJOs, services, or beans that contain the business
logic and will be used as service components in a Mule deployment.
• Integration: developing routers, transformers, and filters, and configuring everything in the Mule
configuration file.
• Extending Mule: developing new transports, connectors, and other modules used by Mule.
This page provides a high-level overview of the steps you take to perform these tasks.
Create a Service Component
A service component is a class, web service, or other application that contains the business logic you
want to plug in to the Mule framework. You can use any existing application, or create a new one. Your
service component does not need to contain any Mule-specific code. All the Mule-specific instructions will
be configured on the service that wraps the service component.
To assist development, you should use an IDE such as Eclipse (see Setting Up Eclipse). In addition, you
can use the Mule IDE, an Eclipse plug-in (currently in beta) that provides an integrated development
environment for developing Mule applications.
Configure the Mule Instance
The Mule configuration file allows you to configure all the elements you need in your Mule instance. You
use the <configuration> element to set global configuration options such as the threading profile. You

Document generated by Confluence on Feb 26, 2009 21:21 Page 4
then configure the connectors, transformers, and endpoints you'll use in different services. Lastly, you
configure models, which act as containers for services and apply settings such as the queue profile to all
the services in that model. For complete information, see Configuring a Mule Instance.
Configure the Service
You configure a service within a <model> element in the Mule configuration file. The service points to the
service component, routers, filters, and transformers. It also specifies the endpoint on which this service
will receive messages and the outbound endpoint where messages will go next. For more information, see
Configuring the Service.
Following is more information on configuring routers, filters, and transformers for the service.
Routers
Inbound routers specify how messages are routed to a service, and outbound routers specify how
messages are routed after the service has finished processing them. There are several default routers
that come with Mule that you can use, or you can create your own routers. For more information, see
Using Message Routers.
Filters
Filters specify conditions that must be met for a message to be routed to a service. There are several
default filters that come with Mule that you can use, or you can create your own filters. For more
information, see Using Filters.
Transformers
Transformers convert incoming payload data to the type required by the service component. After the
service has finished processing the message, they can also convert the message to a different type as
needed by the outbound transport. There are several default transformers you can use, or create your
own. For more information, see Using Transformers.
Extend Mule
Mule provides default transports for many different channels, including File, FTP, HTTP, JMS, JDBC,
Quartz, and many more. There are also community-created transports on MuleForge. If you need to send
messages on a channel other than those provided, you can create a new transport. For more information,
see About Transports.
You can also use Maven to create new Mule projects (transports and other types of modules). For more
information, see Using Maven.
<< Previous: Tutorial Next: What's New in Mule Community Version
2.x >>
Document generated by Confluence on Feb 26, 2009 21:21 Page 5
Examples
This page last changed on Feb 09, 2009 by jackie.wheeler.
Examples
The easiest way to start using Mule is to walk through an example. Click a link below to learn how to get
up and running with that example.
Running the Examples
The fastest approach is to run the examples from the command line. In this case, you will simply type
the name of a batch script (such as hello for the Hello World example), and the example will run. Most
of the examples can be run this way, but some require that you build them. See each example's page for
details. Be sure you have completed all the instructions in Installing Mule before you attempt to run the
example.
Building the Examples
There are two versions of each example that you can build: an Ant example, which just requires
Ant 1.6.5 or later, and a Maven example, which requires Maven 2.0.9 or later and depends on the
downloading of third-party JAR files. Follow all the instructions in Installing Mule to install Ant or Maven,
set up your environment, install Mule, and populate the Maven repository (for Mule Enterprise users). To
run an example in Eclipse, see Setting Up Eclipse.
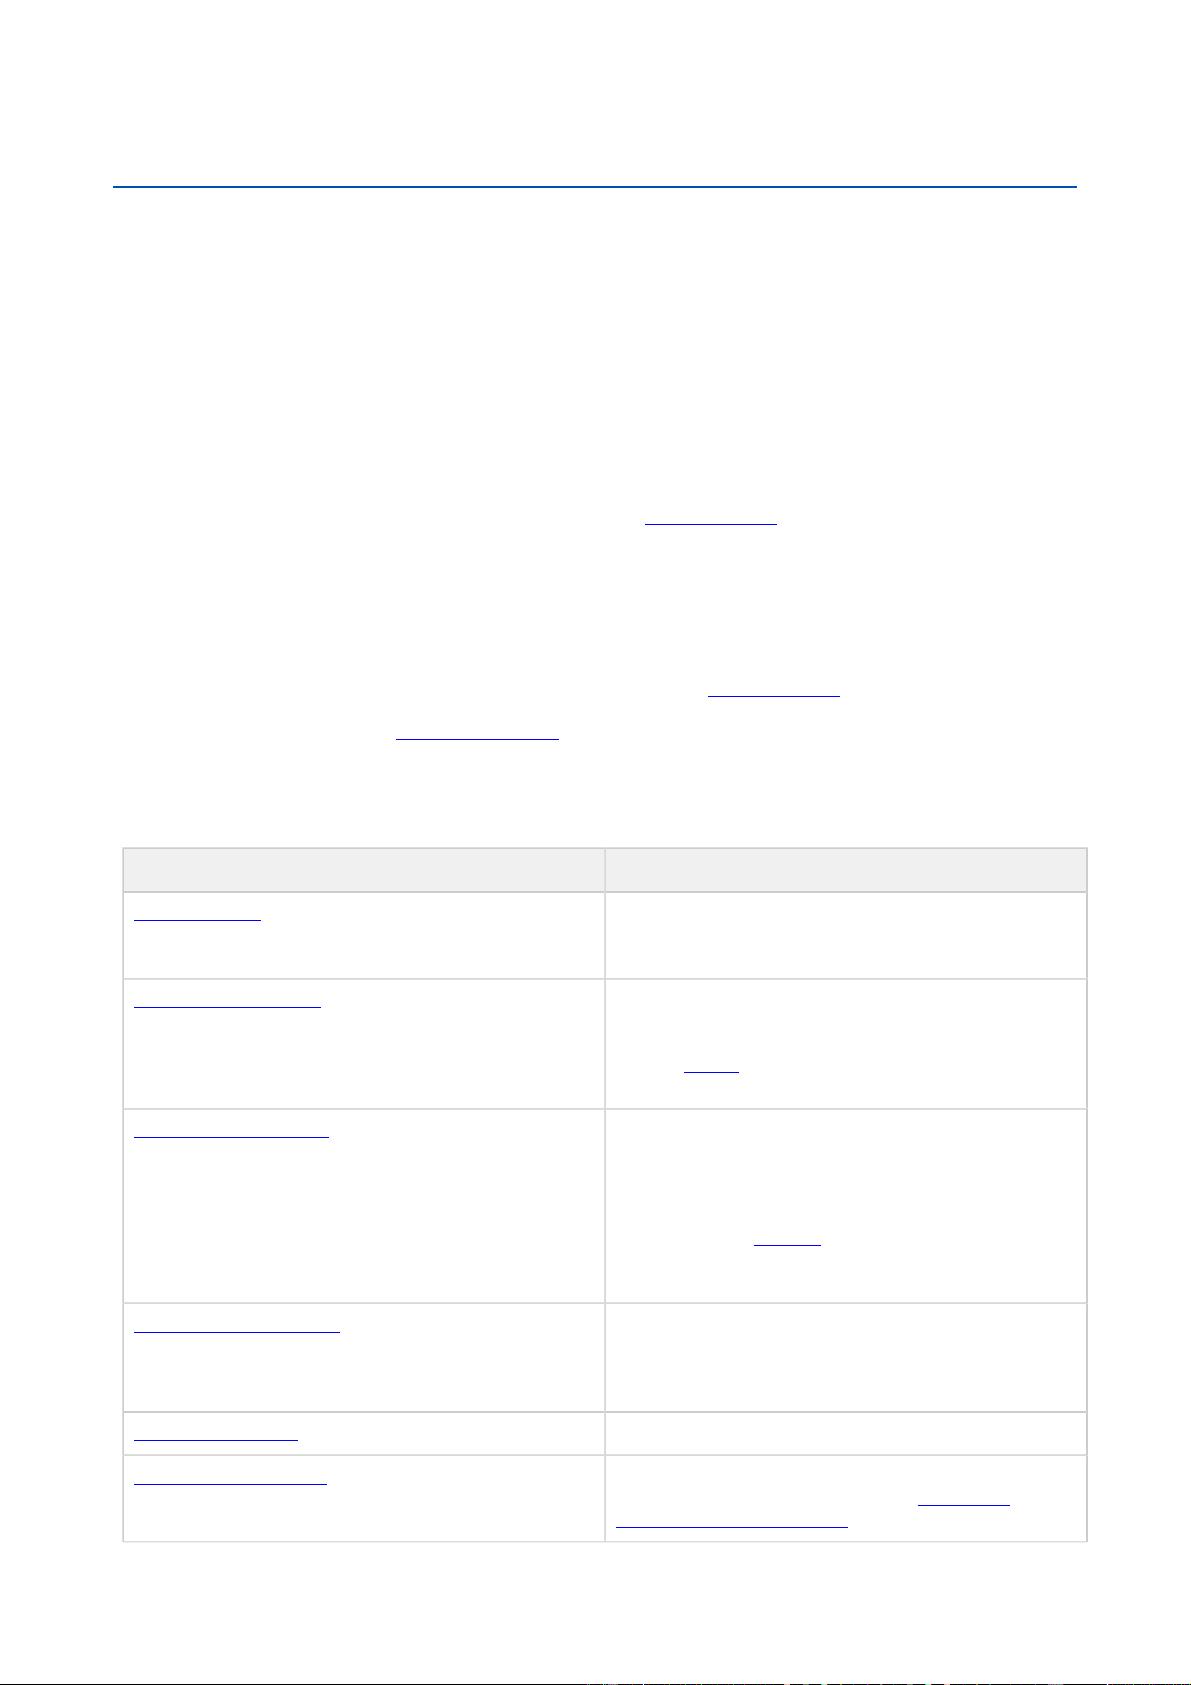
Available Examples
Example Description
Echo Example A simple example that demonstrates how to
expose a service component over multiple
transports.
Hello World Example Shows how to configure multiple service
components to interact on a single request and
how to manage event transformations. There is
a good article on DevX that describes how to get
started with Mule using the Hello World Example.
Stock Quote Example This example demonstrates how to invoke an
ASPX web service from Mule, transform the
result using XSLT, and deserialize the result to a
StockQuote Java bean. The example demonstrates
invoking the service using REST and SOAP.
There is also a Tutorial based on the Stock Quote
example to help you get started with modifying a
Mule application.
Error Handler Example The error handler example demonstrates
using Spring beans as Mule service component
implementations and how to publish messages to
multiple outbound endpoints.
Scripting Example Demonstrates Mule support for JSR-223 scripting.
Loan Broker Example The Loan Broker example application is based
on the example presented in the Enterprise
Integration Patterns book. This chapter of the


评论1
最新资源