


Android 进程间通信机制(Binder)介绍
Author: 灯下野狐
E-mail: dengxiayehu@yeah.net
Date : 2012-02
PS : 欢迎交流,转载请务必注明出处。
先看下 Binder 相关的一个简单类图
以一个简单的 binder 应用示例来看 Android 中 binder 这一进程间通信机制,文件结构:
~/MyFolder/ans/packages/apps/bitest$ tree .
.
|-- Android.mk // 同时生成 libdxyhservice.so、dxyh_service、dxyh_client 的.mk
|-- dxyhclient // 一可执行程序与 service 通信(当然也可是 java 通过 jni 来与服务通信)
| `-- DxyhClient.cpp
|-- dxyhservice // 服务程序(类似于 mediaserver 这一可执行程序)
| |-- DxyhService.cpp
| |-- DxyhService.h
| `-- main_dxyhservice.cpp
|-- include // 头文件
| `-- IDxyhService.h
`-- libdxyhservice // 动态库
`-- IDxyhService.cpp
示例相关类图:
看到和上面一张很像,事实上就是参照 ServiceManager 而写的。
我们从 main_dxyhservice.cpp 这个文件开始,看一个 service 是如何注册到系统中的。
所有服务均挂在 service_manager.c 中的 struct svcinfo *svclist 这个链表中。
下面就进入到程序 main_dxyhservice.cpp 中的 main()函数:
===============================================================
==> 相关类
class RefBase
{
public:
void incStrong(const void* id) const;
void decStrong(const void* id) const;
void forceIncStrong(const void* id) const;
//! DEBUGGING ONLY: Get current strong ref count.
int32_t getStrongCount() const;
class weakref_type
{
public:
RefBase* refBase() const;
void incWeak(const void* id);
void decWeak(const void* id);
bool attemptIncStrong(const void* id);
//! This is only safe if you have set OBJECT_LIFETIME_FOREVER.
bool attemptIncWeak(const void* id);
//! DEBUGGING ONLY: Get current weak ref count.
int32_t getWeakCount() const;
//! DEBUGGING ONLY: Print references held on object.
void printRefs() const;
//! DEBUGGING ONLY: Enable tracking for this object.
// enable -- enable/disable tracking
// retain -- when tracking is enable, if true, then we save a stack trace
// for each reference and dereference; when retain == false, we
// match up references and dereferences and keep only the
// outstanding ones.
void trackMe(bool enable, bool retain);
};
weakref_type* createWeak(const void* id) const;
weakref_type* getWeakRefs() const;
//! DEBUGGING ONLY: Print references held on object.
inline void printRefs() const { getWeakRefs()->printRefs(); }
//! DEBUGGING ONLY: Enable tracking of object.
inline void trackMe(bool enable, bool retain)
{
getWeakRefs()->trackMe(enable, retain);
}
// used to override the RefBase destruction.
class Destroyer {
friend class RefBase;
public:
virtual ~Destroyer();
private:
virtual void destroy(RefBase const* base) = 0;
};
// Make sure to never acquire a strong reference from this function. The
// same restrictions than for destructors apply.
void setDestroyer(Destroyer* destroyer);
protected:
RefBase();
virtual ~RefBase();
//! Flags for extendObjectLifetime()
enum {
OBJECT_LIFETIME_WEAK = 0x0001,
OBJECT_LIFETIME_FOREVER = 0x0003
};
void extendObjectLifetime(int32_t mode);
//! Flags for onIncStrongAttempted()
enum {
FIRST_INC_STRONG = 0x0001
};
virtual void onFirstRef();
virtual void onLastStrongRef(const void* id);
virtual bool onIncStrongAttempted(uint32_t flags, const void* id);
virtual void onLastWeakRef(const void* id);
private:
friend class weakref_type;
class weakref_impl;
RefBase(const RefBase& o);

RefBase& operator=(const RefBase& o);
weakref_impl* const mRefs;
};
class RefBase::weakref_impl : public RefBase::weakref_type
{
public:
volatile int32_t mStrong;
volatile int32_t mWeak;
RefBase* const mBase;
volatile int32_t mFlags;
Destroyer* mDestroyer;
weakref_impl(RefBase* base)
: mStrong(INITIAL_STRONG_VALUE) // 初始强指针引用计数
, mWeak(0) // 初始弱指针引用计数
, mBase(base) // 指向 RefBase 类的指针
// 引用计数控制旗标,可以是:
// OBJECT_LIFETIME_WEAK —— 对象受到弱指针引用控制
// OBJECT_LIFETIME_FOREVER —— 对象不受任何指针类型的控制,所以需用户手动 delete
, mFlags(0)
, mDestroyer(0)
{
}
void addStrongRef(const void* /*id*/) { }
void removeStrongRef(const void* /*id*/) { }
void addWeakRef(const void* /*id*/) { }
void removeWeakRef(const void* /*id*/) { }
void printRefs() const { }
void trackMe(bool, bool) { }
};
class ProcessState : public virtual RefBase
{
public:
static sp<ProcessState> self(); // 返回 ProcessState 全局单例(整个系统就此一个)
static void setSingleProcess(bool singleProcess);
void setContextObject(const sp<IBinder>& object);
sp<IBinder> getContextObject(const sp<IBinder>& caller);
void setContextObject(const sp<IBinder>& object,
const String16& name);
sp<IBinder> getContextObject(const String16& name,
const sp<IBinder>& caller);
bool supportsProcesses() const;
void startThreadPool();
typedef bool (*context_check_func)(const String16& name,
const sp<IBinder>& caller,
void* userData);
bool isContextManager(void) const;
bool becomeContextManager(
context_check_func checkFunc,
void* userData);
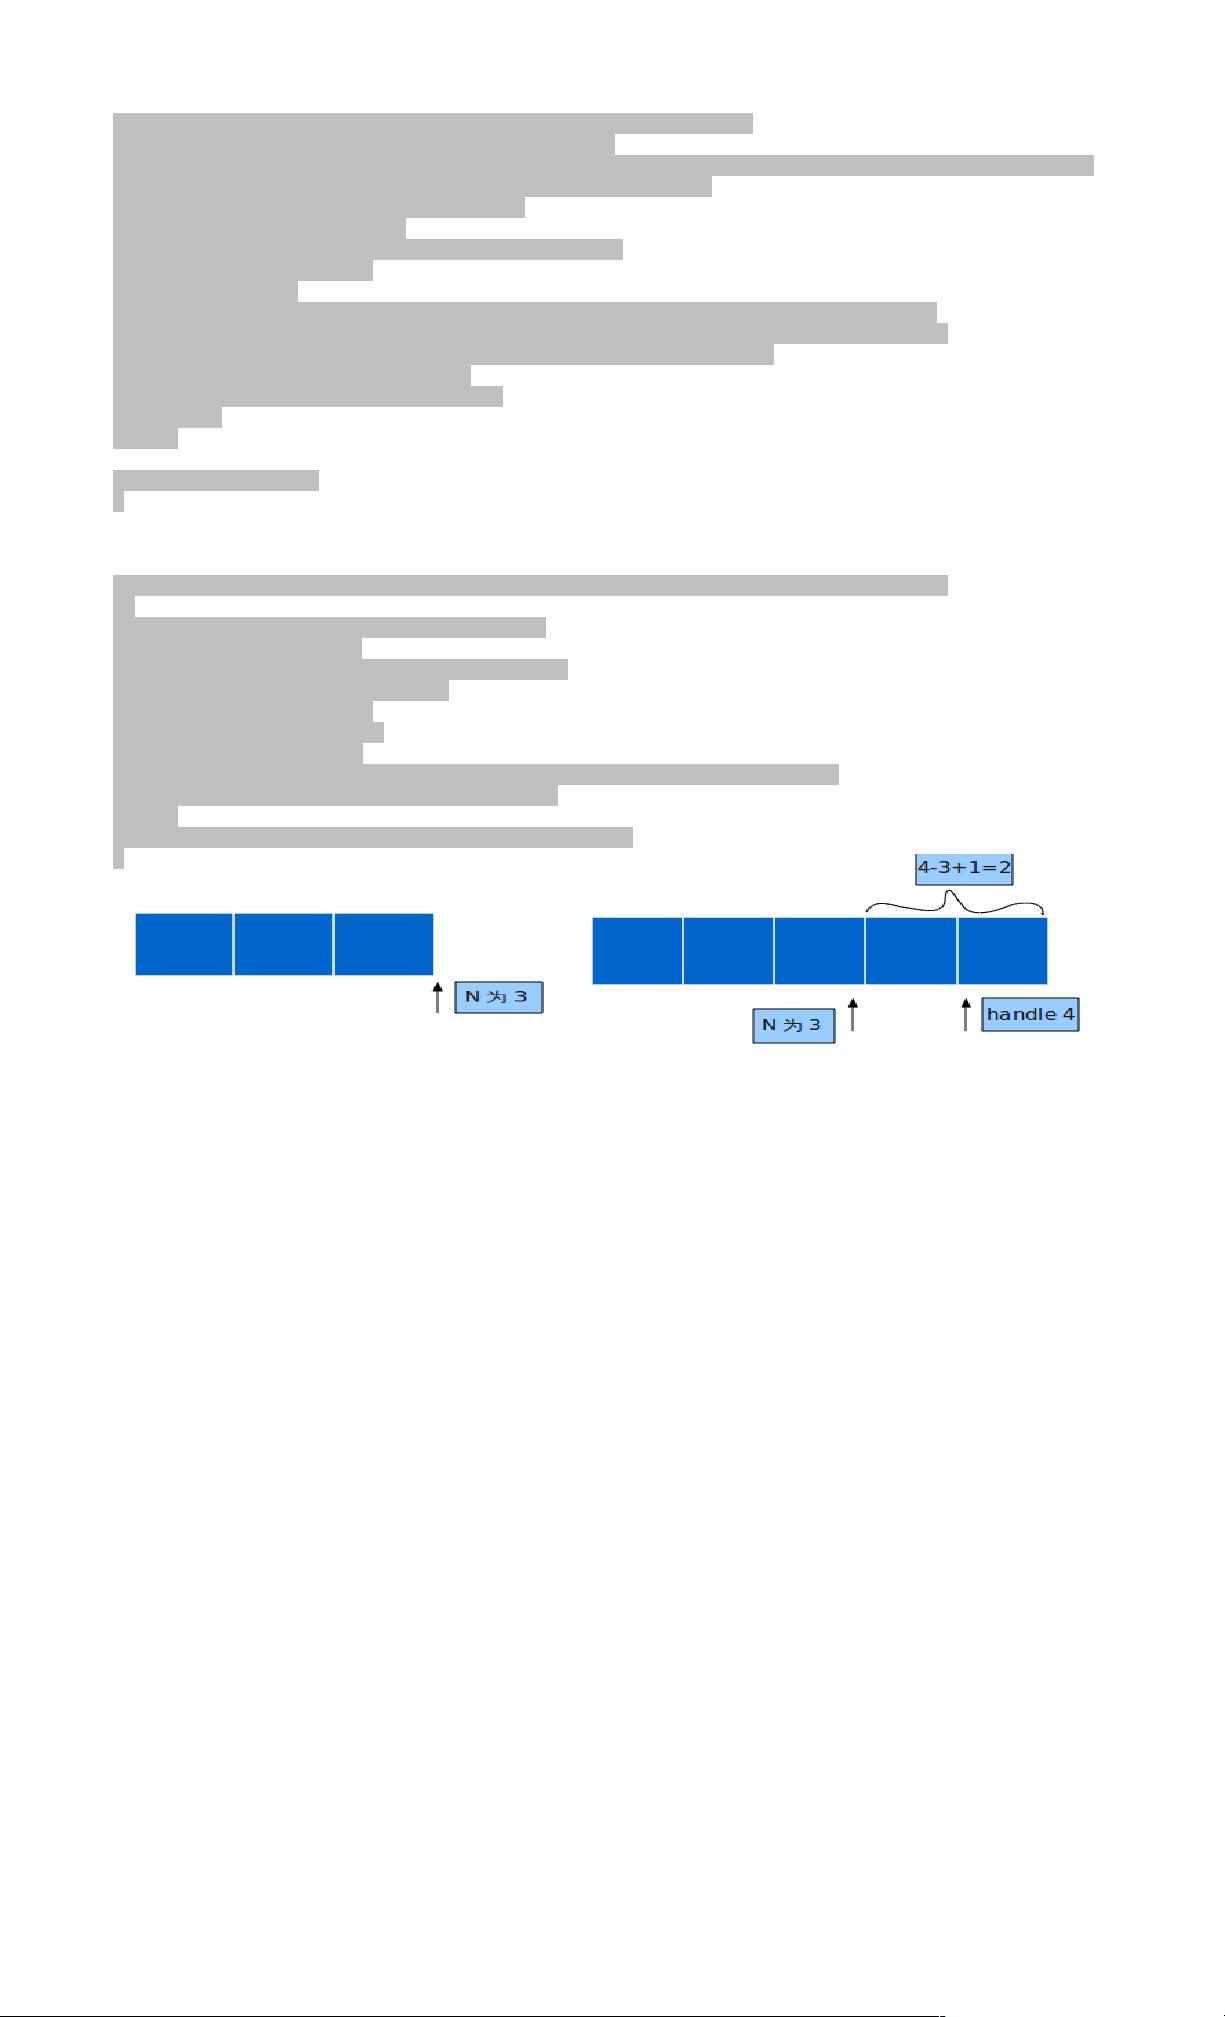
sp<IBinder> getStrongProxyForHandle(int32_t handle);
wp<IBinder> getWeakProxyForHandle(int32_t handle);
void expungeHandle(int32_t handle, IBinder* binder);
void setArgs(int argc, const char* const argv[]);
int getArgC() const;
const char* const* getArgV() const;
void setArgV0(const char* txt);
void spawnPooledThread(bool isMain);
private:
// IPCThreadState 类是此类的友元类
friend class IPCThreadState;
ProcessState();// 构造函数为私有,则不能在类体外用 new 关键字生成对象
~ProcessState();
ProcessState(const ProcessState& o);
ProcessState& operator=(const ProcessState& o);
struct handle_entry {

IBinder* binder;
RefBase::weakref_type* refs;
};
handle_entry* lookupHandleLocked(int32_t handle);
int mDriverFD;
void* mVMStart;
mutable Mutex mLock; // protects everything below.
Vector<handle_entry>mHandleToObject;
bool mManagesContexts;
context_check_func mBinderContextCheckFunc;
void* mBinderContextUserData;
KeyedVector<String16, sp<IBinder> >
mContexts;
String8 mRootDir;
bool mThreadPoolStarted;
volatile int32_t mThreadPoolSeq;
};
===============================================================
int main(int argc, char **argv)
{
// 创建单例的 ProcessState 对象
sp<ProcessState> proc(ProcessState::self());
// 获得 ServiceManager 这个服务管家
sp<IServiceManager> sm = defaultServiceManager();
// 将 DxyhService 这个服务注册到系统中
sm->addService(String16("service.dxyh"), new DxyhService());
// 下面两个函数很重要,作为 Service 的两个“ ”消息 循环
ProcessState::self()->startThreadPool();
IPCThreadState::self()->joinThreadPool();
return(0);
}
我们直接看第 2 句(第 1 句中的 ProcessState::self()这个成员函数会在下面一齐叙述):
// 获得 ServiceManager 对象
sp<IServiceManager> sm = defaultServiceManager();
获得系统所有 service “ ”的 管家 ,ServiceManager,现在来看 defaultServiceManager()这个函数做了哪些事情:
===============================================================
==> 相关全局变量
Mutex gDefaultServiceManagerLock;
sp<IServiceManager> gDefaultServiceManager;
===============================================================
sp<IServiceManager> defaultServiceManager()
{
// 开始 gDefaultServiceManager 肯定为 NULL,会在下面 ProcessState::self()中创建
if (gDefaultServiceManager != NULL) return gDefaultServiceManager;
{
AutoMutex _l(gDefaultServiceManagerLock);
if (gDefaultServiceManager == NULL) {
// 下面这句甚为核心!!
gDefaultServiceManager = interface_cast<IServiceManager>(
// 调用全局唯一的 ProcessState 对象的 getContextObject 函数,
// 注意这里传入的参数为 NULL,也就是 0
ProcessState::self()->getContextObject(NULL));
}
}
return gDefaultServiceManager;
}
看下 ProcessState 类的 self()成员函数,用到了单例模式(使用全局锁来解决并发问题):
===============================================================
==> 相关全局变量(frameworks/libs/binder/Static.cpp):
sp<ProcessState> gProcess; // 全局 ProcessState 对象,整个系统有且只有一个
Mutex gProcessMutex; // 全局锁解决单例模式中的并发问题
===============================================================
sp<ProcessState> ProcessState::self()
{
if (gProcess != NULL) return gProcess;
AutoMutex _l(gProcessMutex);
if (gProcess == NULL) gProcess = new ProcessState;
return gProcess;
}
这个 AutoMutex 类很是特别,原理就是在该类对象的生命周期内锁住所传入的锁,在对象消亡时通过析构函数来解锁,具体
看其类定义就清楚了:
==> 代码路径:frameworks/base/libs/binder/ProcessState.cpp
// Manages the mutex automatically. It'll be locked when Autolock is

// constructed and released when Autolock goes out of scope.
class Autolock {
public:
inline Autolock(Mutex& mutex) : mLock(mutex) { mLock.lock(); /* 构造锁住 */ }
inline Autolock(Mutex* mutex) : mLock(*mutex) { mLock.lock(); /* 构造锁住 */ }
inline ~Autolock() { mLock.unlock(); /* 析构解锁 */ }
private:
Mutex& mLock;
};
在使用时常看到将该类对象放在一个内部代码块中,例如:
...
{
Autolock _l(mutex);
...
}
这样从_l 定义之初到下面一个右大括号结束之前,之间的代码就被 mutex 锁住了。
开始 gProcess 指针定然为 NULL,故需要 new 一个 ProcessState 对象,该类构造函数为:
===============================================================
==> 相关全局变量
#define MAP_FAILED ((void *)-1)
#define BINDER_VM_SIZE ((1*1024*1024) - (4096 *2))
===============================================================
ProcessState::ProcessState()
: mDriverFD(open_driver()) // 很重要的 open_driver 函数,具体下面再看
, mVMStart(MAP_FAILED) // 共享内存起始地址(默认初始为-1)
, mManagesContexts(false) // ……
, mBinderContextCheckFunc(NULL)
, mBinderContextUserData(NULL)
, mThreadPoolStarted(false)
, mThreadPoolSeq(1)
{
if (mDriverFD >= 0) {
// XXX Ideally, there should be a specific define for whether we
// have mmap (or whether we could possibly have the kernel module
// availabla).
#if !defined(HAVE_WIN32_IPC)
// mmap the binder, providing a chunk of virtual address space to receive
// transactions.
// 开辟一块只读私有共享内存,大小为(1M-8K = 1016K)
mVMStart = mmap(0, BINDER_VM_SIZE, PROT_READ, MAP_PRIVATE | MAP_NORESERVE,
mDriverFD, 0);
if (mVMStart == MAP_FAILED) {
// *sigh*
LOGE("Using /dev/binder failed: unable to mmap transaction memory.\n");
close(mDriverFD);
mDriverFD = -1;
}
#else
mDriverFD = -1;
#endif
}
if (mDriverFD < 0) {
// Need to run without the driver, starting our own thread pool.
}
}
先打开 binder 设备,描述符存于 mDriverFD,然后就是关联该 fd 至一块共享内存,属性为私有、只读,最后就是其他成员
变量的初始化。
打开 binder 设备的 open_driver()函数如下:
===============================================================
==> 相关结构体
/* Use with BINDER_VERSION, driver fills in fields. */
struct binder_version {
/* driver protocol version -- increment with incompatible change */
signed long protocol_version;
};
==> 相关全局变量
static bool gSingleProcess = false; // 系统是否仅能支持单进程(默认当然为 false 了)
/* This is the current protocol version. */
#define BINDER_CURRENT_PROTOCOL_VERSION 7
#define BINDER_VERSION _IOWR('b', 9, struct binder_version)
===============================================================
static int open_driver()
{
if (gSingleProcess) {
return -1;
}
// 调用系统函数 open()来打开 binder 驱动,驱动层对应的函数为 binder_open(),参见 ServiceManager 分析
int fd = open("/dev/binder", O_RDWR);
if (fd >= 0) {


- 1
- 2
前往页