1.
2.
3.
1.
2.
3.
4.
5.
6.
7.
8.
1.
2.
3.
4.
5.
6.
7.
8.
1.
2.
3.
4.
5.
6.
7.
8.
9.
10.
11.
a.
12.
Hardware Setup
Have the board connected via the into the board debugging input ( ). JTAG CN14
Power will be provided by an external power supply of 5V.
Make sure that JP18 is set to PSU.
Loading & Running The Project on the Board
IAR Embedded Workbench™
Click on ...File–>Open–>Workspace
Navigate to the directory where the workspace is located: $\Micrium\Examples\ST\STM3240G-EVAL\OS3\IAR\OS3.eww
Click .Open
For safety, clean the project by clicking on (if available). Project–>Clean
Compile the project by clicking on .Project–>Make
Make sure your hardware setup (as previously described) is correct.
Download the code to the board by clicking on .Project–>Download and Debug
Run the project by clicking on . To stop the project from running, click on .Debug–>Go Debug–>Stop Debugging
Keil uVision5™
Click on Project–>Open Project...
Navigate to the directory where the workspace is located: $\Micrium\Examples\ST\STM3240G-EVAL\OS2\KeilMDK\OS3.uvproj
Click .Open
For safety, clean the project by clicking on (if available).Project–>Clean Target
Compile the project by clicking on .Project–>Build Target
Make sure your hardware setup (as previously described) is correct
Download the code to the board by clicking on .Debug–>Start/Stop Debug Session
Run the project by clicking on . To stop the project from running, click on again.Debug–>Run Debug–>Start/Stop Debug Session
Atollic TrueSTUDIO™
Click on File–>Import...
Select .Existing Projects into Workspace
Navigate to the directory where the workspace is located: $\Micrium\Examples\ST\STM3240G-EVAL\OS3\TrueSTUDIO
Click .OK
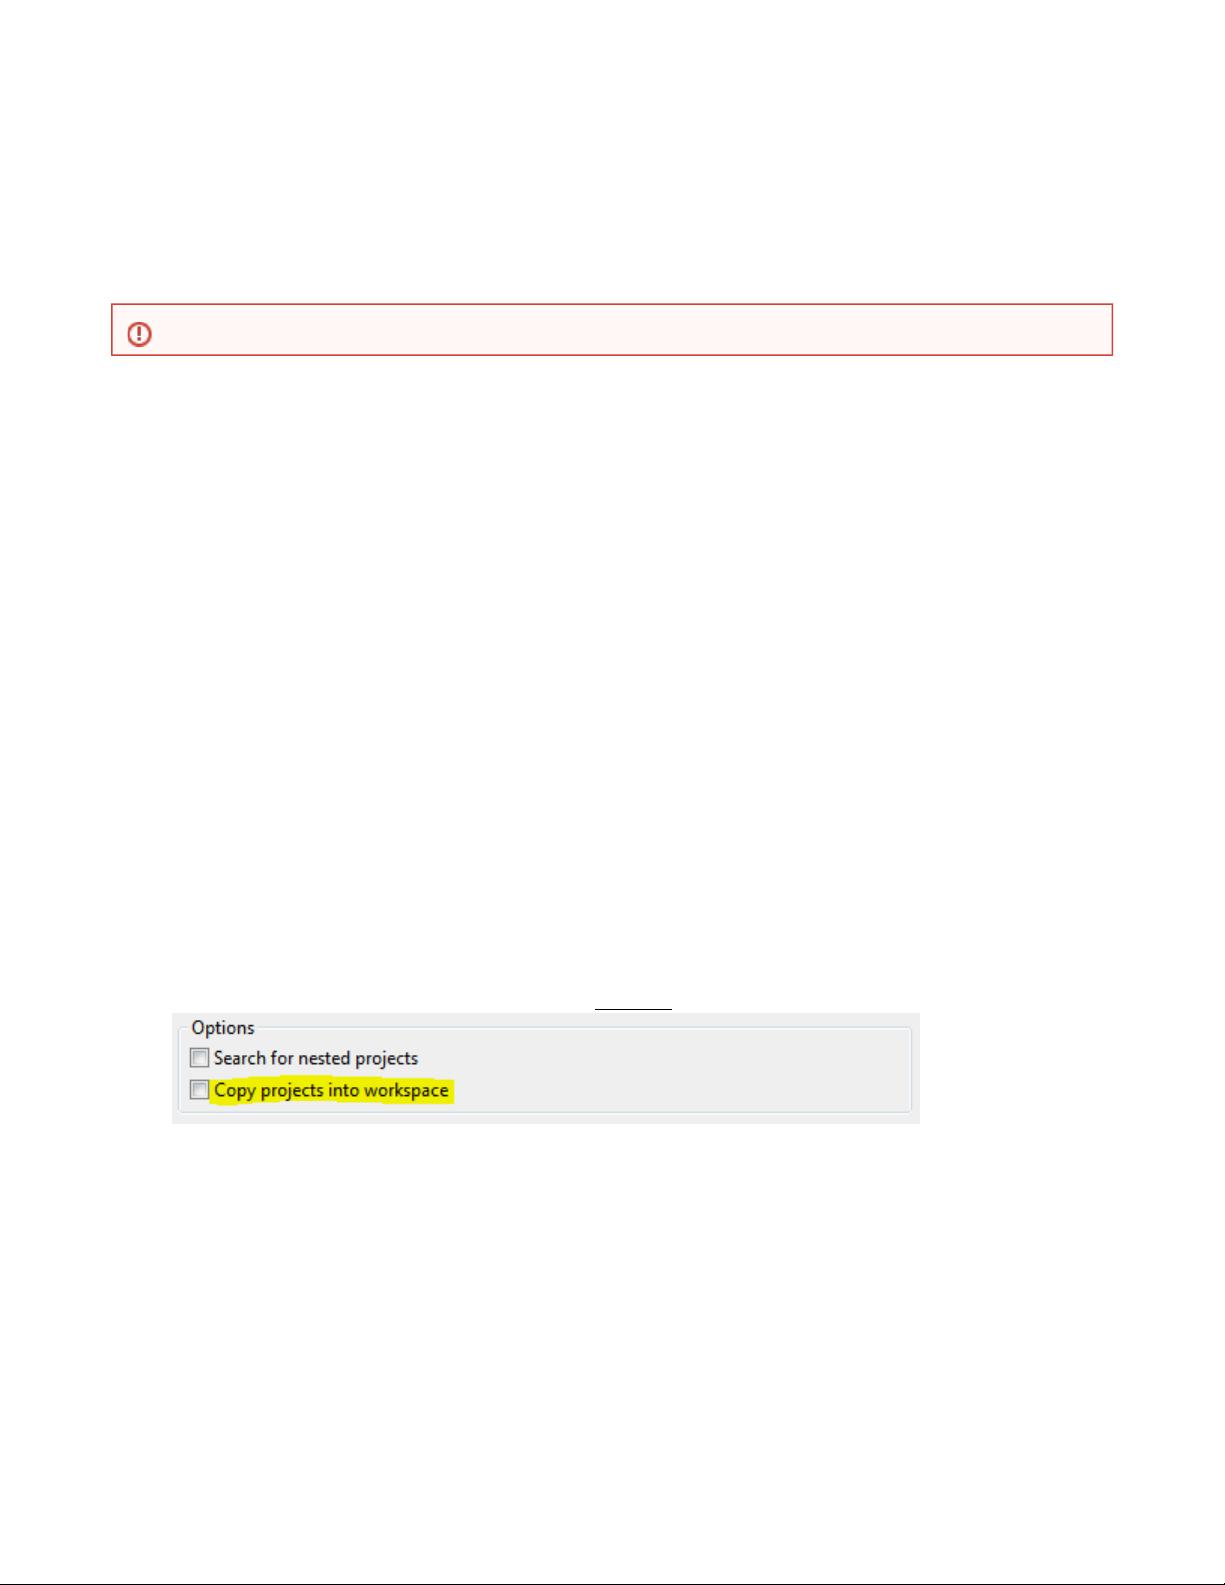
Make sure the " check-box is ."Copy projects into workspace unchecked
Make sure that the project has been selected under the check-box.Projects
Click .Finish
For safety, clean the project by clicking on (if available). Project–>Clean
Compile the project by clicking on . The project should build successfully.Project–>Build All
Make sure your hardware setup (as previously described) is correct.
Download the code to the board by right-clicking inside the project directory and selecting .Debug As–>Embedded C/C++ Application
Select the appropriate interface inside the (if needed).Debugger Tab
Run the project by clicking on . To stop the project from running click on .Run-->Resume Run-->Terminate
µC/OS-III
Make sure to open the example project workspace using the mentioned IDE(s) version or newer.